Before You Begin
- The server address from Step 1: VPN in the IP Plan.
- The username and password from Step 1: VPN in the IP Plan.
When VPN is required
Your Orka cluster sits behind a dedicated Cisco ASAv firewall. VMs and the Orka management plane are on a private network and not reachable from the public internet without VPN.VDI end users do not need a VPN client. Citrix Workspace app establishes the session outbound through Citrix Cloud. VPN is only required for administrators managing the Orka cluster itself.
(Open-Source Option) OpenConnect
Why OpenConnect?
If you are a predominantly CLI user, you might want to use OpenConnect - an open-source VPN client available from the command line.Download and Install OpenConnect
- If you have Homebrew on your system, you can run
brew install openconnectfrom your command line. - If you’re running on Windows, you can download and build the OpenConnect package yourself or you can use Cisco AnyConnect instead.
Use OpenConnect
- From your command line, run the following command. Replace
<SERVER ADDRESS>with the server address from Step 1: VPN in the IP Plan.
-
Follow the prompts.
- On the immediate Password prompt, provide your sudo password (the password for your current computer user) and press Enter.
- On the Enter ‘yes’ to accept, ‘no’ to abort; anything else to view: prompt, type yes and press Enter.
- On the Username prompt, provide the username from Step 1: VPN in the IP Plan and press Enter.
- On the Password prompt, provide the password from Step 1: VPN in the IP Plan and press Enter.

Cisco AnyConnect Secure Mobility Client
Why Cisco AnyConnect?
Cisco firewalls are designed to work with the Cisco AnyConnect Secure Mobility Client as a VPN client. If you prefer a GUI VPN client or you’re running on Windows, you might want to use Cisco AnyConnect.Download and Install Cisco AnyConnect
- In your browser, navigate to the server address from Step 1: VPN of your IP Plan. You might need to use https://.
- Ignore the certificate warning and proceed to the address.
- When prompted, enter the credentials from Step 1: VPN in the IP Plan. For Orka Small Teams, see here.\
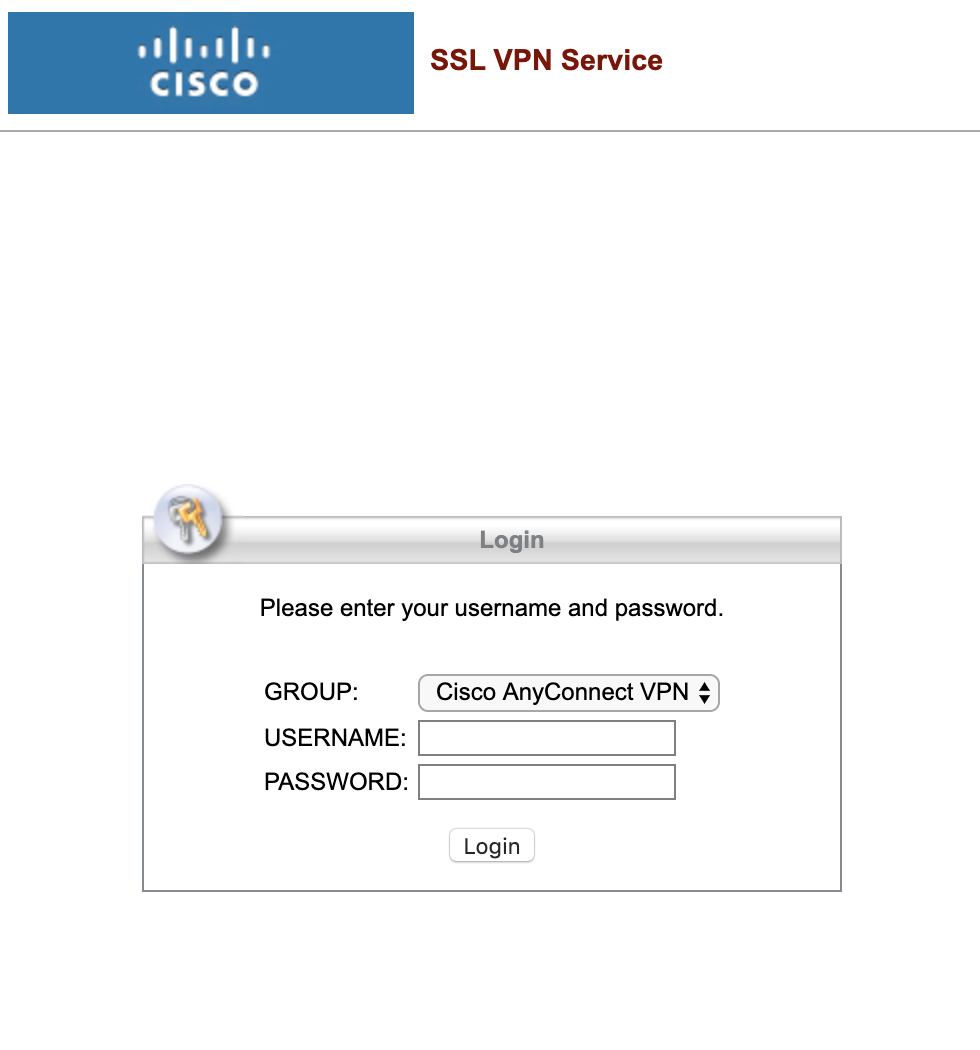
- When prompted, download, install, and run the Cisco AnyConnect desktop client.
Use Cisco AnyConnect
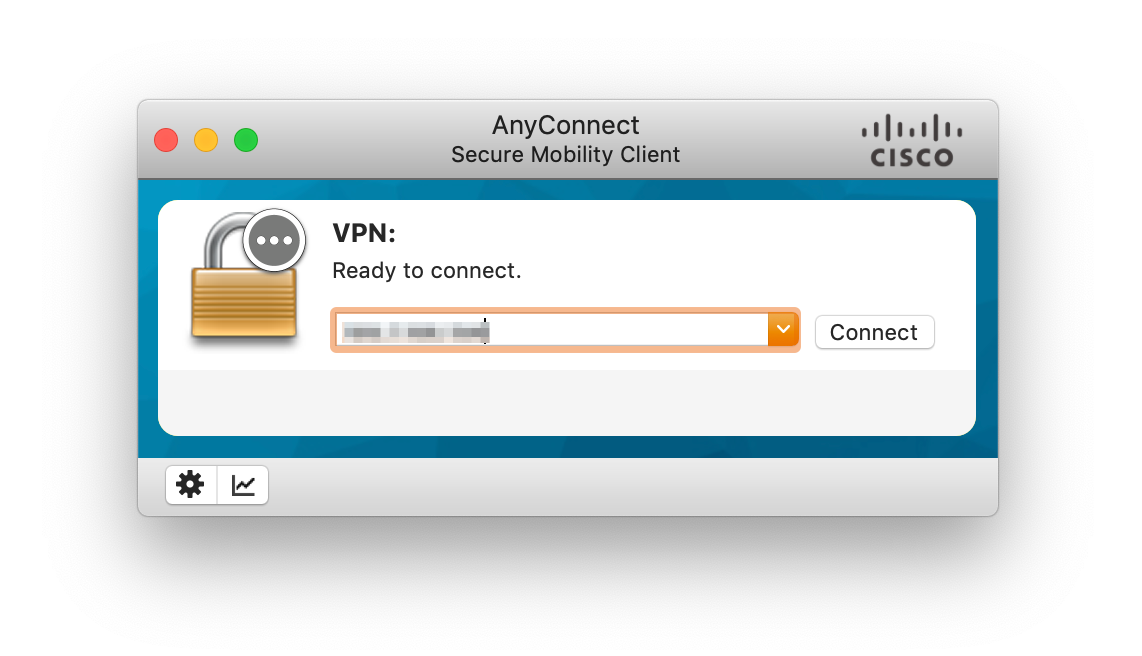
- Run Cisco AnyConnect Secure Mobility Client.
- When prompted, enter the server address from Step 1: VPN of your IP Plan and click Connect.\
- If prompted that an untrusted server was blocked, perform the following steps:
- Click Change Setting… and deselect Block connections to untrusted servers.
- Close the Preferences - VPN window.
- Click Connect again.\

- If prompted that the server certificate is untrusted, click Connect Anyway.
- When prompted, provide your login credentials and click OK.