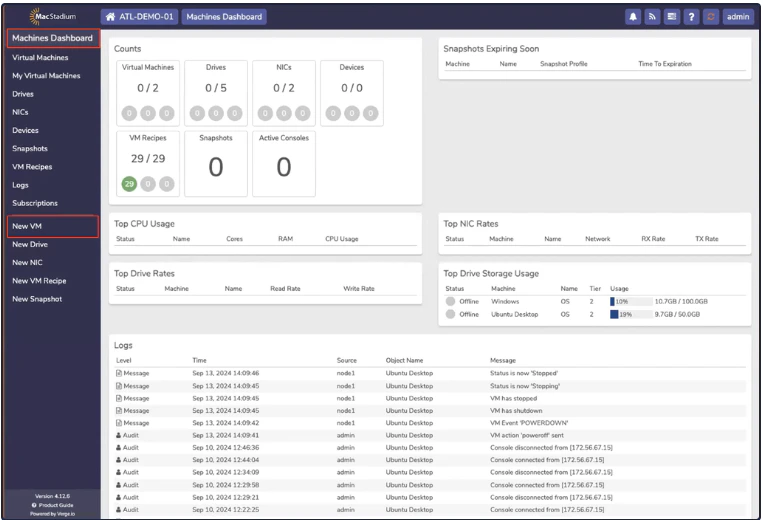
- Select Machines Dashboard → Virtual Machines.
- Click New VM.
- The Select Type tab opens. The left-hand side of the screen contains a list of options (Operating Systems, Services, and so on.) The right-hand side of the screen contains a list of recipes.
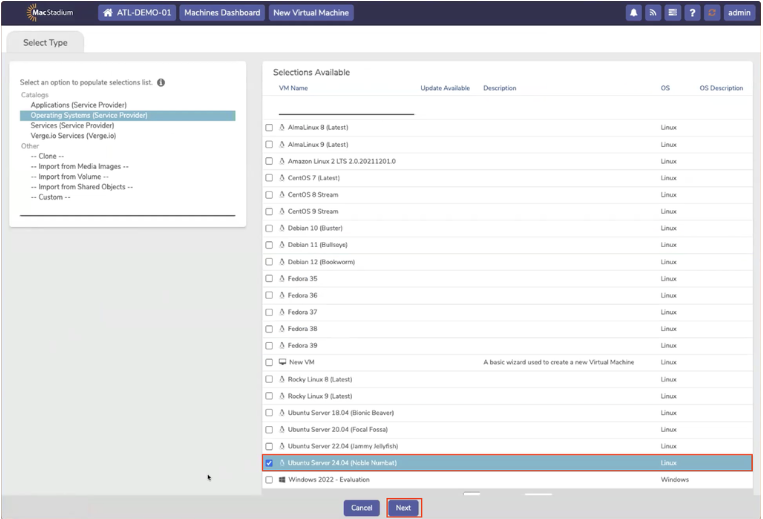
- In the example, the user selected the recipe forUbuntu Server 24.04 ; clickNext.
- The Virtual Machine Setting tab opens.
 Virtual Machine Settings Tab
- In the VM Recipe Instance box, complete the following fields:
- Name - the machine name used for management inside Private Cloud
- Cores - specifies the number of vCPUs allocated to this machine
- RAM - specifies the amount of RAM allocated to this machine
- Cluster - specifies the compute cluster to deploy the machine to. This should be left as Default.
- Hostname - the network hostname for the machine

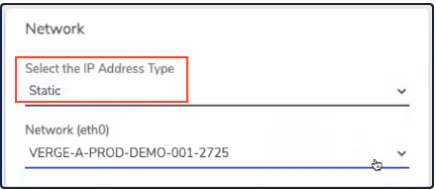
- In the Network box, users must select Static from the dropdown box. Users must also select the correct Network from the dropdown list in order to ensure connectivity to existing MacStadium infrastructure. Otherwise, Private Cloud will provision a new isolated network for the VM.
- In the Static IP Configuration box, all fields must be completed. However, the auto option in the IP Address field does not work. Complete the following fields:
- IP Address – Specifies the IP address of the server. The default is auto, this is an invalid option for the static IP. Consult the IP Plan in your MacStadium Portal account to determine an IP Address that doesn’t conflict with existing machines.
- Subnet Mask – Specifies the range used for the subnet. This is in CIDR notation. The most common selection is ‘/24’
- Default Gateway – Specifies the IP to use for routed external traffic. This should be listed in the IP Plan
- Nameservers – Specifies the DNS servers to use for name resolution. This is not optional, and must be completed in order to resolve hostnames.

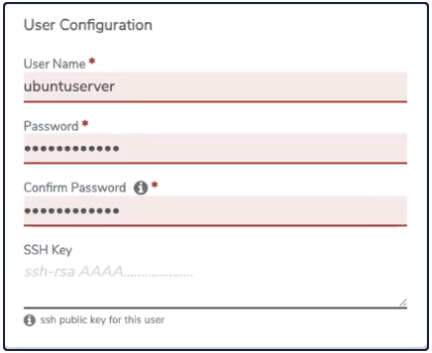
- In the User Configuration box, complete the following fields:
- User Name – the desired username for the default user on the server
- Password – the desired password for the default user on the server
- Confirm Password
- Provide an SSH Key – optional, enables SSH key authentication for the default user
- Click Submit.
- The new VM screen (Ubuntu Server , in this case) opens and the drives will begin to initialize. This may take a few minutes to complete, as Private Cloud will fetch the latest disk image for the selected operating system if an update is available. During this time, the Drive status will be listed as Importing.
 New VM Screen
- Once the drive has finished importing, the status will change to Offline. At this point, the machine is initialized and ready to be powered on.
 Offline = Ready to Launch
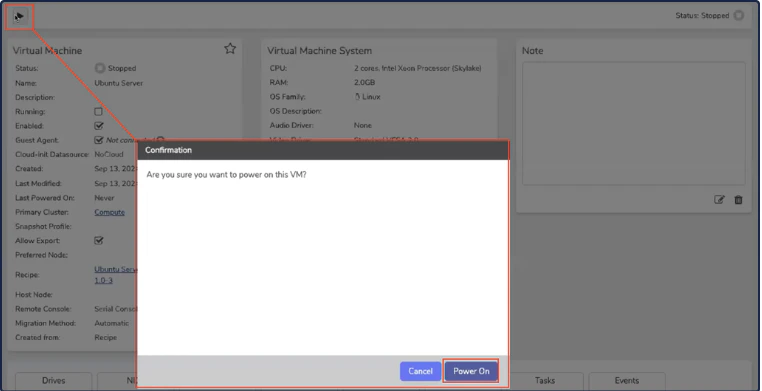
- Click the Power button and the Confirmation box opens. Click Power On.
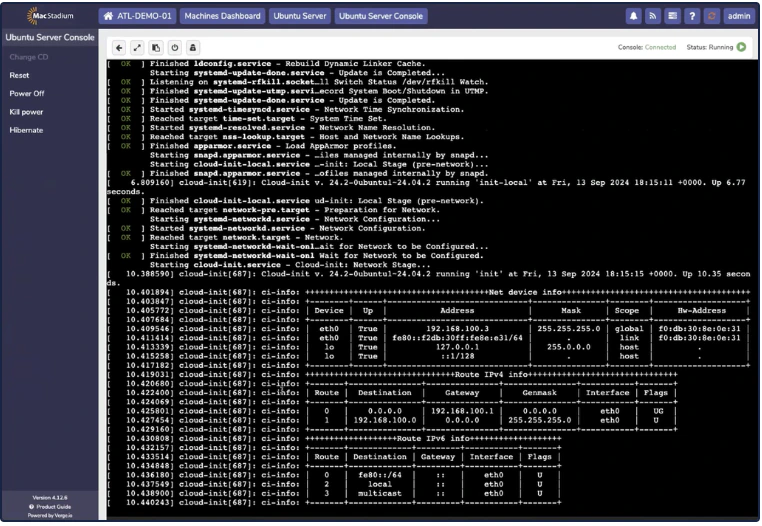
- Open the Console by clicking the Console button.

- When the Console opens, the disk boots and stops at a login prompt. Shortly after, the machine will start to download the latest available software updates.