- Windows requires additional drivers in order to access Private Cloud’s virtualized storage and network hardware. To install a Windows VM manually, select Machines Dashboard → Virtual Machines.
- Click New VM.
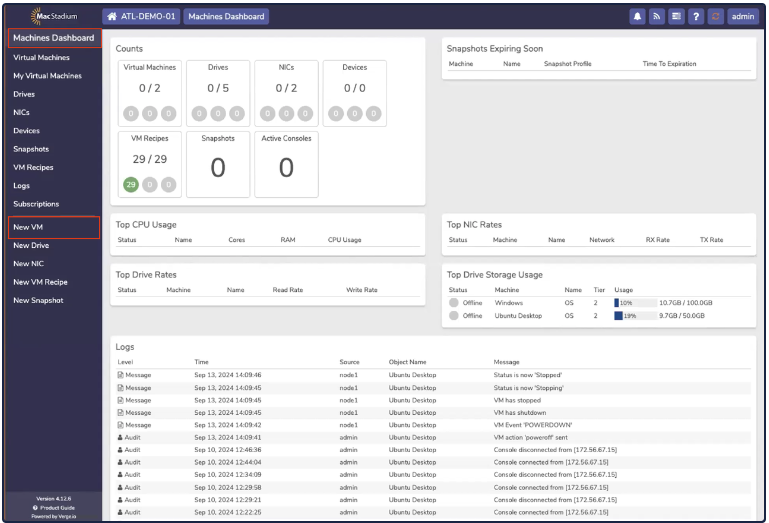
- The Select Type tab opens. The left-hand side of the screen contains a list of options (Operating Systems, Services, and so on.) The right-hand side of the screen contains a list of recipes. Select New VM and click Next.

- The Virtual Machine Setting tab opens.
 Virtual Settings Tab
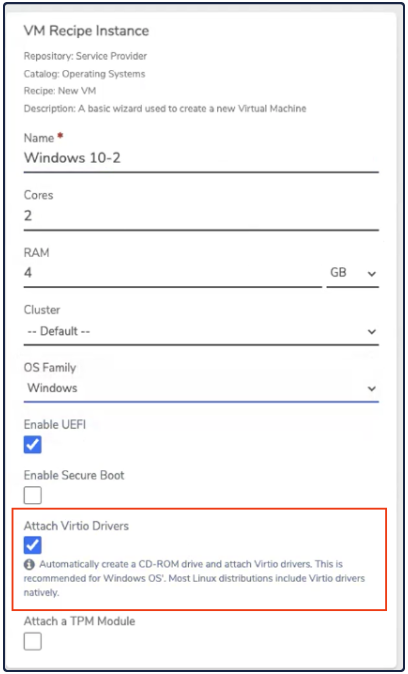
- In the VM Recipe Instance box, complete the following fields:
- Name
- Cores
- RAM
- Cluster (can be left as Default)
- OS Family = Windows
- Attach Virtio Drives = checked
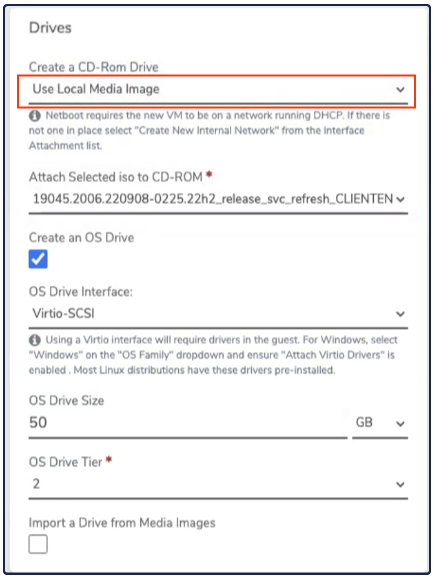
- In the Drives box, make sure the Create CD-ROM Drive is set to Use Local Media Image. Select an uploaded Windows install ISO.
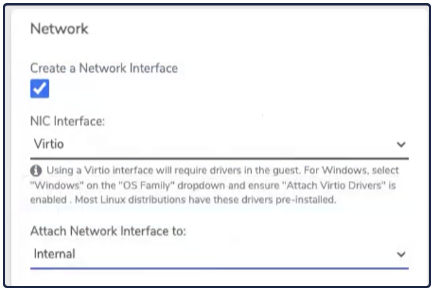
- In the Network box, set the NIC Interface to Virtio, and the Attach Network Interface to Internal.
- Click Submit.
 Virtual Machine Settings
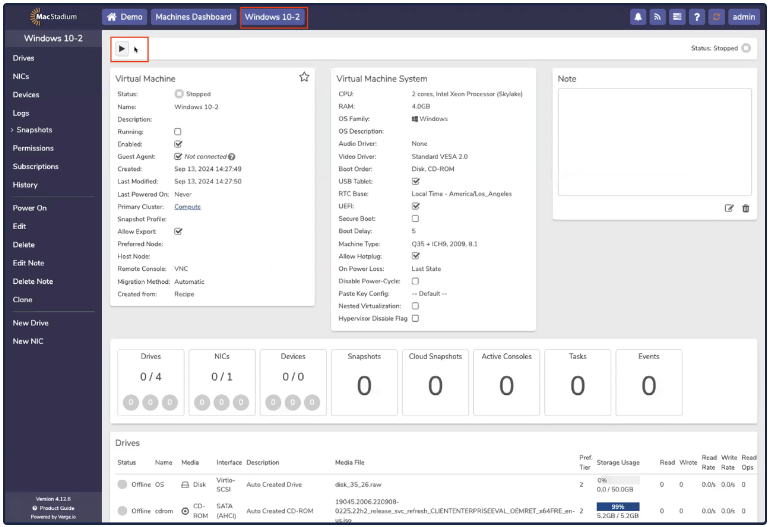
- In the New VM (Windows) page, click Power.
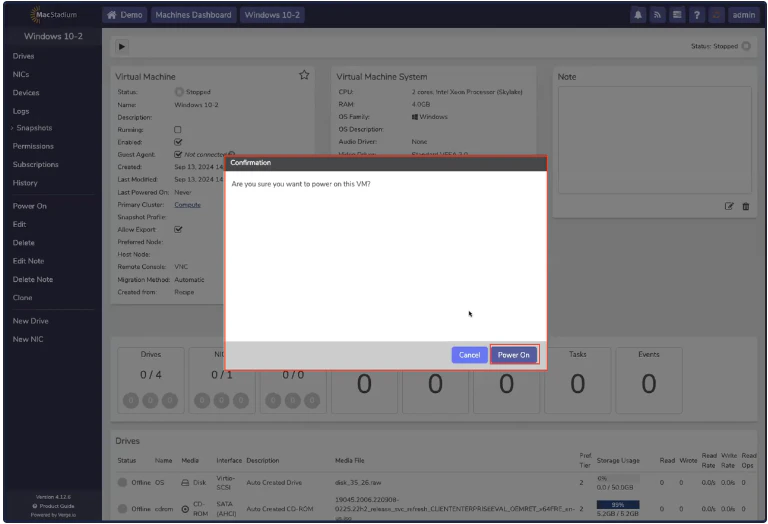
- In the Confirmation box, click Power On.
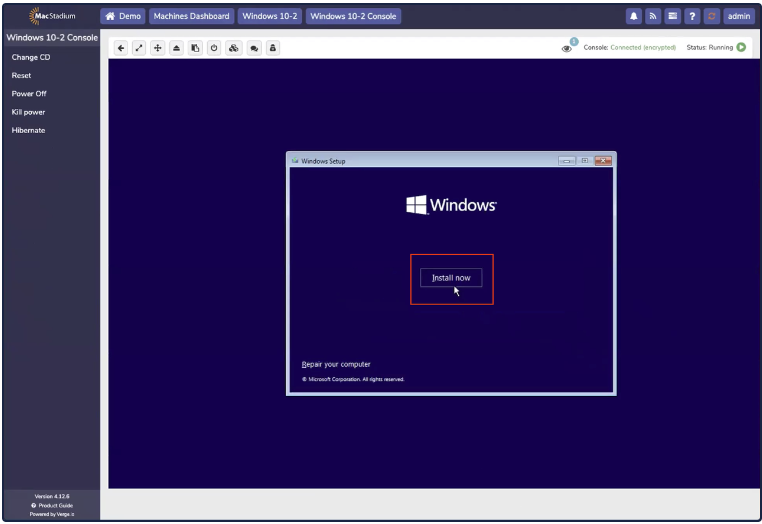
- Open the Console by clicking the Console button.

- When prompted, press any key to begin installation.
- The Windows screen opens, click Next.

- Click Install Now.
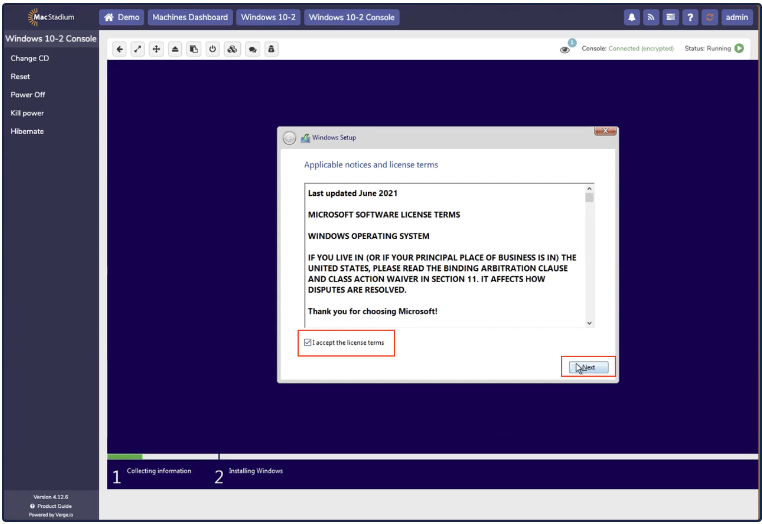
- Accept the license terms and click Next.
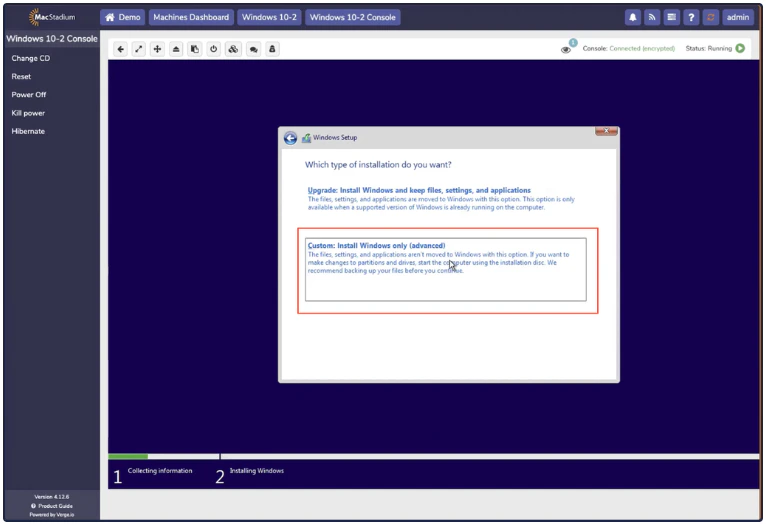
- Select Custom: Install Windows Only (advanced).
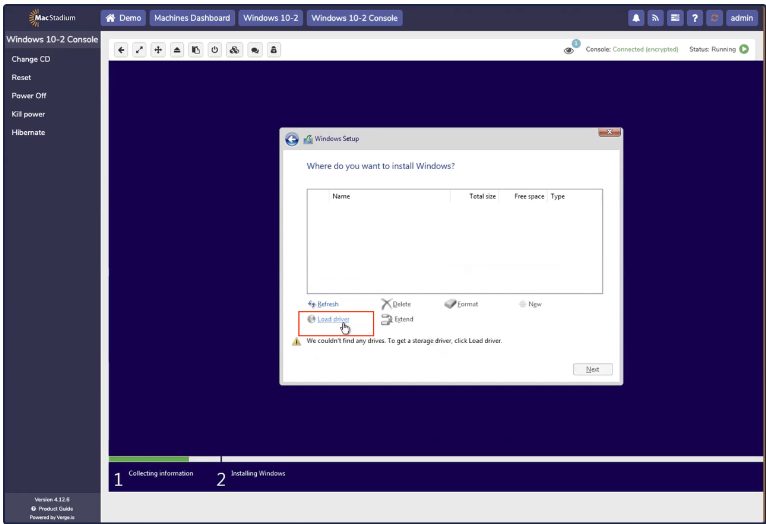
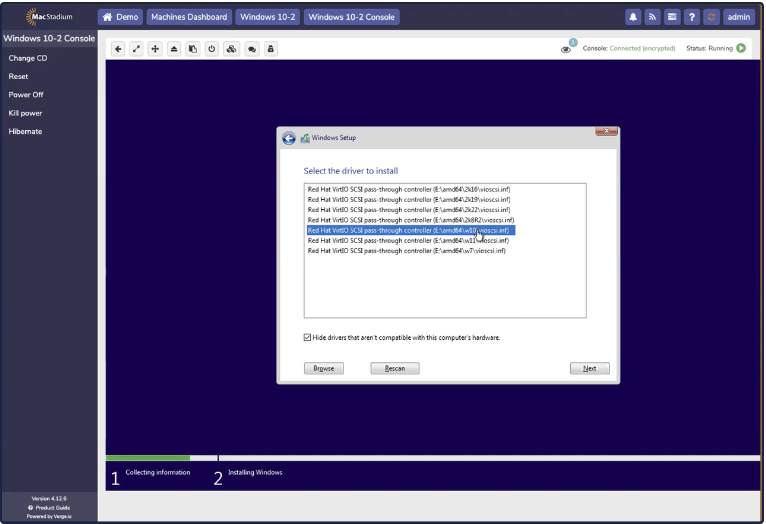
- The installation will fail to find any drives. At this point, the virtio storage drivers need to be loaded to continue the install. Click Load Driver.
- Click OK.
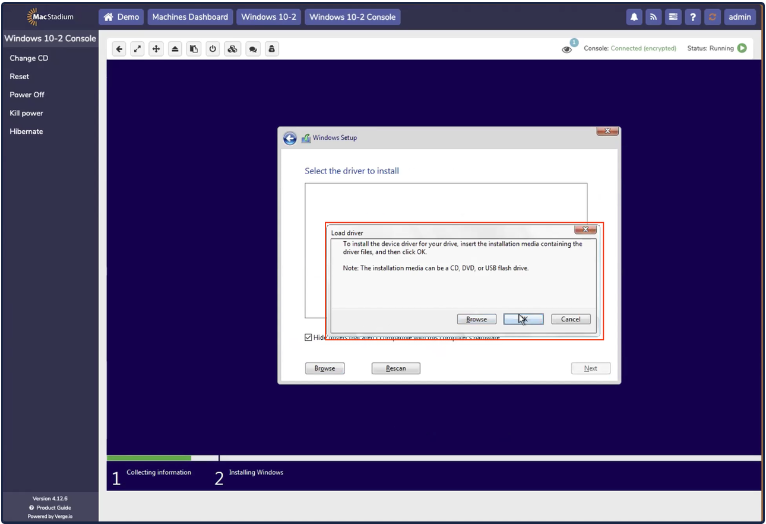
- Select the driver for the corresponding Windows version, according to the folder name. For example, the Windows 10 driver is located in E:\amd64\w10\.
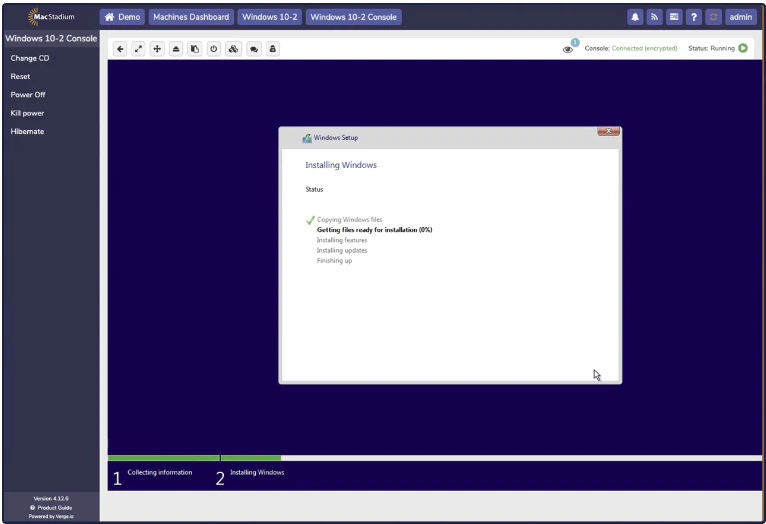
- Windows begins to install. Allow the installation to finish. Network connectivity does not work during the install, this is expected, as Windows does not come with Virtio network drivers.
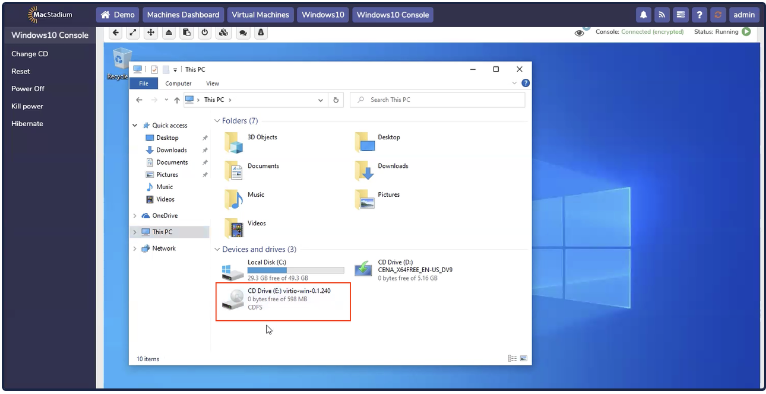
- Once installed, additional drivers need to be installed to allow network connectivity. To do this, open Explorer, and navigate to This PC. A CD drive with Virtio drivers should be accessible.
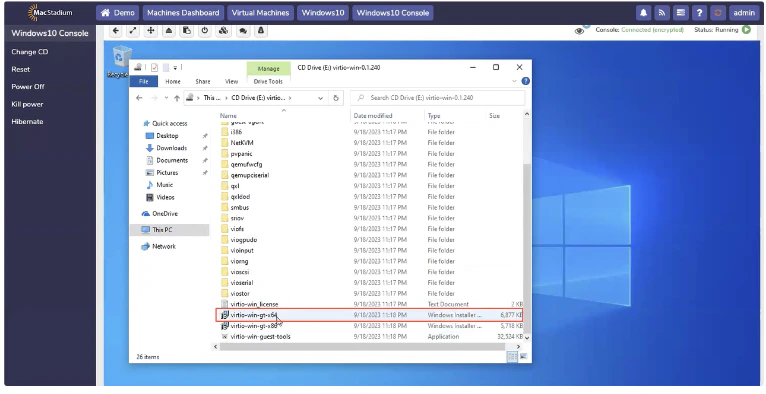
- Double click on virtio-win-gt-x64.
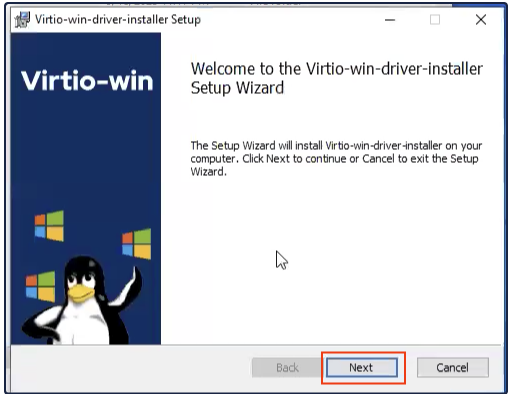
- When the Setup Wizard opens, click Next.
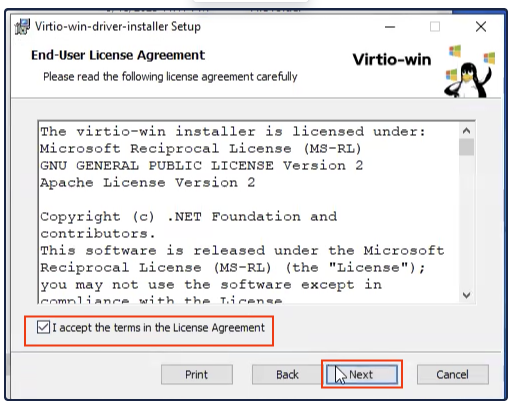
- Accept the terms and click Next.
 Select All
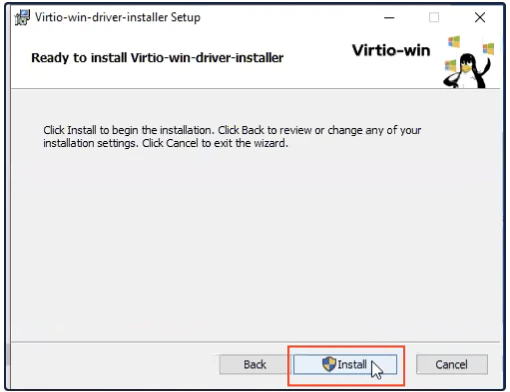
- Click Install to begin the installation.
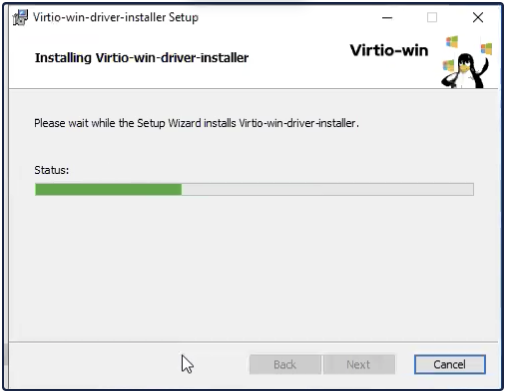
- The progress bar appears.
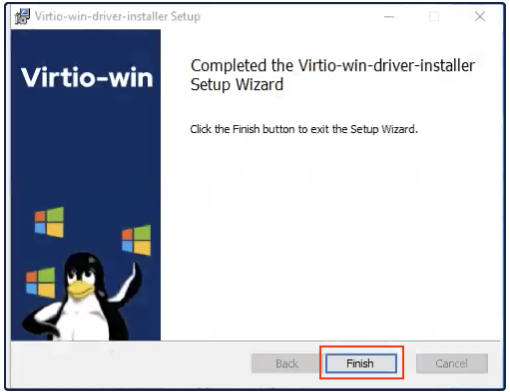
- Click Finish to complete the Setup Wizard.
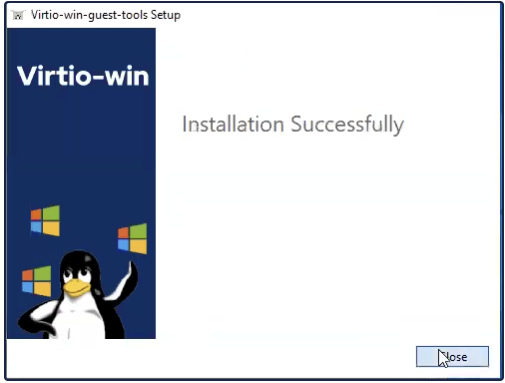
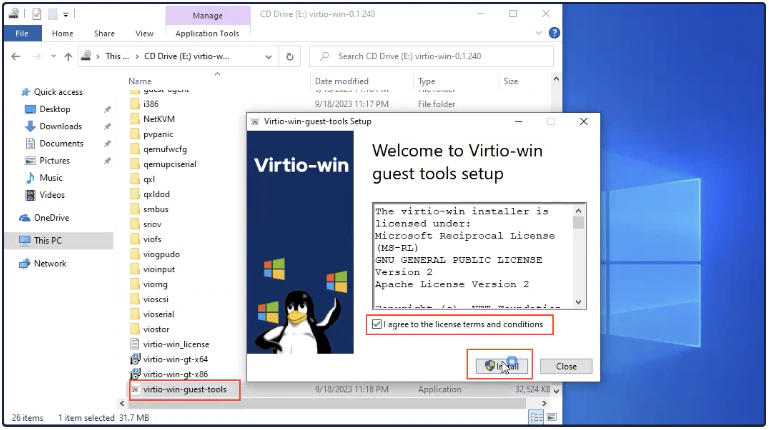
- Install Guest tools by clicking on the file virtio-win-guest-tools. Then accept the license terms and click Install.
- The progress bar appears.

- Click Close to complete the installation. Windows is now ready for use.