Before you begin: You need the IP address for
FW1-Outside and the CIDR range for Private-1 (most likely 10.221.188.0/24) from your IP Plan.Step 1: Log in to your VPC service
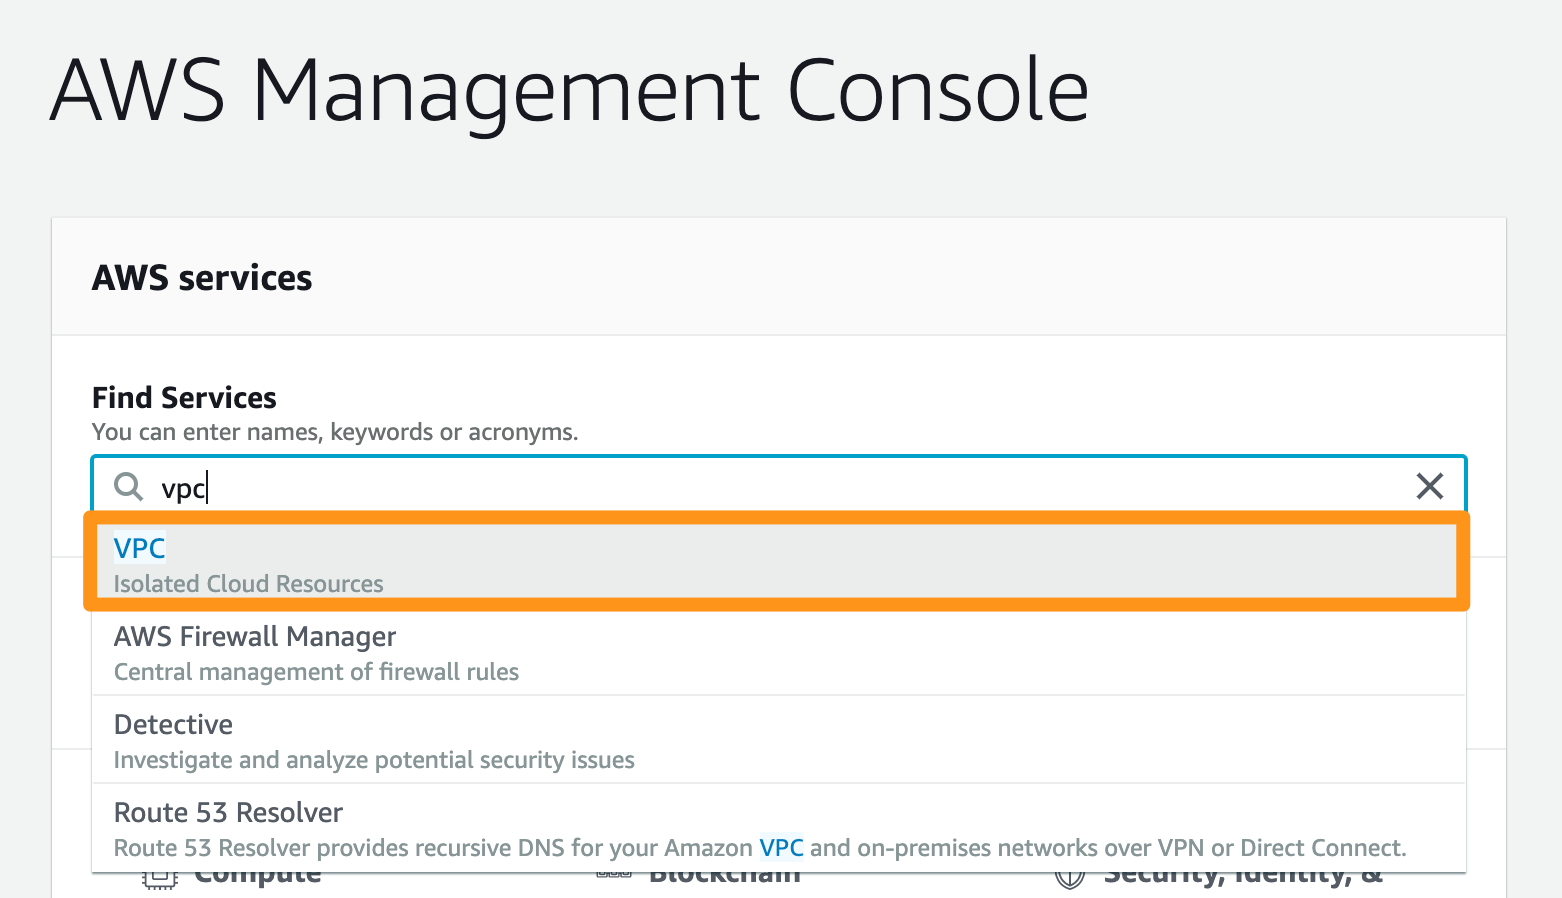
- Log in to your AWS Management Console and access your VPC service. In the top right corner of the screen, make sure that you’re working in the correct region.
- In the Find Services bar, type
VPCand navigate to the service.
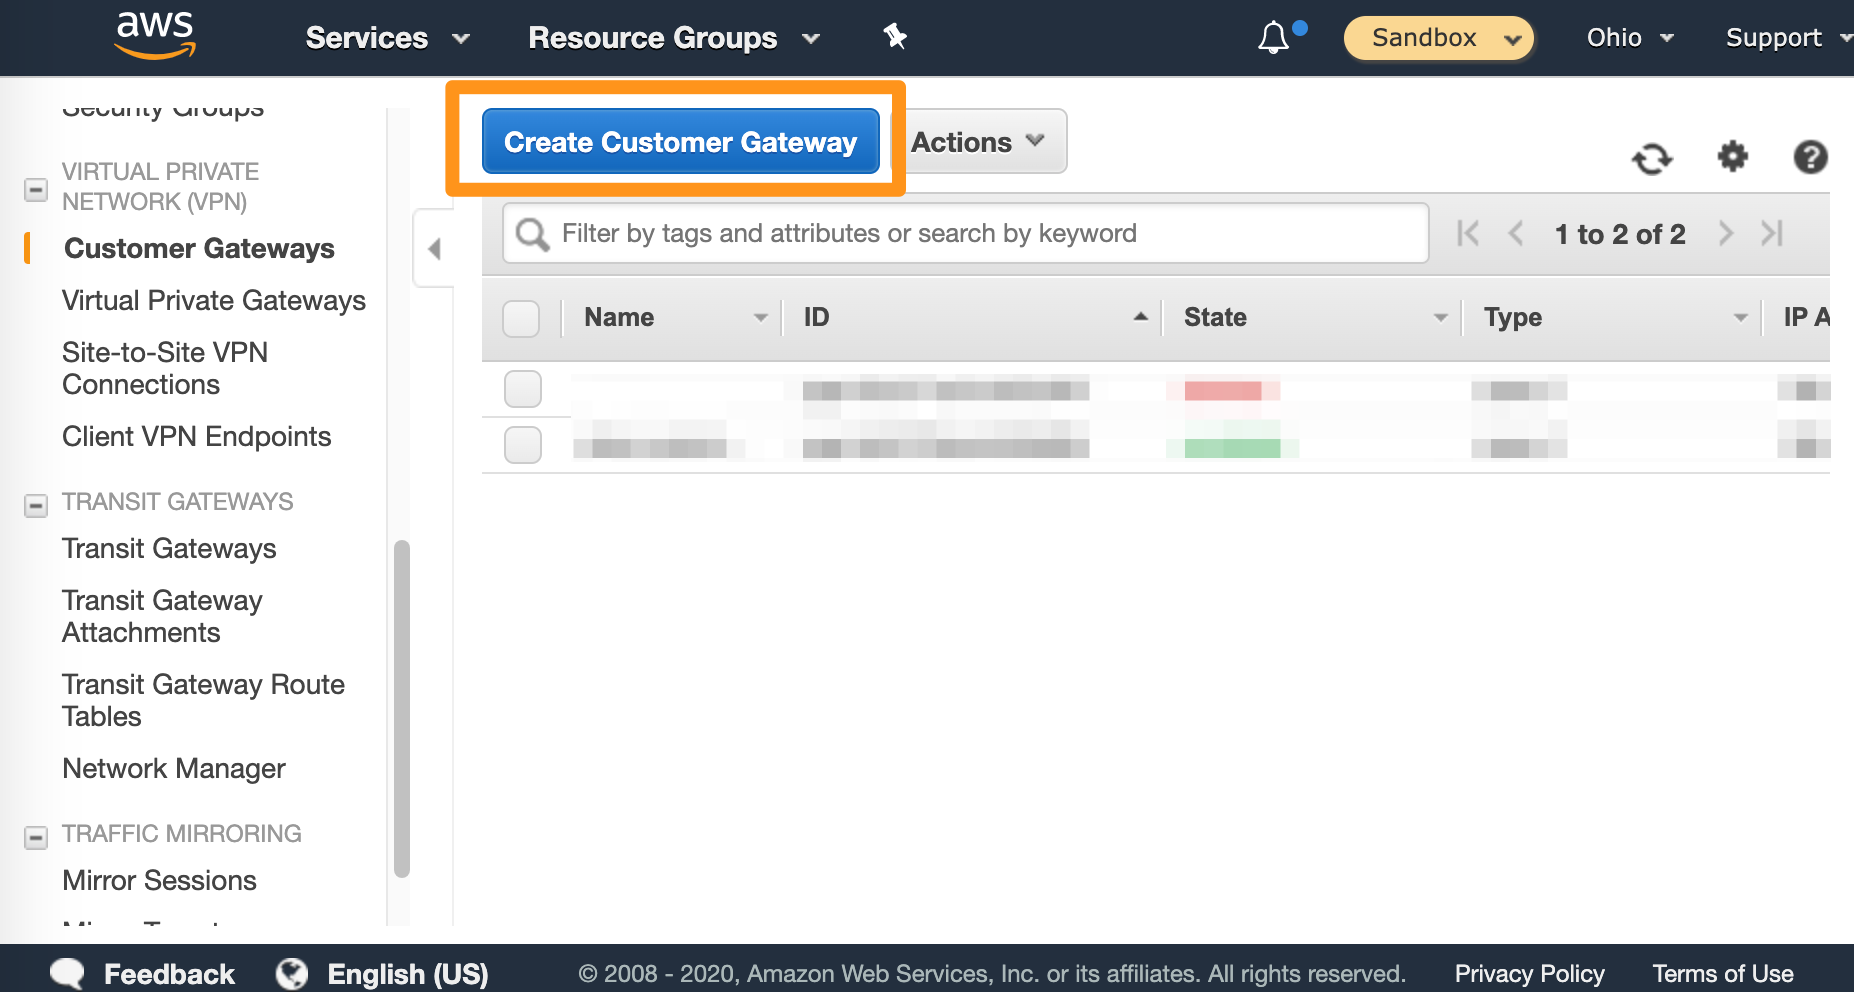
Step 2: Create a customer gateway
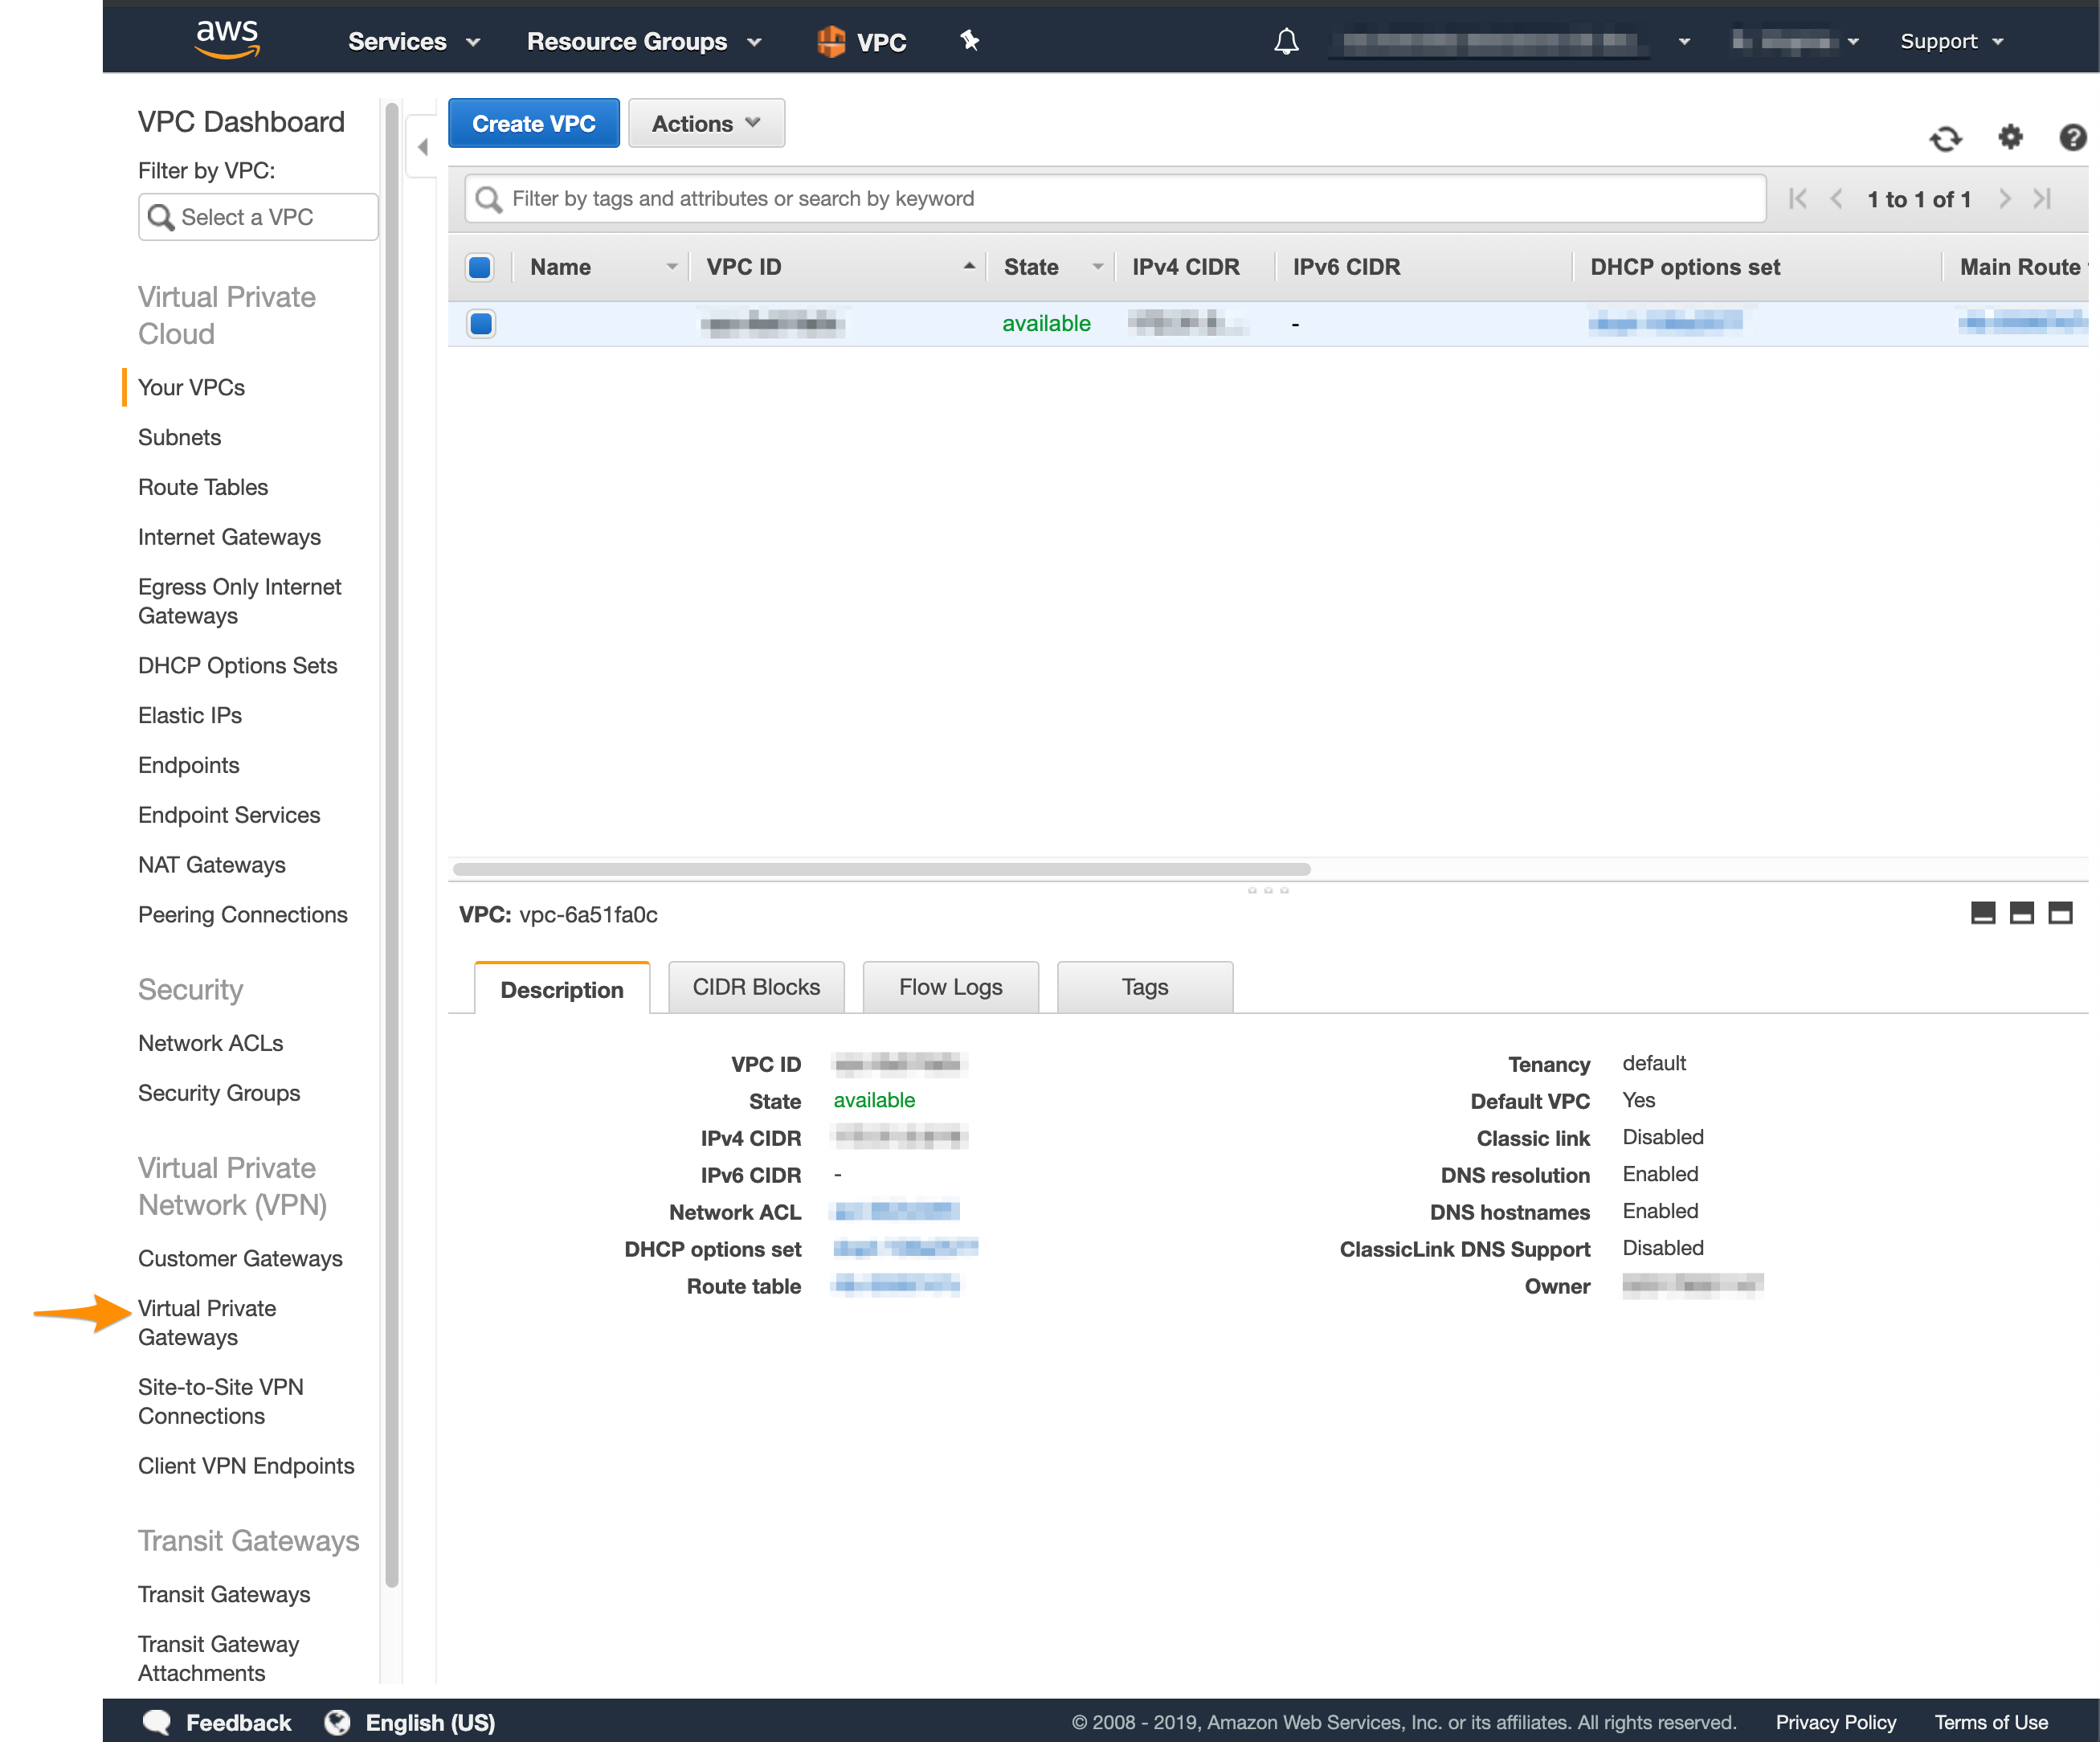
In Amazon, the customer gateway represents the Orka end of the tunnel.- In the VPC service sidebar, locate the Virtual Private Network menu and select Customer Gateways.

- Click Create Customer Gateway.
- Fill in the form.
- Provide a Name. Set a name that helps you identify the gateway easily.
- Select Static routing.
- In the IP Address text box, provide the IP address for the
FW1-Outsidenetwork from your IP Plan. - Ignore the remaining settings.
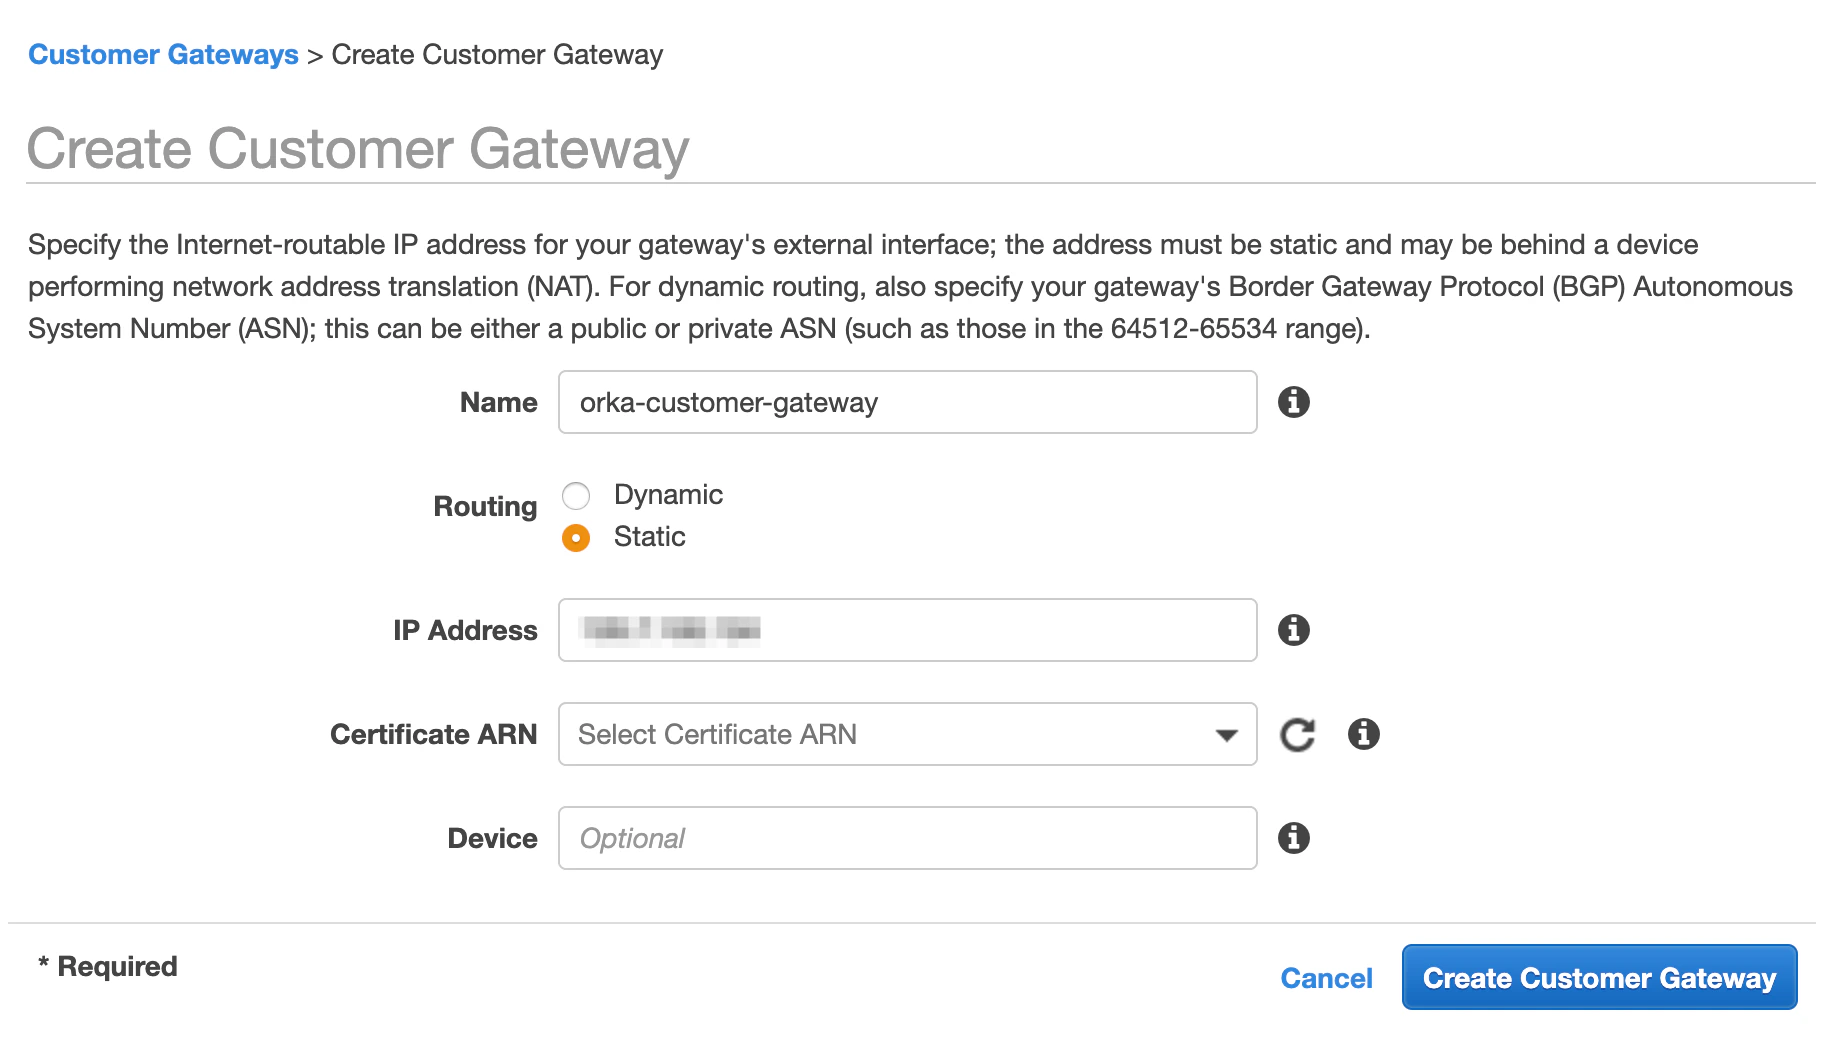
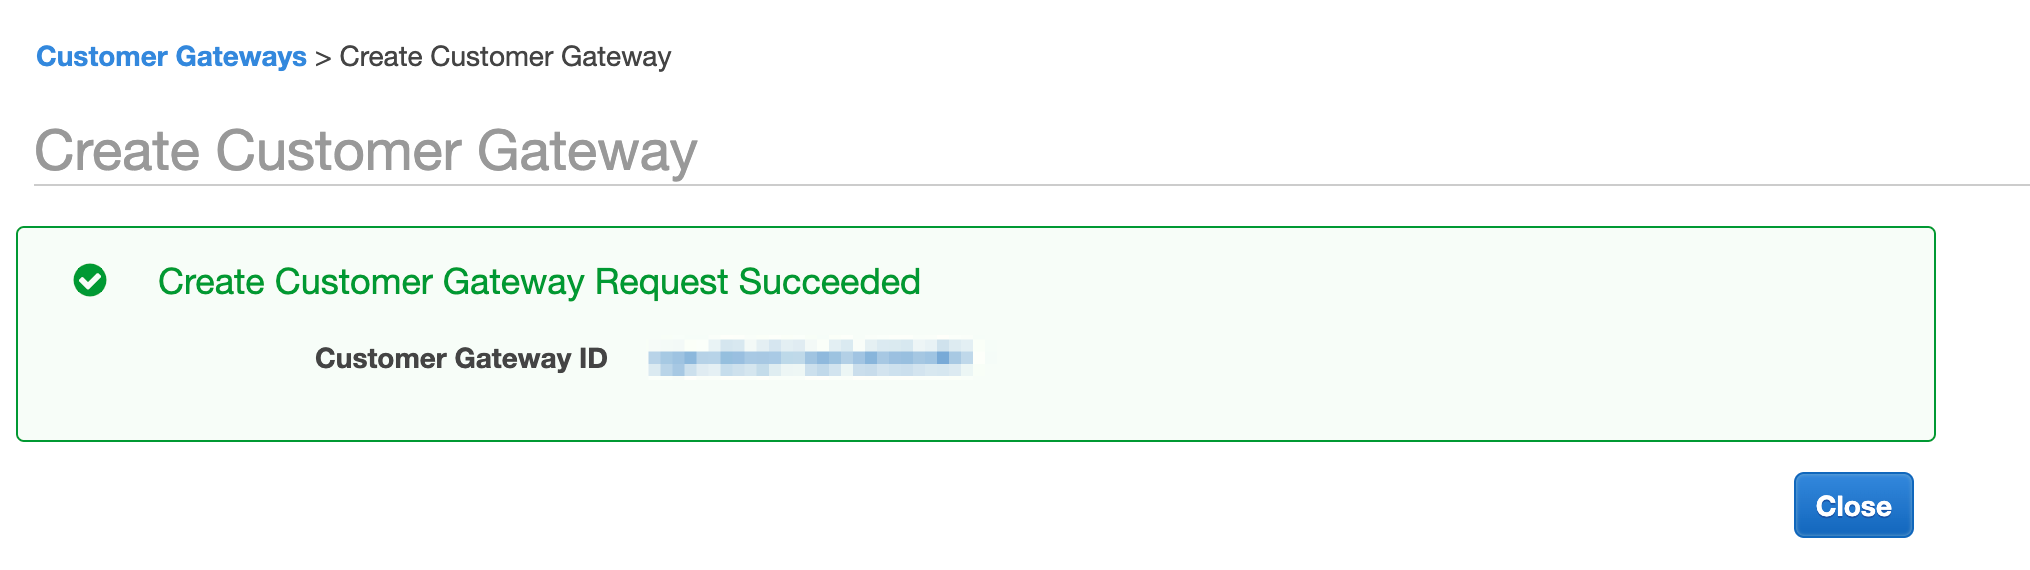
- Click Create Customer Gateway.
Step 3: Set up a virtual private gateway
In Amazon, the virtual private gateway represents the Amazon end of the tunnel.- In the VPC service sidebar, locate the Virtual Private Network menu and select Virtual Private Gateways.
- Click Create Virtual Private Gateway.

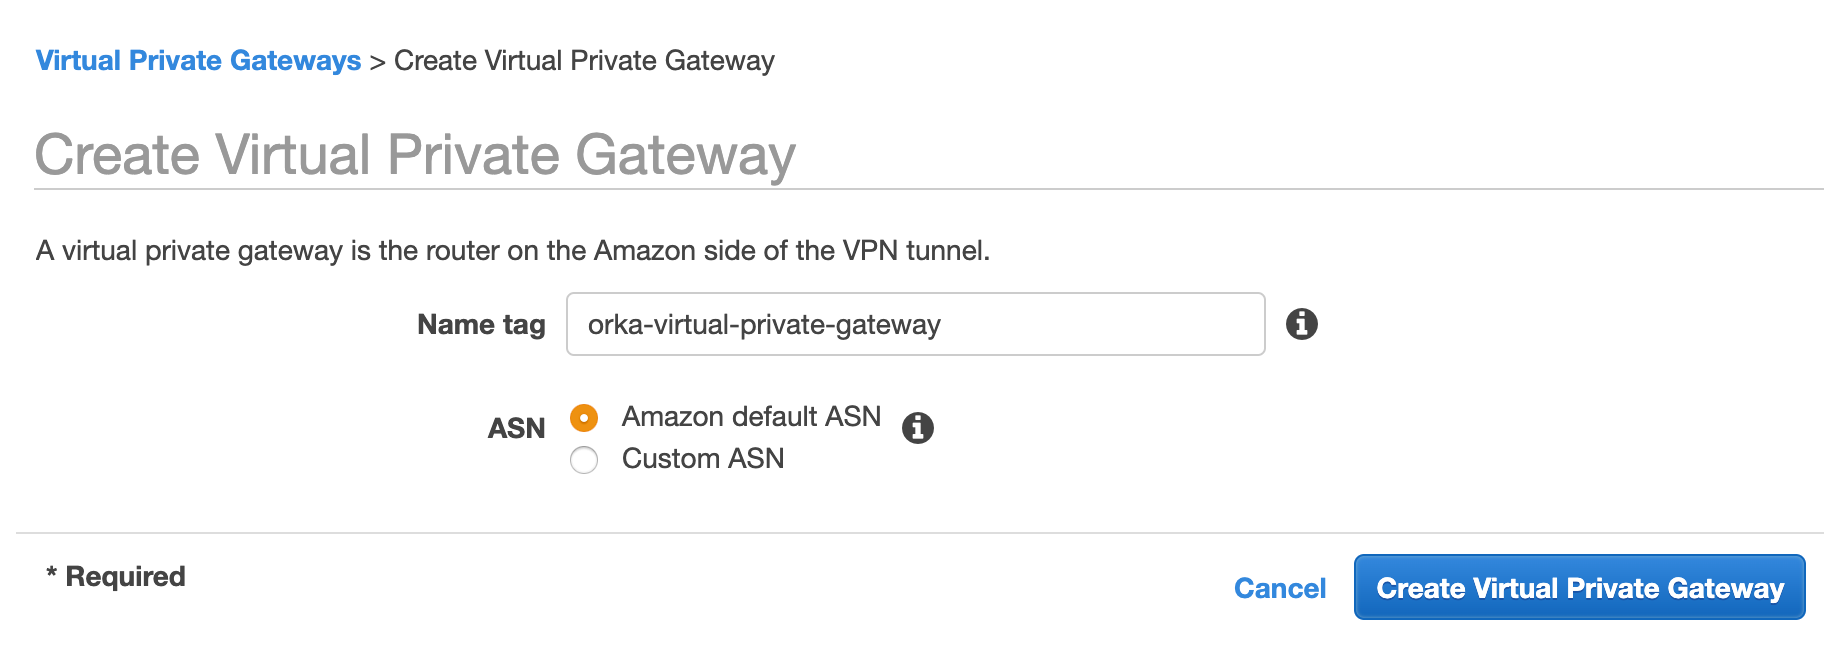
- Fill in the form.
- Provide a Name tag. Set a name that helps you identify the gateway easily.
- Select Amazon default ASN
- Click Create Virtual Private Gateway.
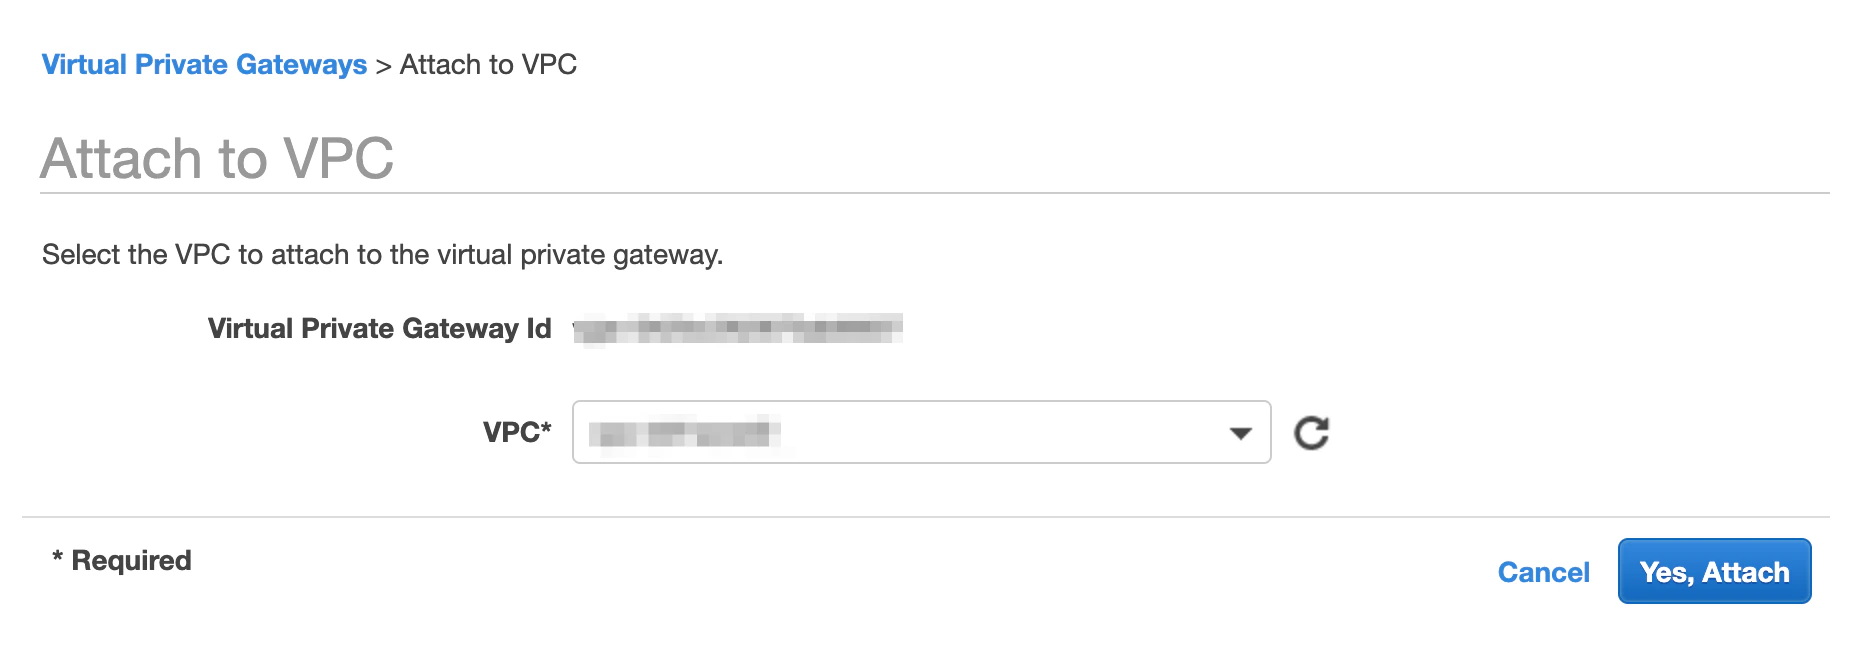
- On the Virtual Private Gateways dashboard, right-click the newly created virtual private gateway and select Attach to VPC.
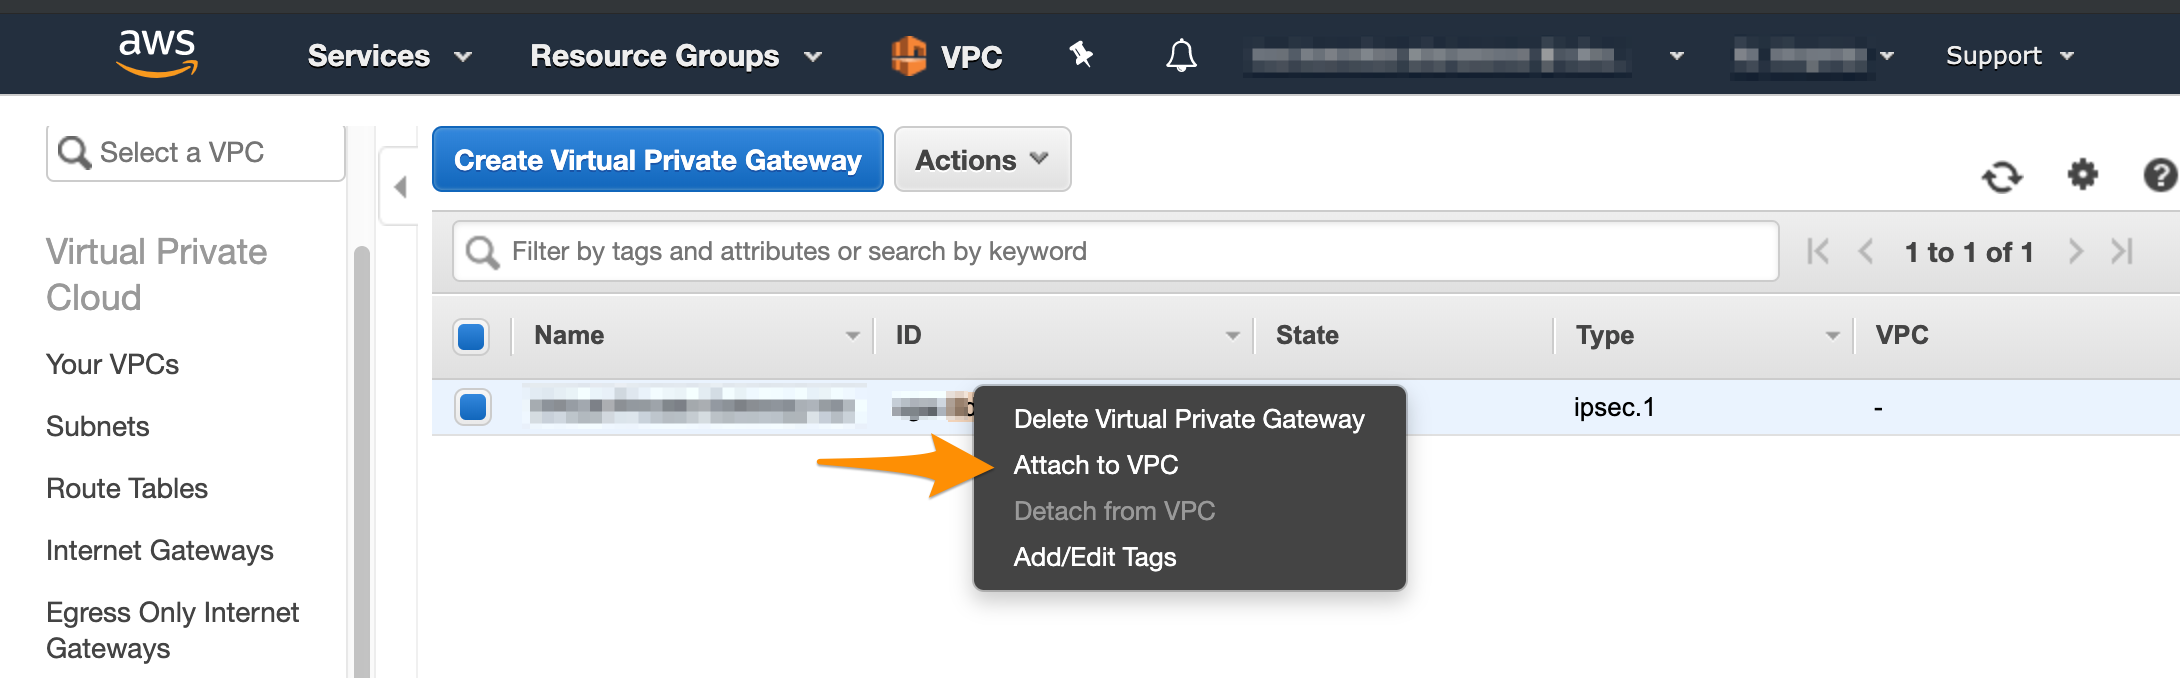
- Select your VPC from the drop-down menu and click Yes, Attach.
- In the VPC service sidebar, locate the Virtual Private Cloud menu and select Route Tables.
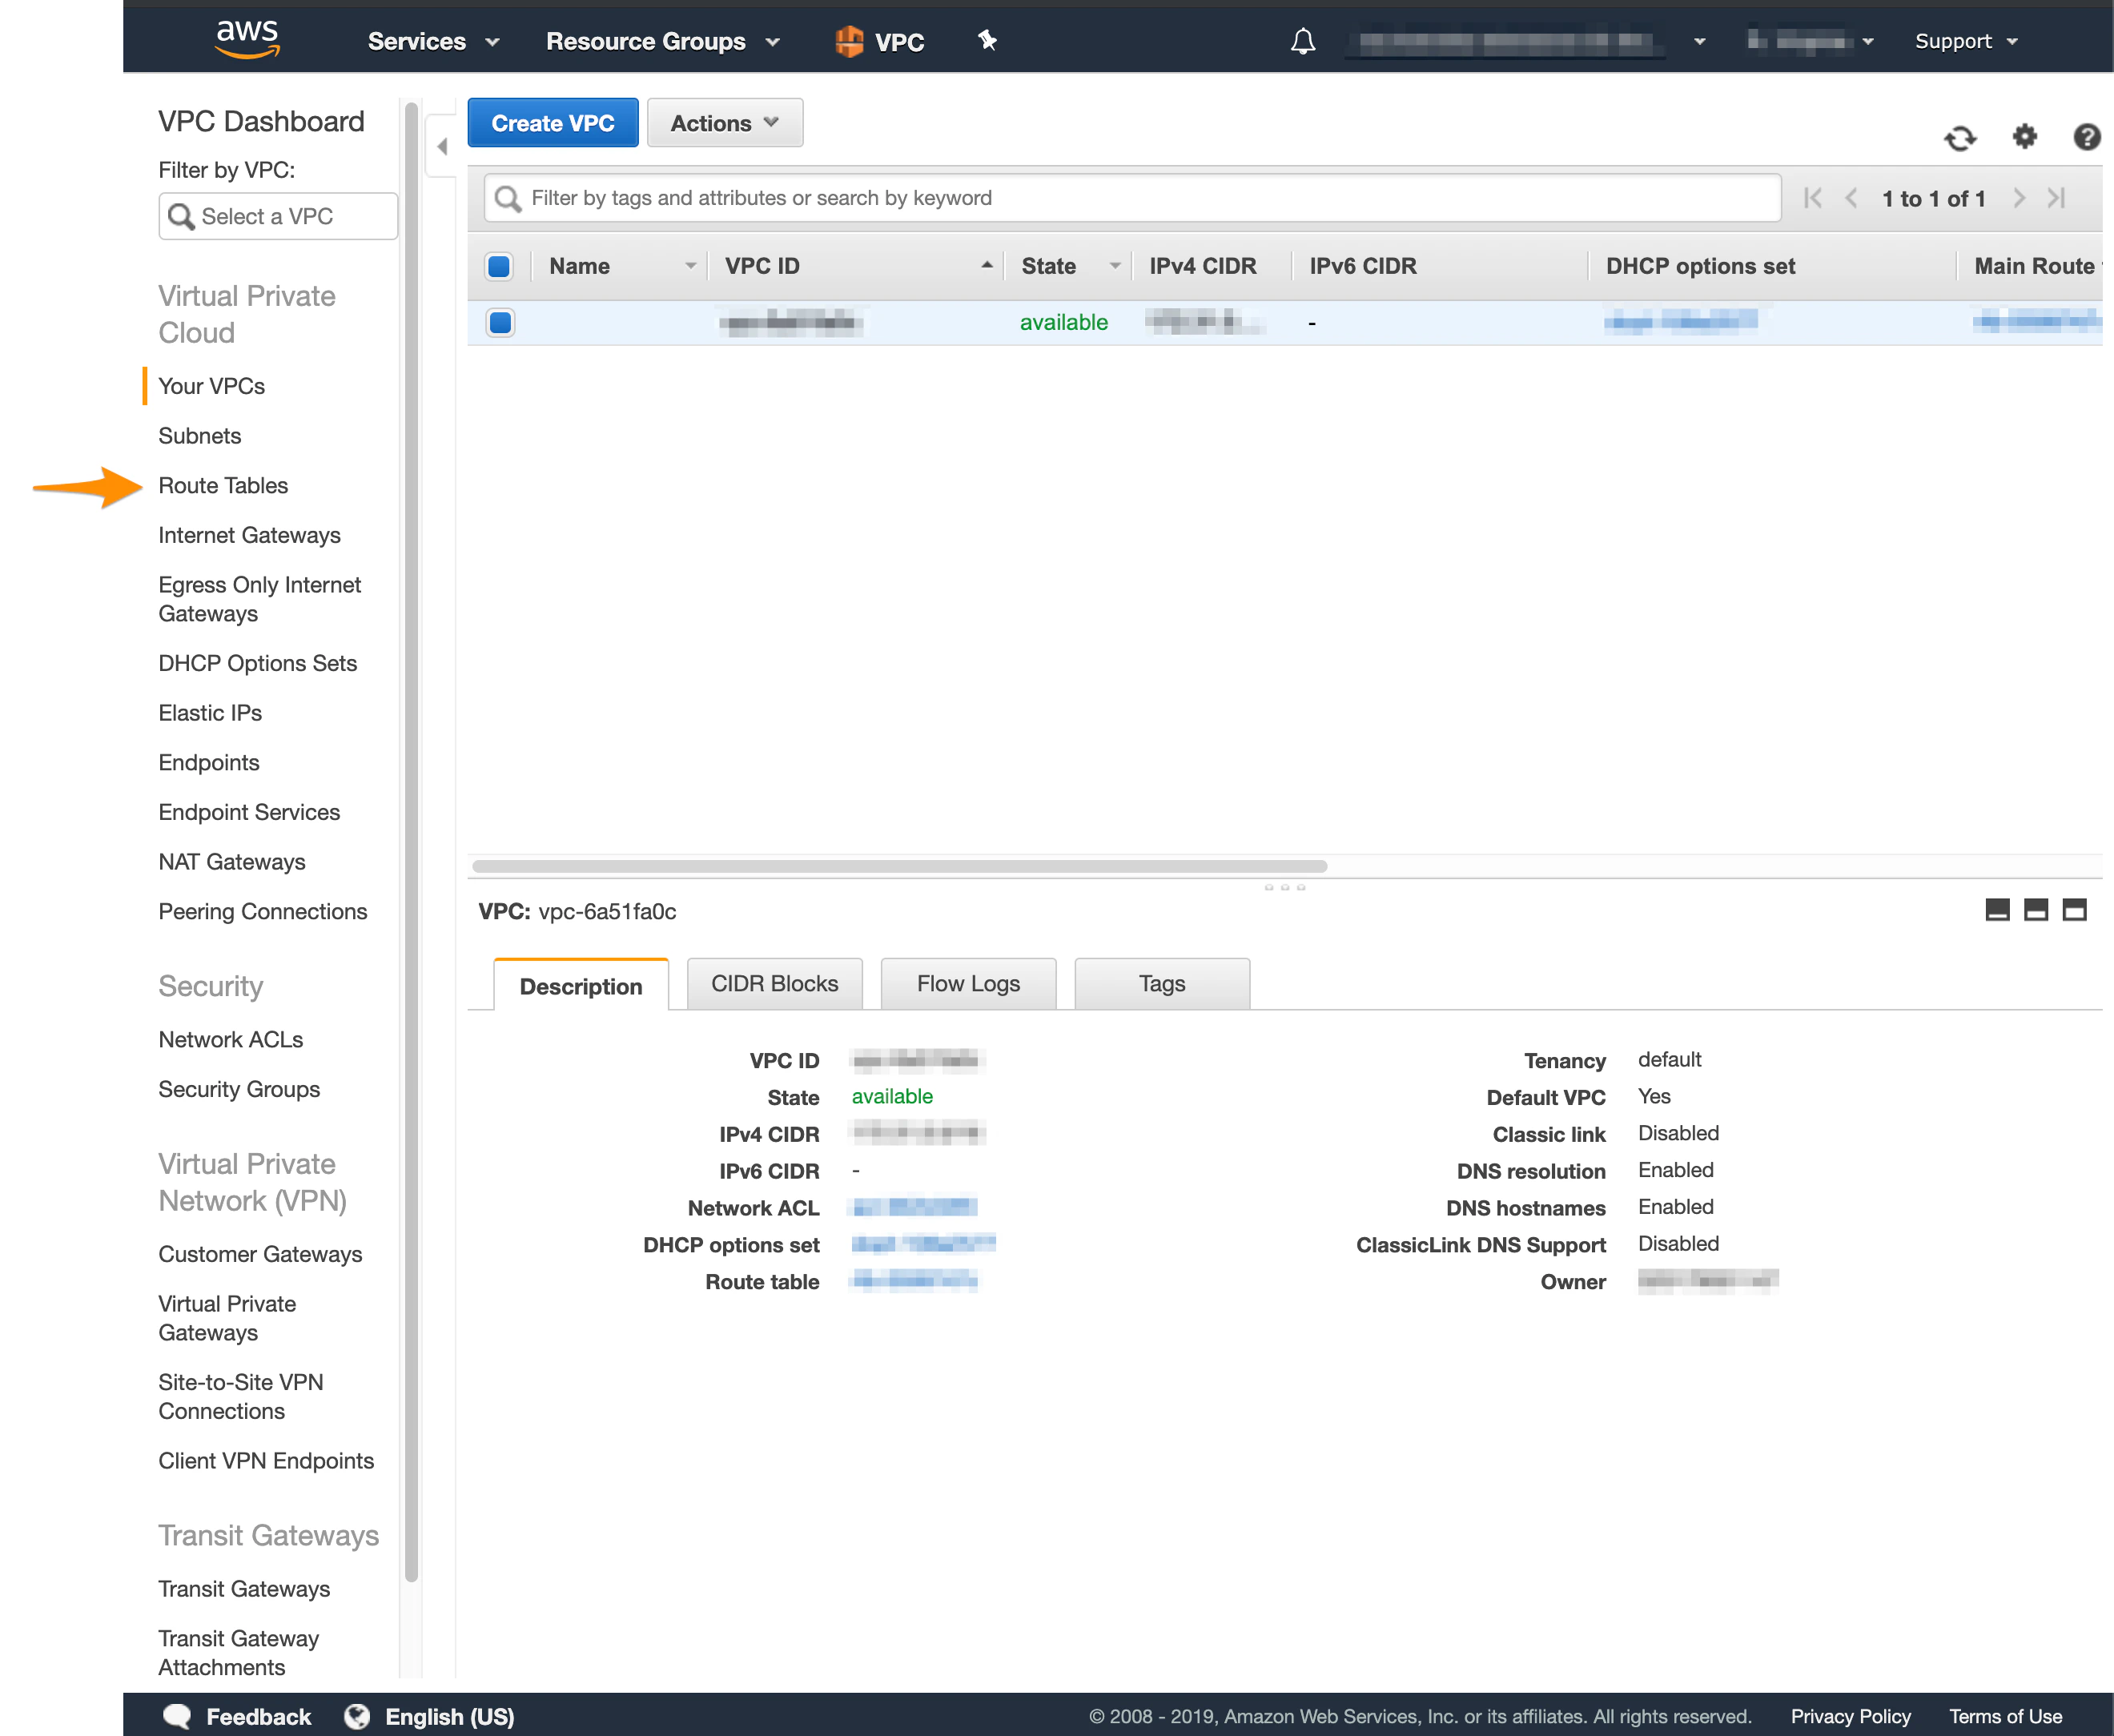
- In the list of routing tables, select the main route table for your VPC.
- At the bottom of the screen, select Route Propagation. If your virtual private gateway is not listed, make sure that it’s attached to the VPC.
- Click Edit route propagation.
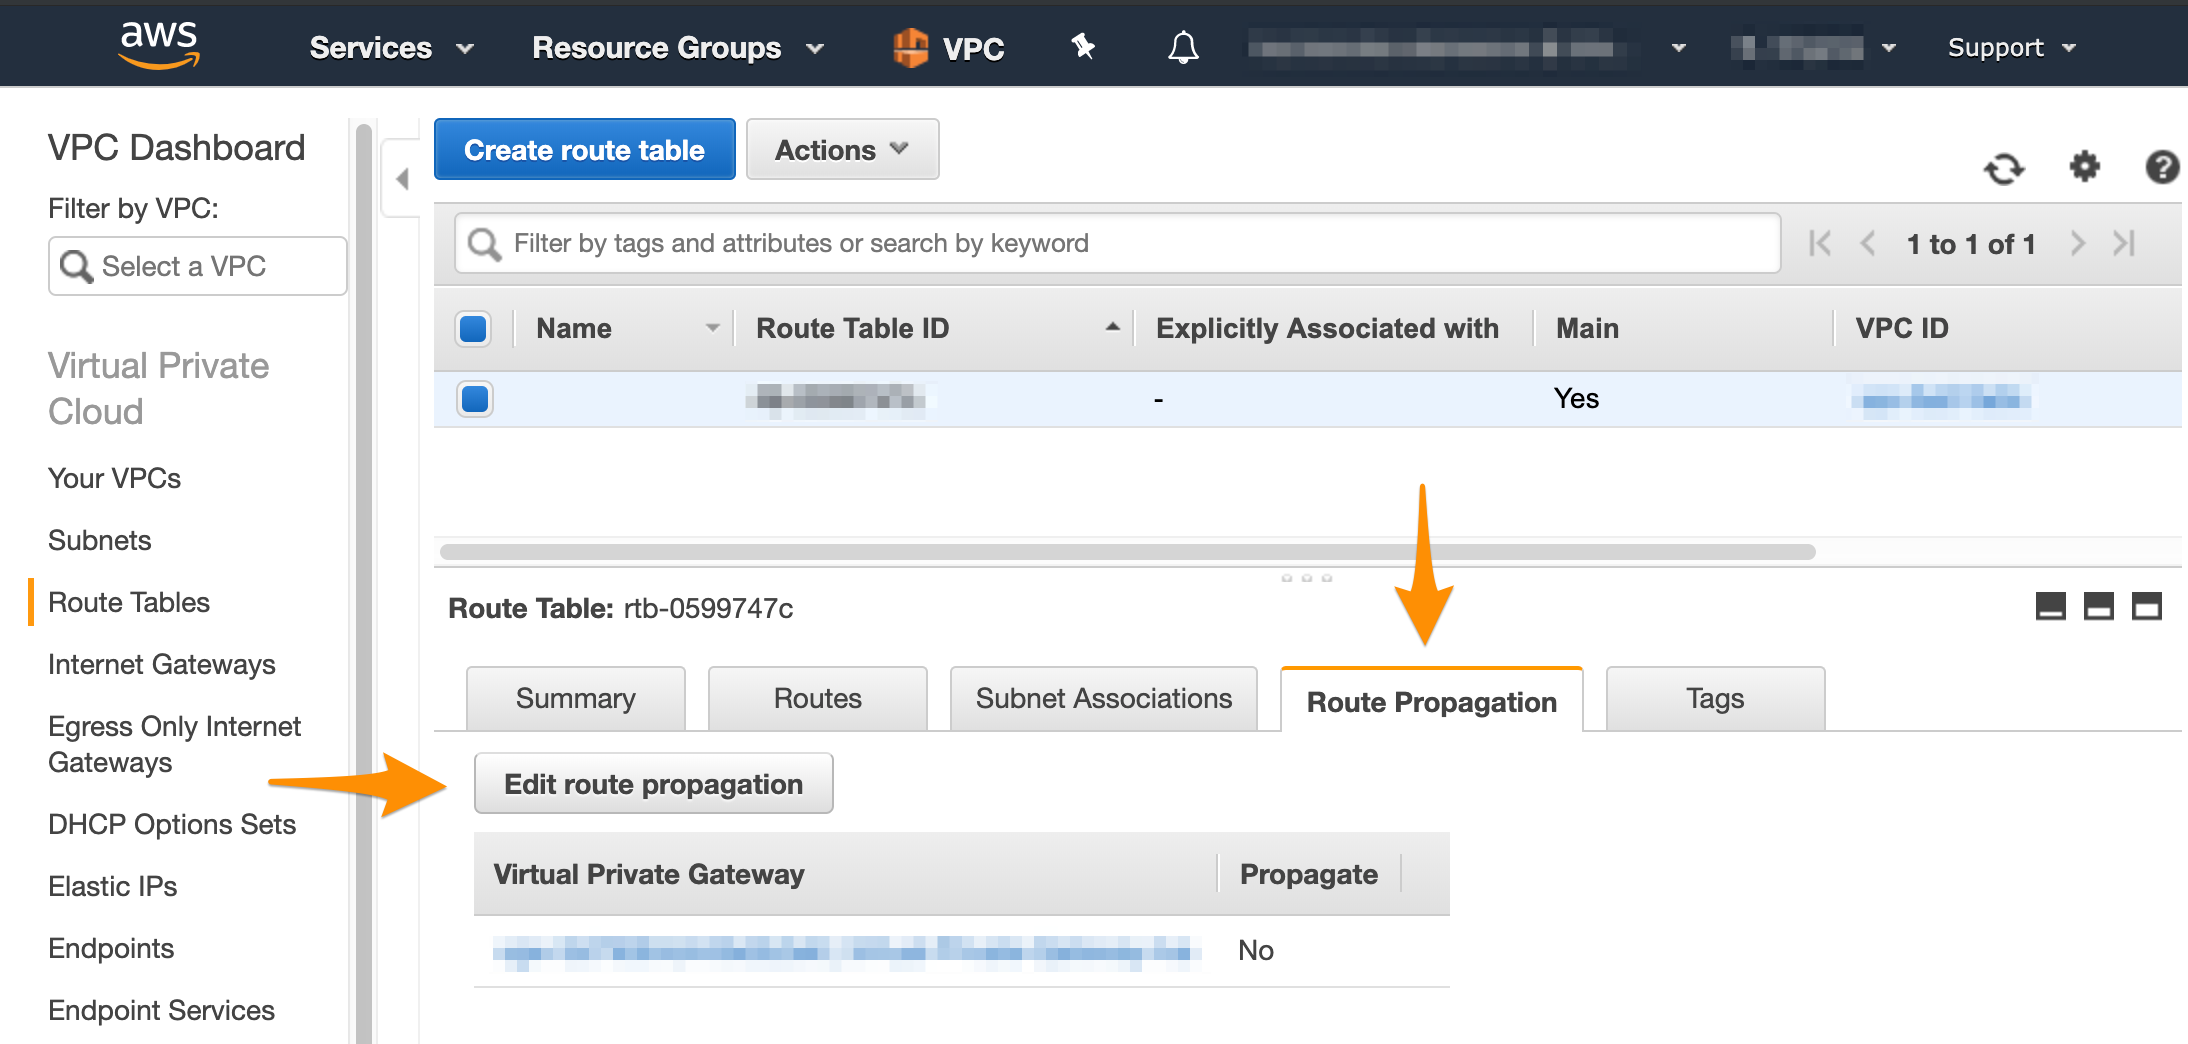
- Select the Propagate checkbox and click Save.
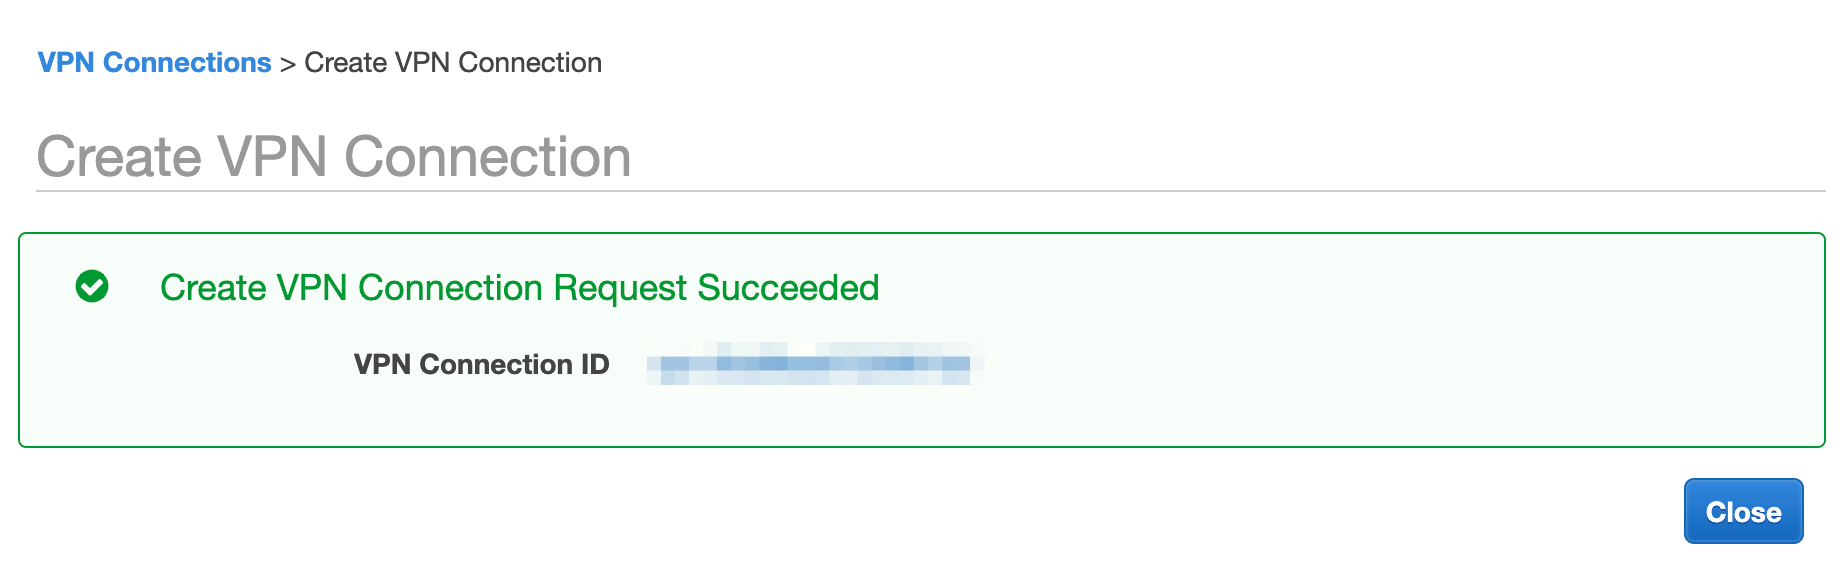
Step 4: Create the tunnel
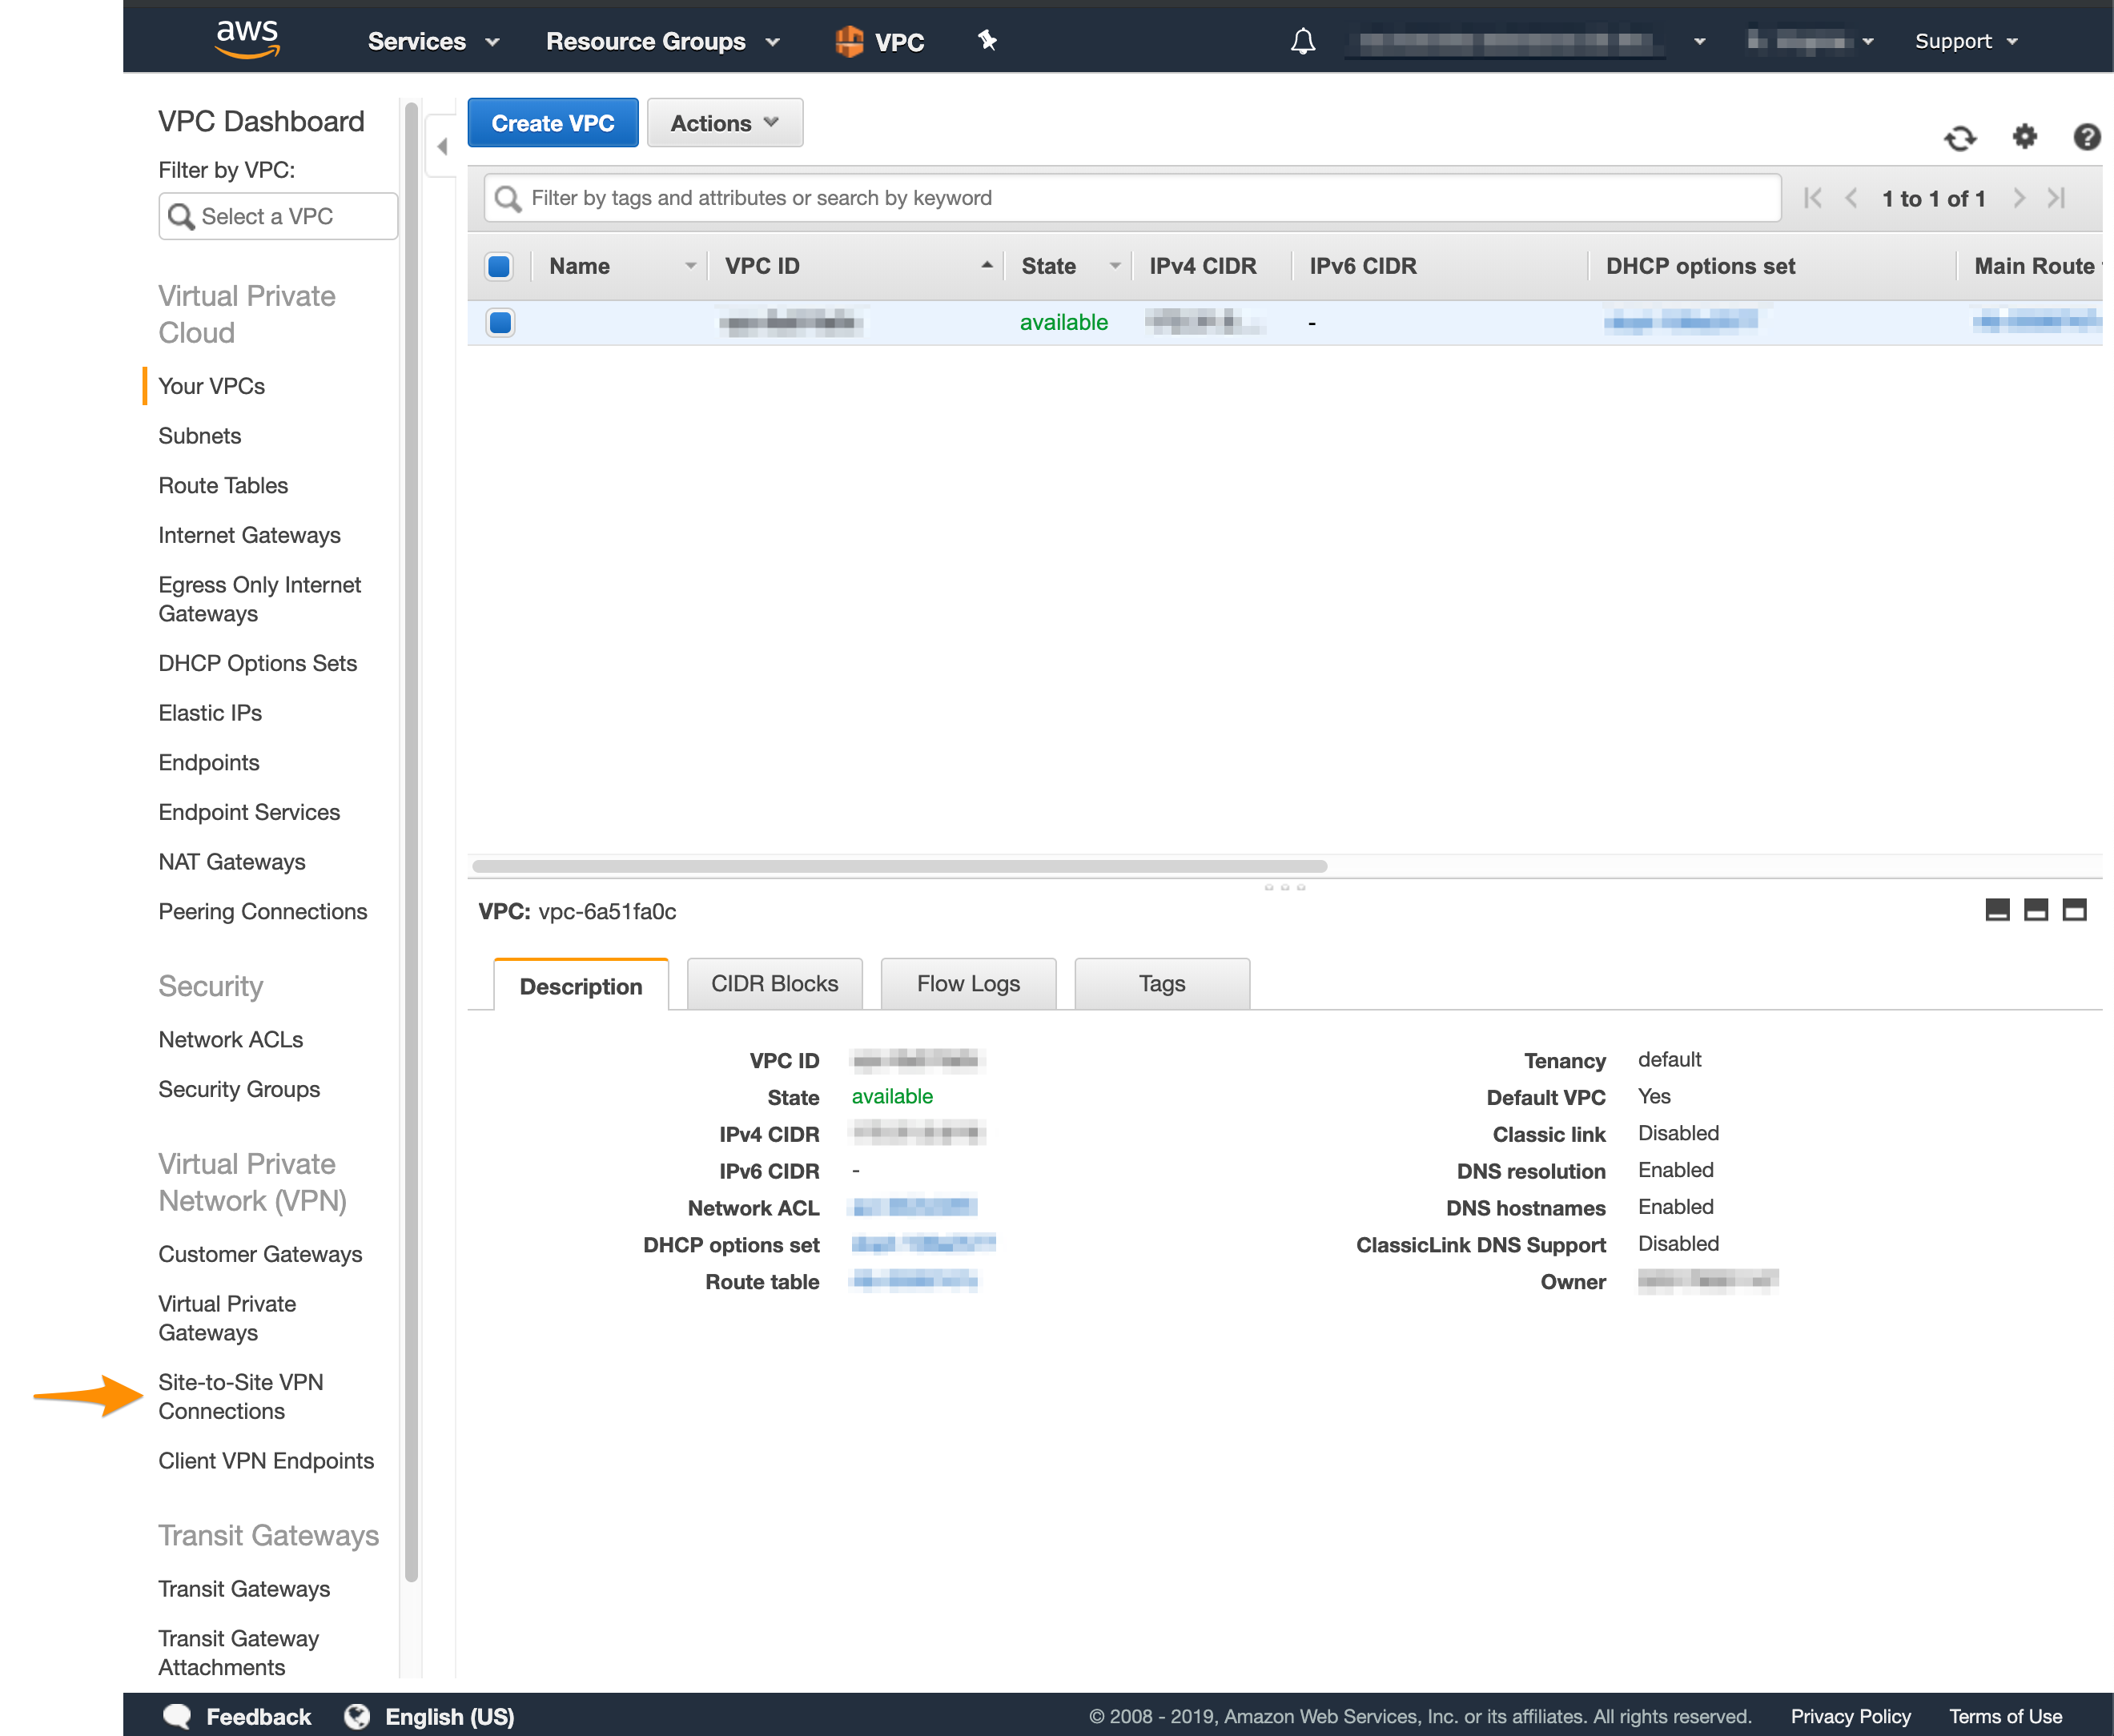
After you have a customer gateway and a virtual private gateway in place, you can configure the tunnel.- In the VPC service sidebar, locate the Virtual Private Network menu and select Site-to-Site VPN Connections.
- Click Create VPN Connection.

- Fill in the form.
- Provide Name tag.
- For Target Gateway Type, select Virtual Private Gateway, and from the Virtual Private Gateway drop-down menu, select the virtual private gateway you created earlier.
- Select that you want to use an Existing customer gateway, and from the Customer Gateway ID drop-down menu, select the customer gateway that you created earlier.
- For Routing Options, select Static.
- In Static IP Prefixes, provide the CIDR notation for your
Private-1network. Most likely:10.221.188.0/24. - Ignore the remaining options (not shown on the screenshot).
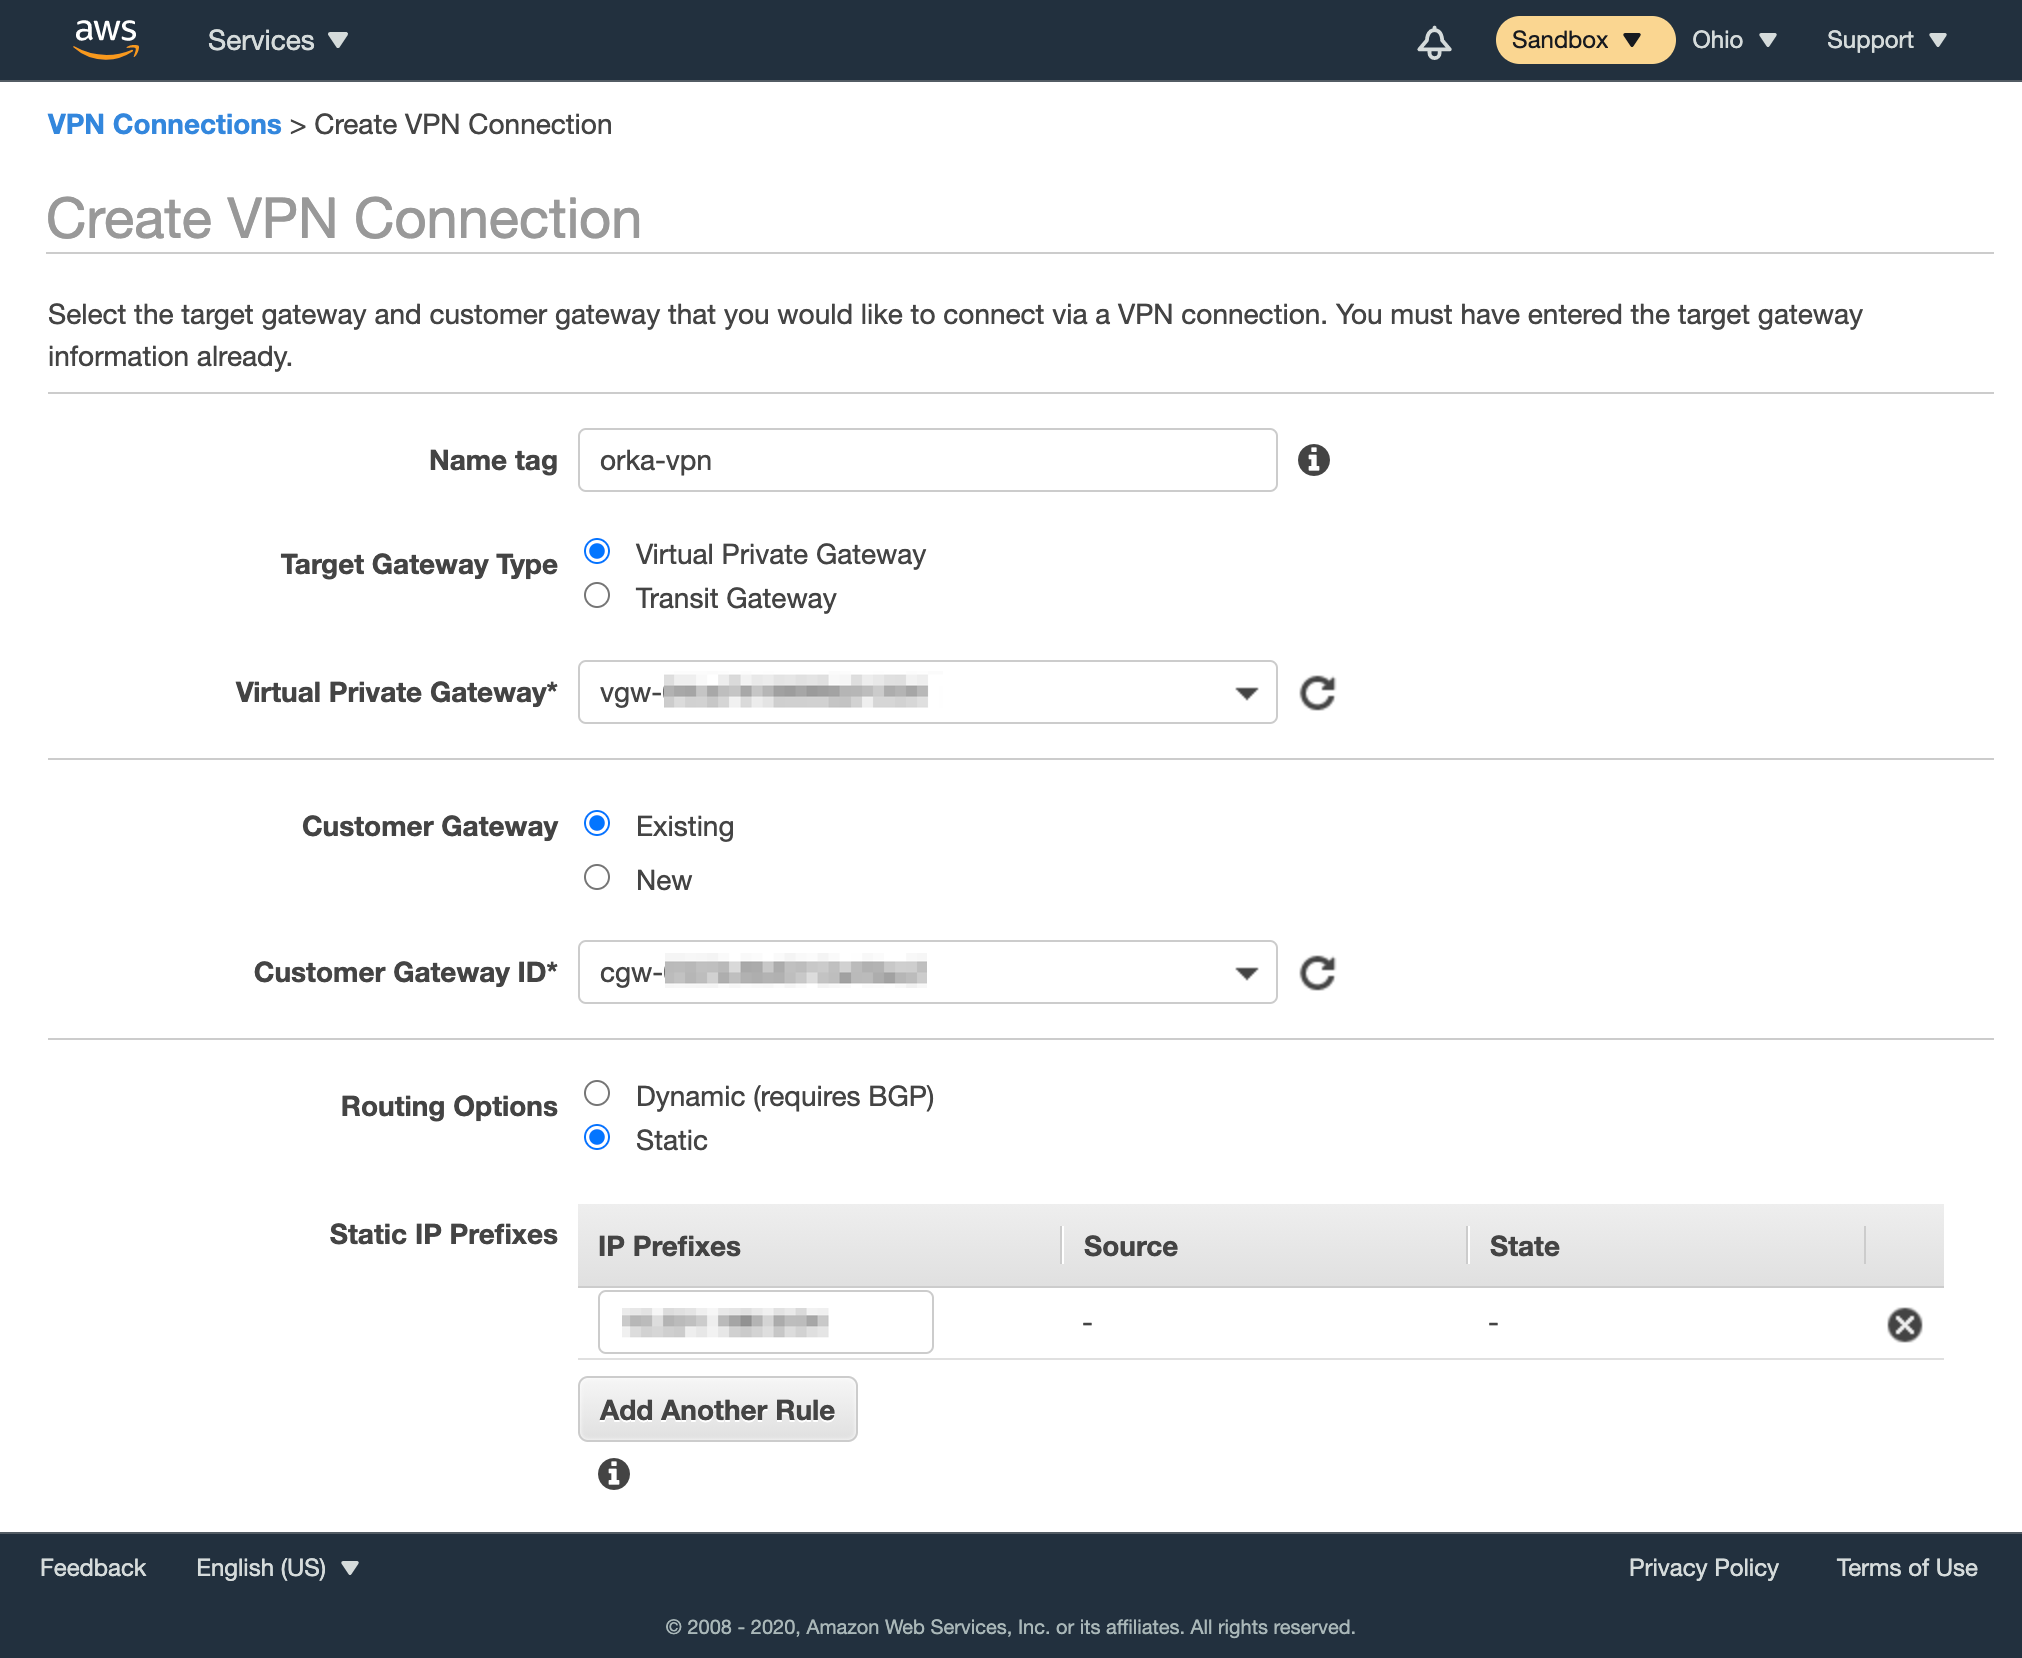
- Click Create VPN Connection.