- Obtain an authentication token.
- Launch the Orka UI in your browser at
<ORKA_API_URL>. - Go to Nodes.
- Go to Images.
- Go to VM Configs and click Create config (select an available macOS image, 3 for CPU and vCPU, leave VNC enabled).
- Click Deploy Config and wait for the confirmation.
- Go to VMs and check the connection information for the instance.
- Use Apple Screen Sharing to connect to the VM instance. Example:
vnc://<VM-IP>:<Screenshare-port>with the IP and port from Step 7. Use theadmin/admincredentials. - Once you login be sure to change the login credentials, apply the latest OS updates, and install (or upgrade) the Orka VM Tools for added security and functionality.
- Return to the UI. On the VMs page, select your VM instance and click More > Save as new image at the top.
- Return to the UI. Go to the Images page and make sure that your new image appears in the list.
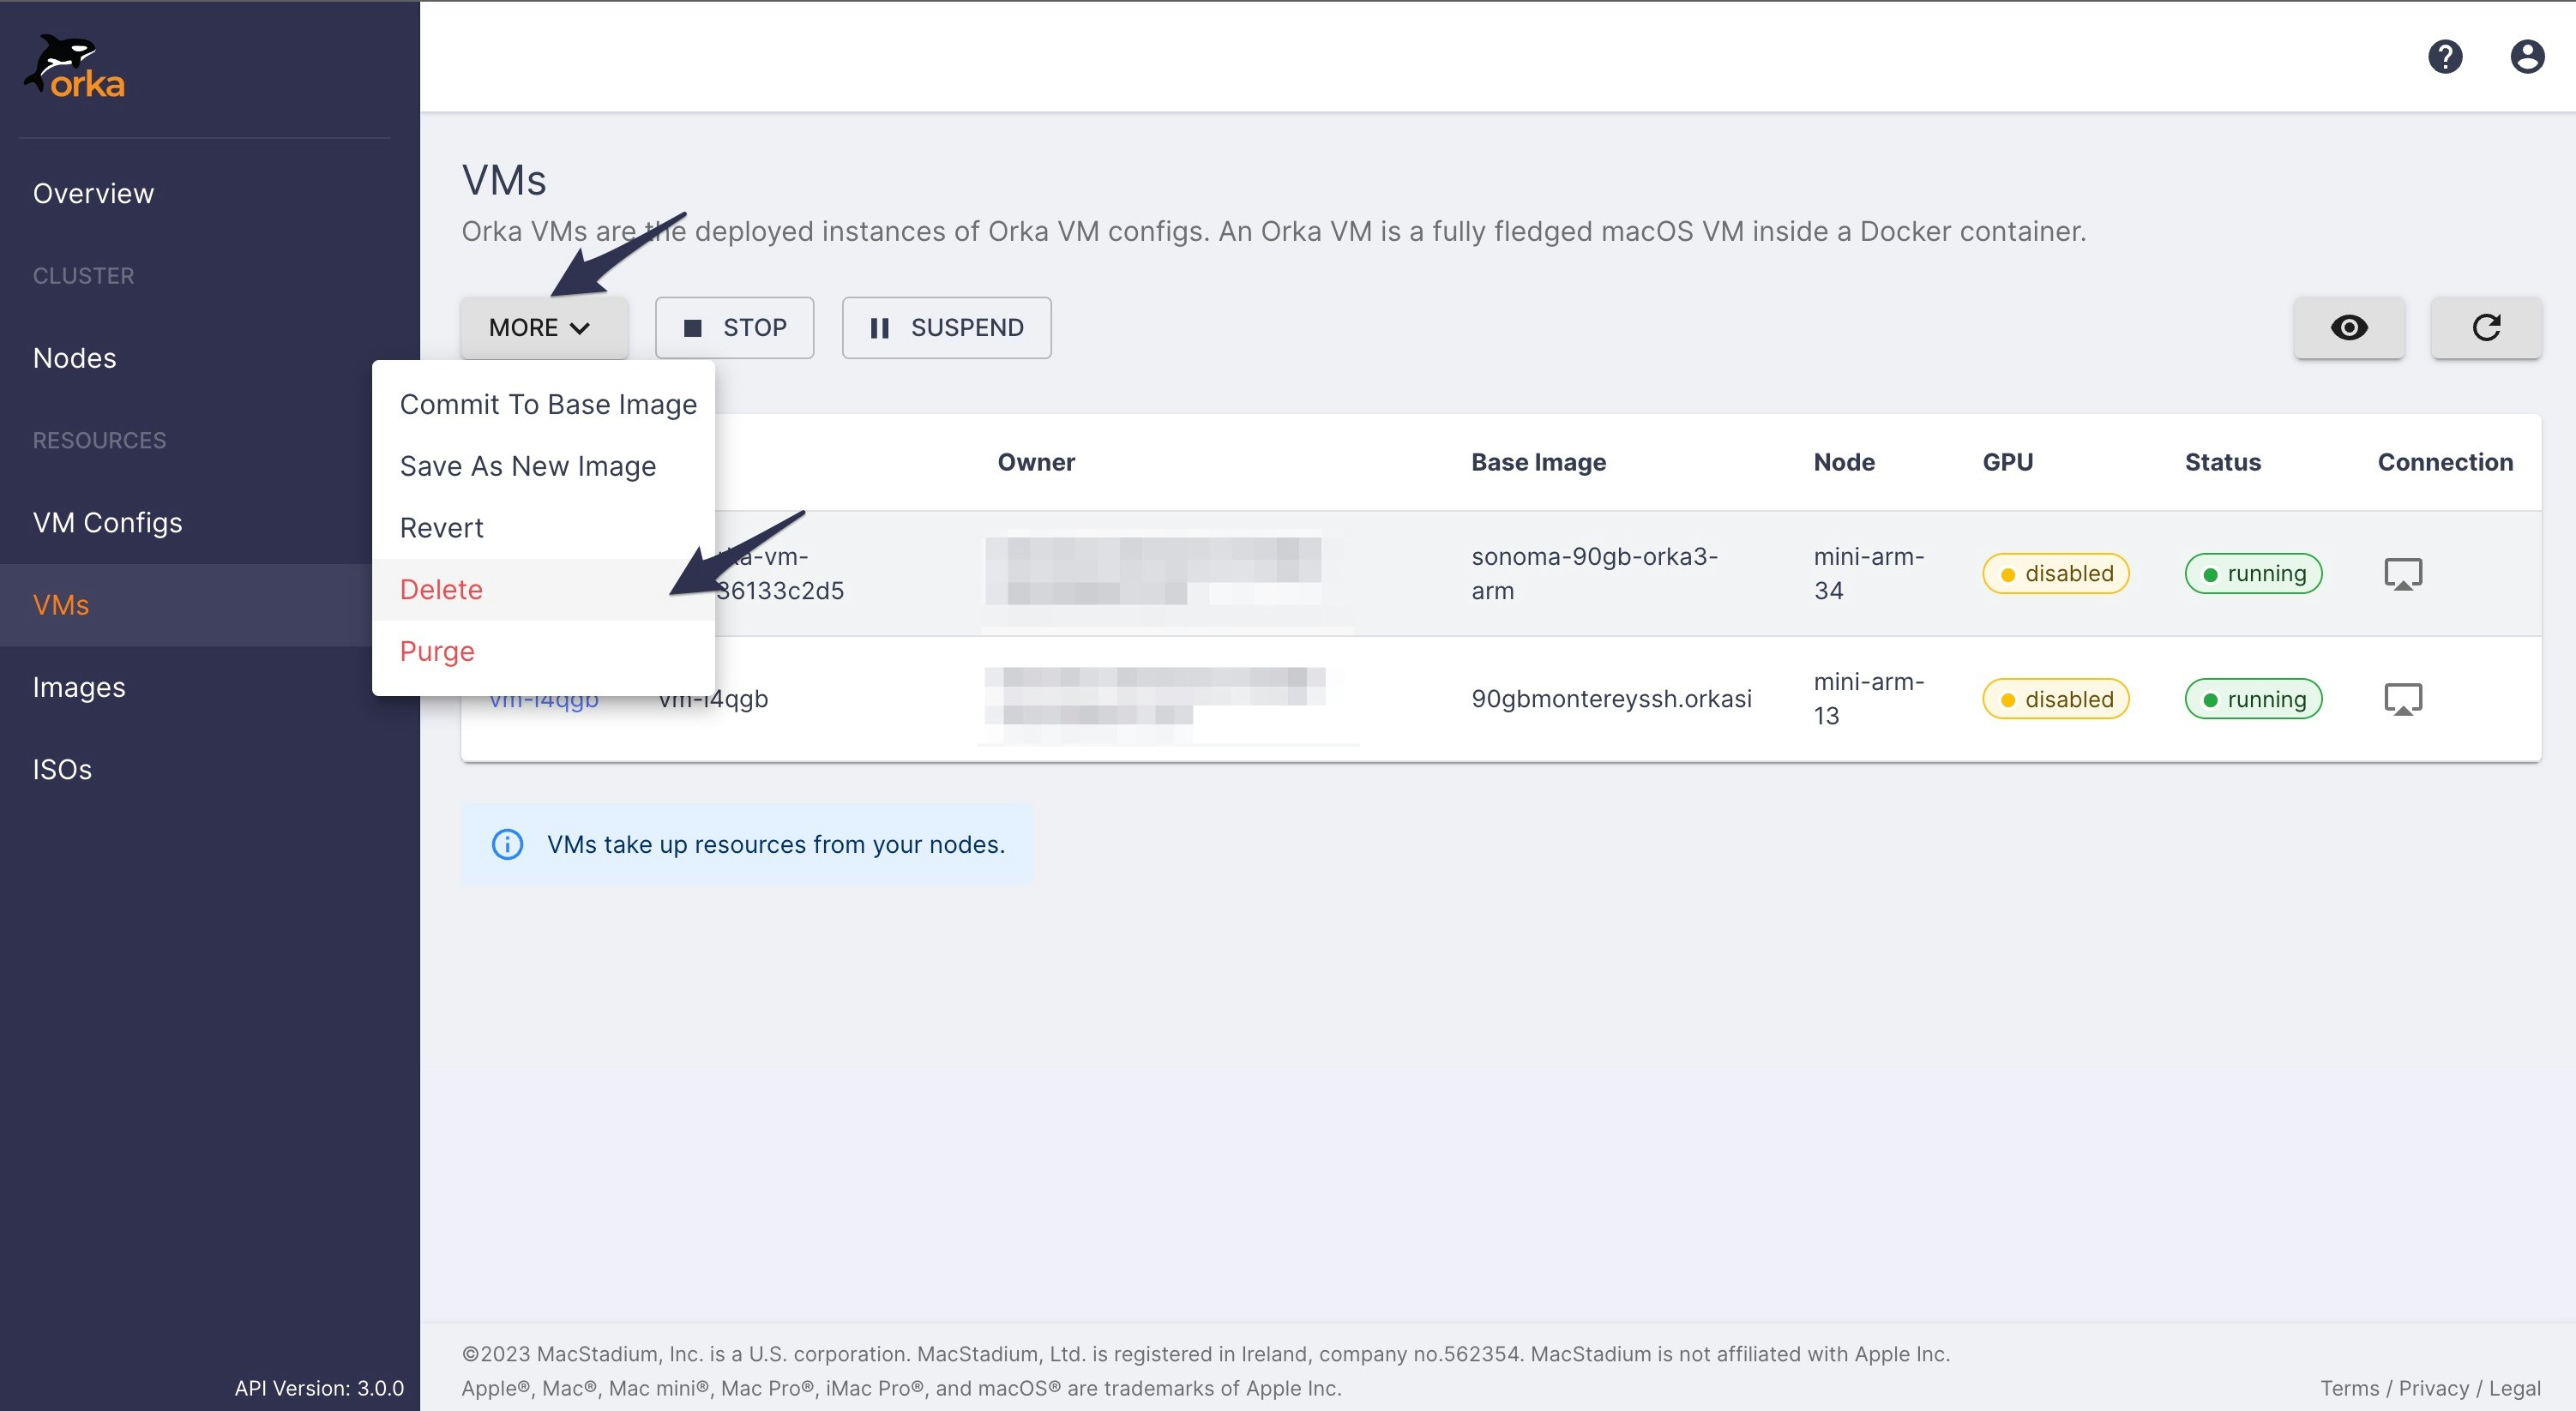
- On the VMs page, select your VM instance and click More > Delete at the top.
- Make sure that the list of VMs is empty.
- Go to VM configs and verify that your template is preserved.
- Beginner users.
- Users with predominantly manual workflows.
1. Before You Begin
- Ensure you can access your cluster account in the MacStadium Customer Portal. See Cluster Access Management: Overview.
- Get your VPN connection information from your IP Plan. You can download it from the MacStadium portal.
- Connect to your Orka cluster via VPN.
- Download and install a VPN client. Note that you might need to make additional configuration changes if you’re using a custom Orka domain.
- Use the server address and credentials from the VPN section at the top of your IP Plan.
2. Authenticate with the Cluster
Orka lets you log in with your MacStadium Customer Portal credentials. Your access privileges are based on the role configured by your account admin in the Customer Portal. By default, you will have access to theorka-default namespace. You can access additional namespaces if you have been added to additional role bindings.
orka3 commands. Your token is stored locally in the ~/.kube/config file. Personal tokens (SSO login) are valid for one hour. Afterward, you must log in again to obtain a new token.
For CI/CD automation, use a service account token instead. Service account tokens are valid for one year by default and don’t require browser-based login. See CI/CD Integrations Quick Start for details.
You now need to get your Orka authentication token from your ~/.kube/config:
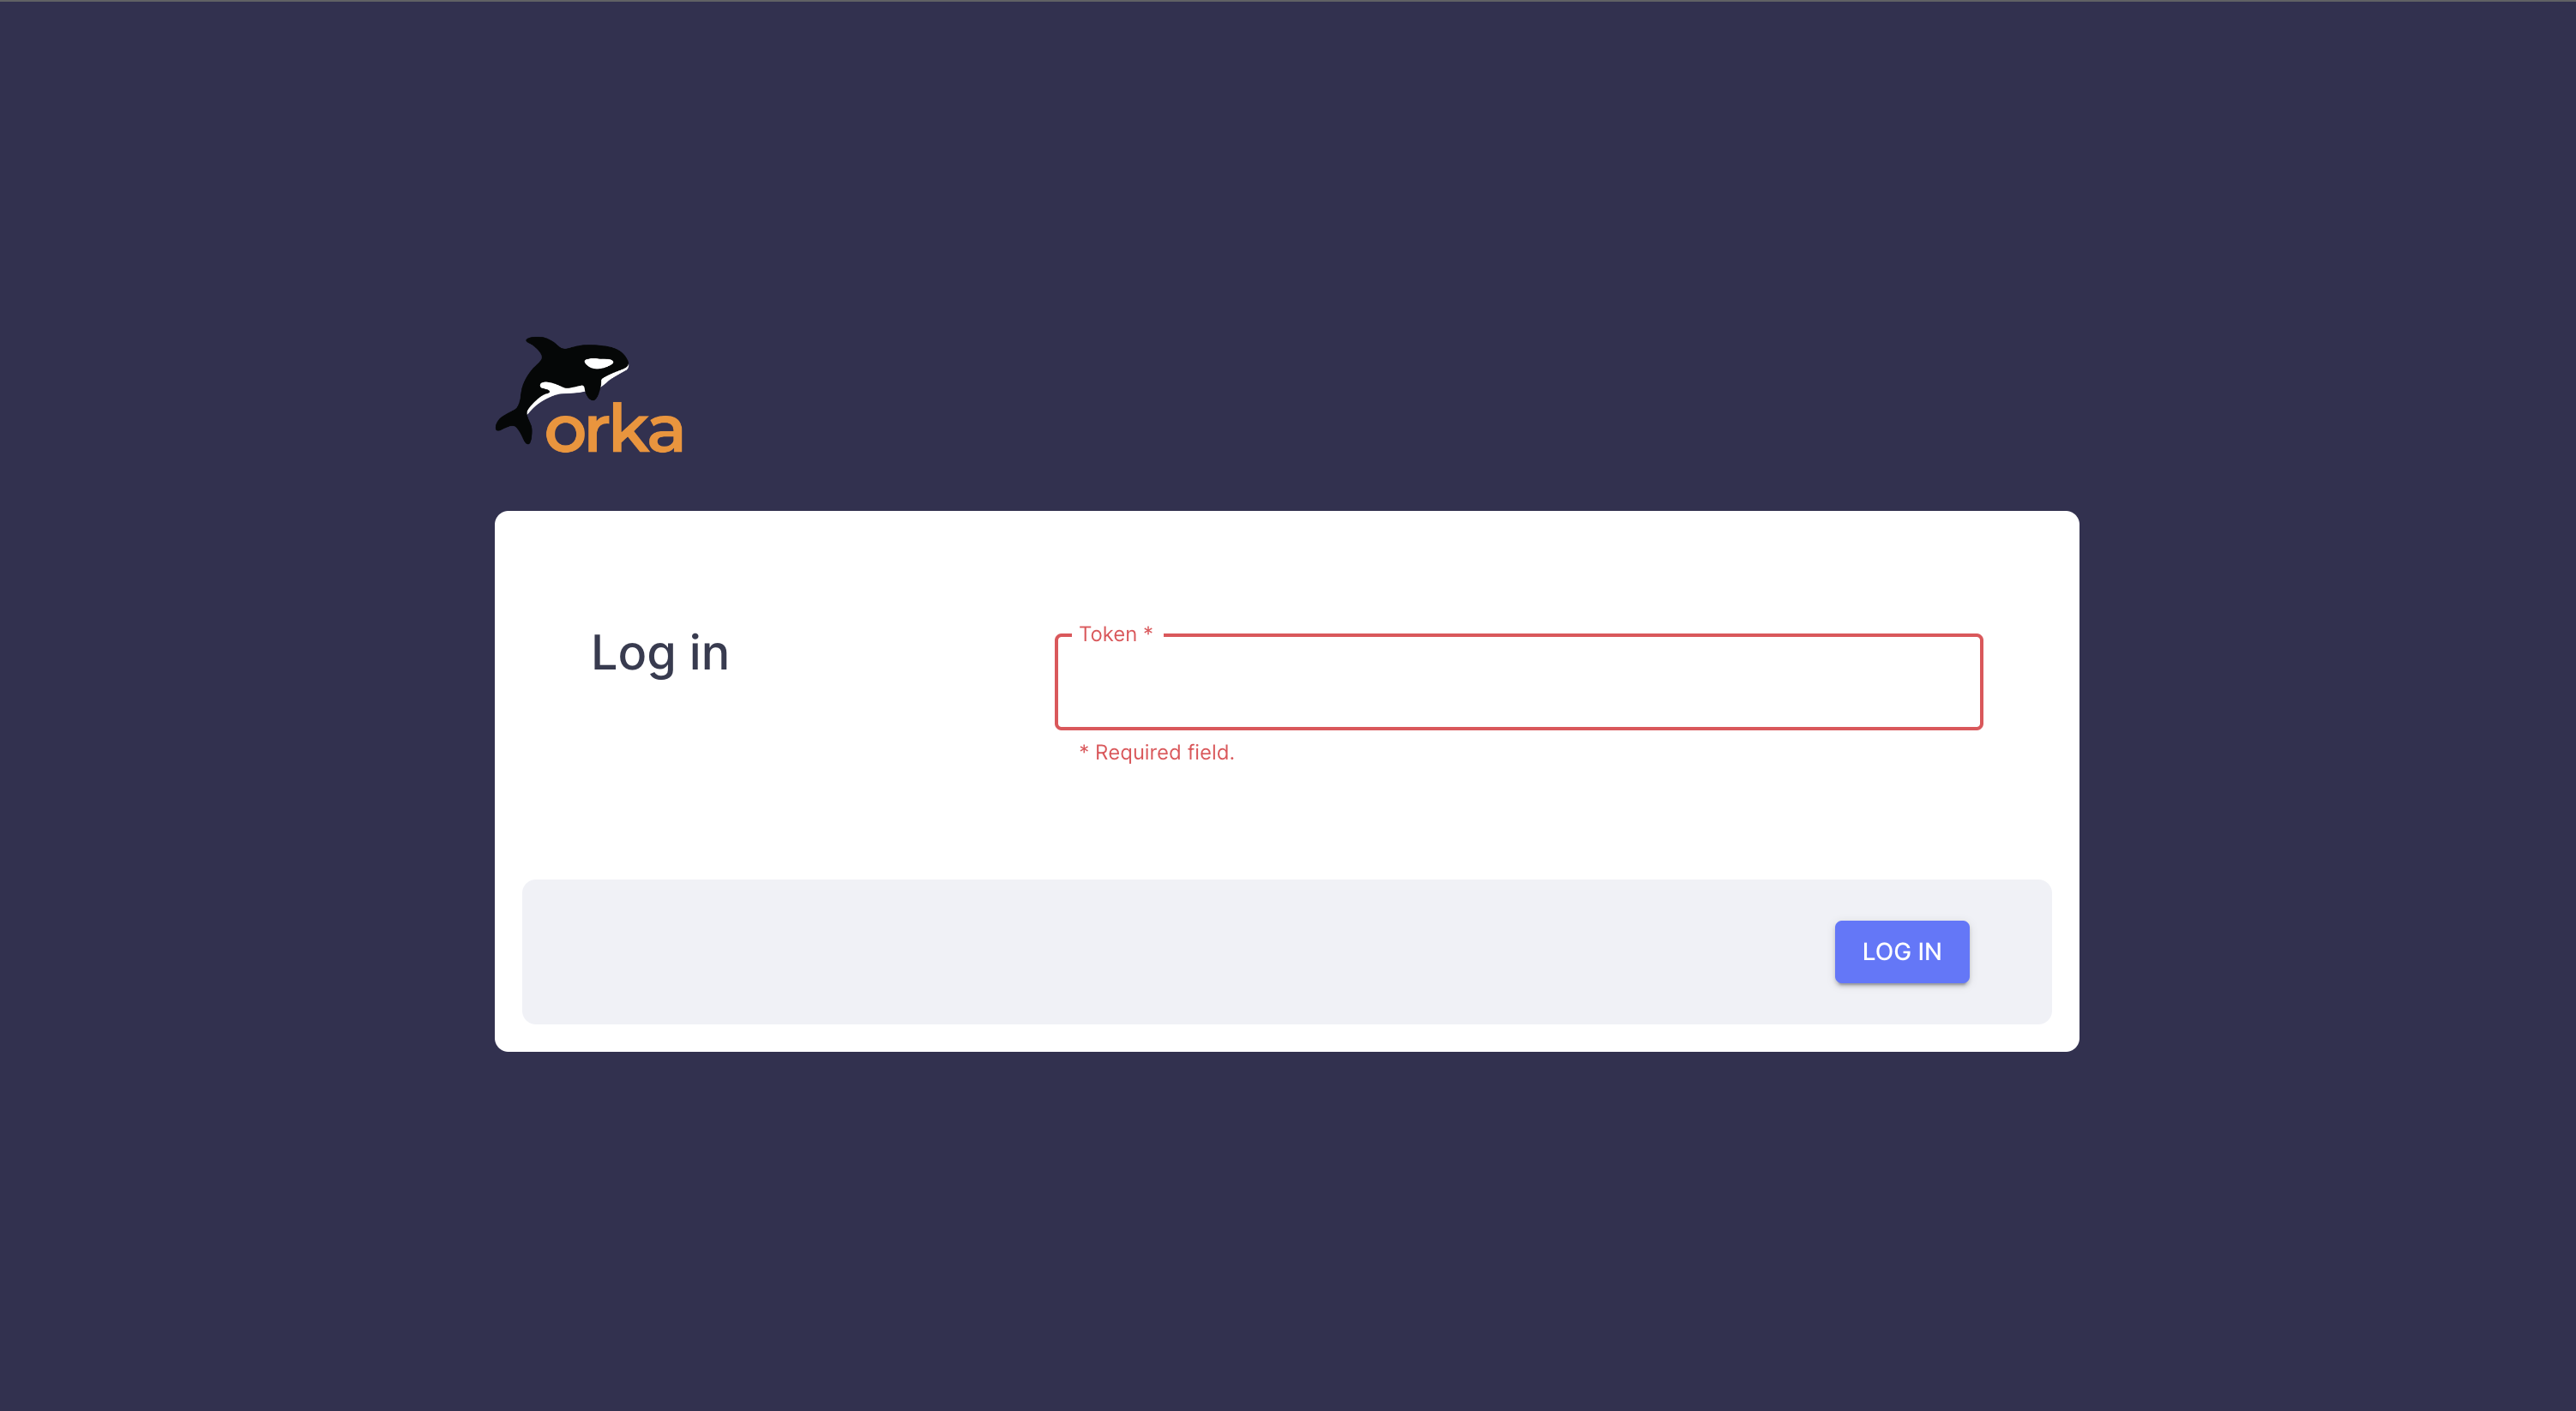
3. Launch the Orka UI
- In your browser, navigate to your Orka API URL.
4. Create and Deploy Your First VM Instance
Known limitationsThe Orka Web UI works only in the
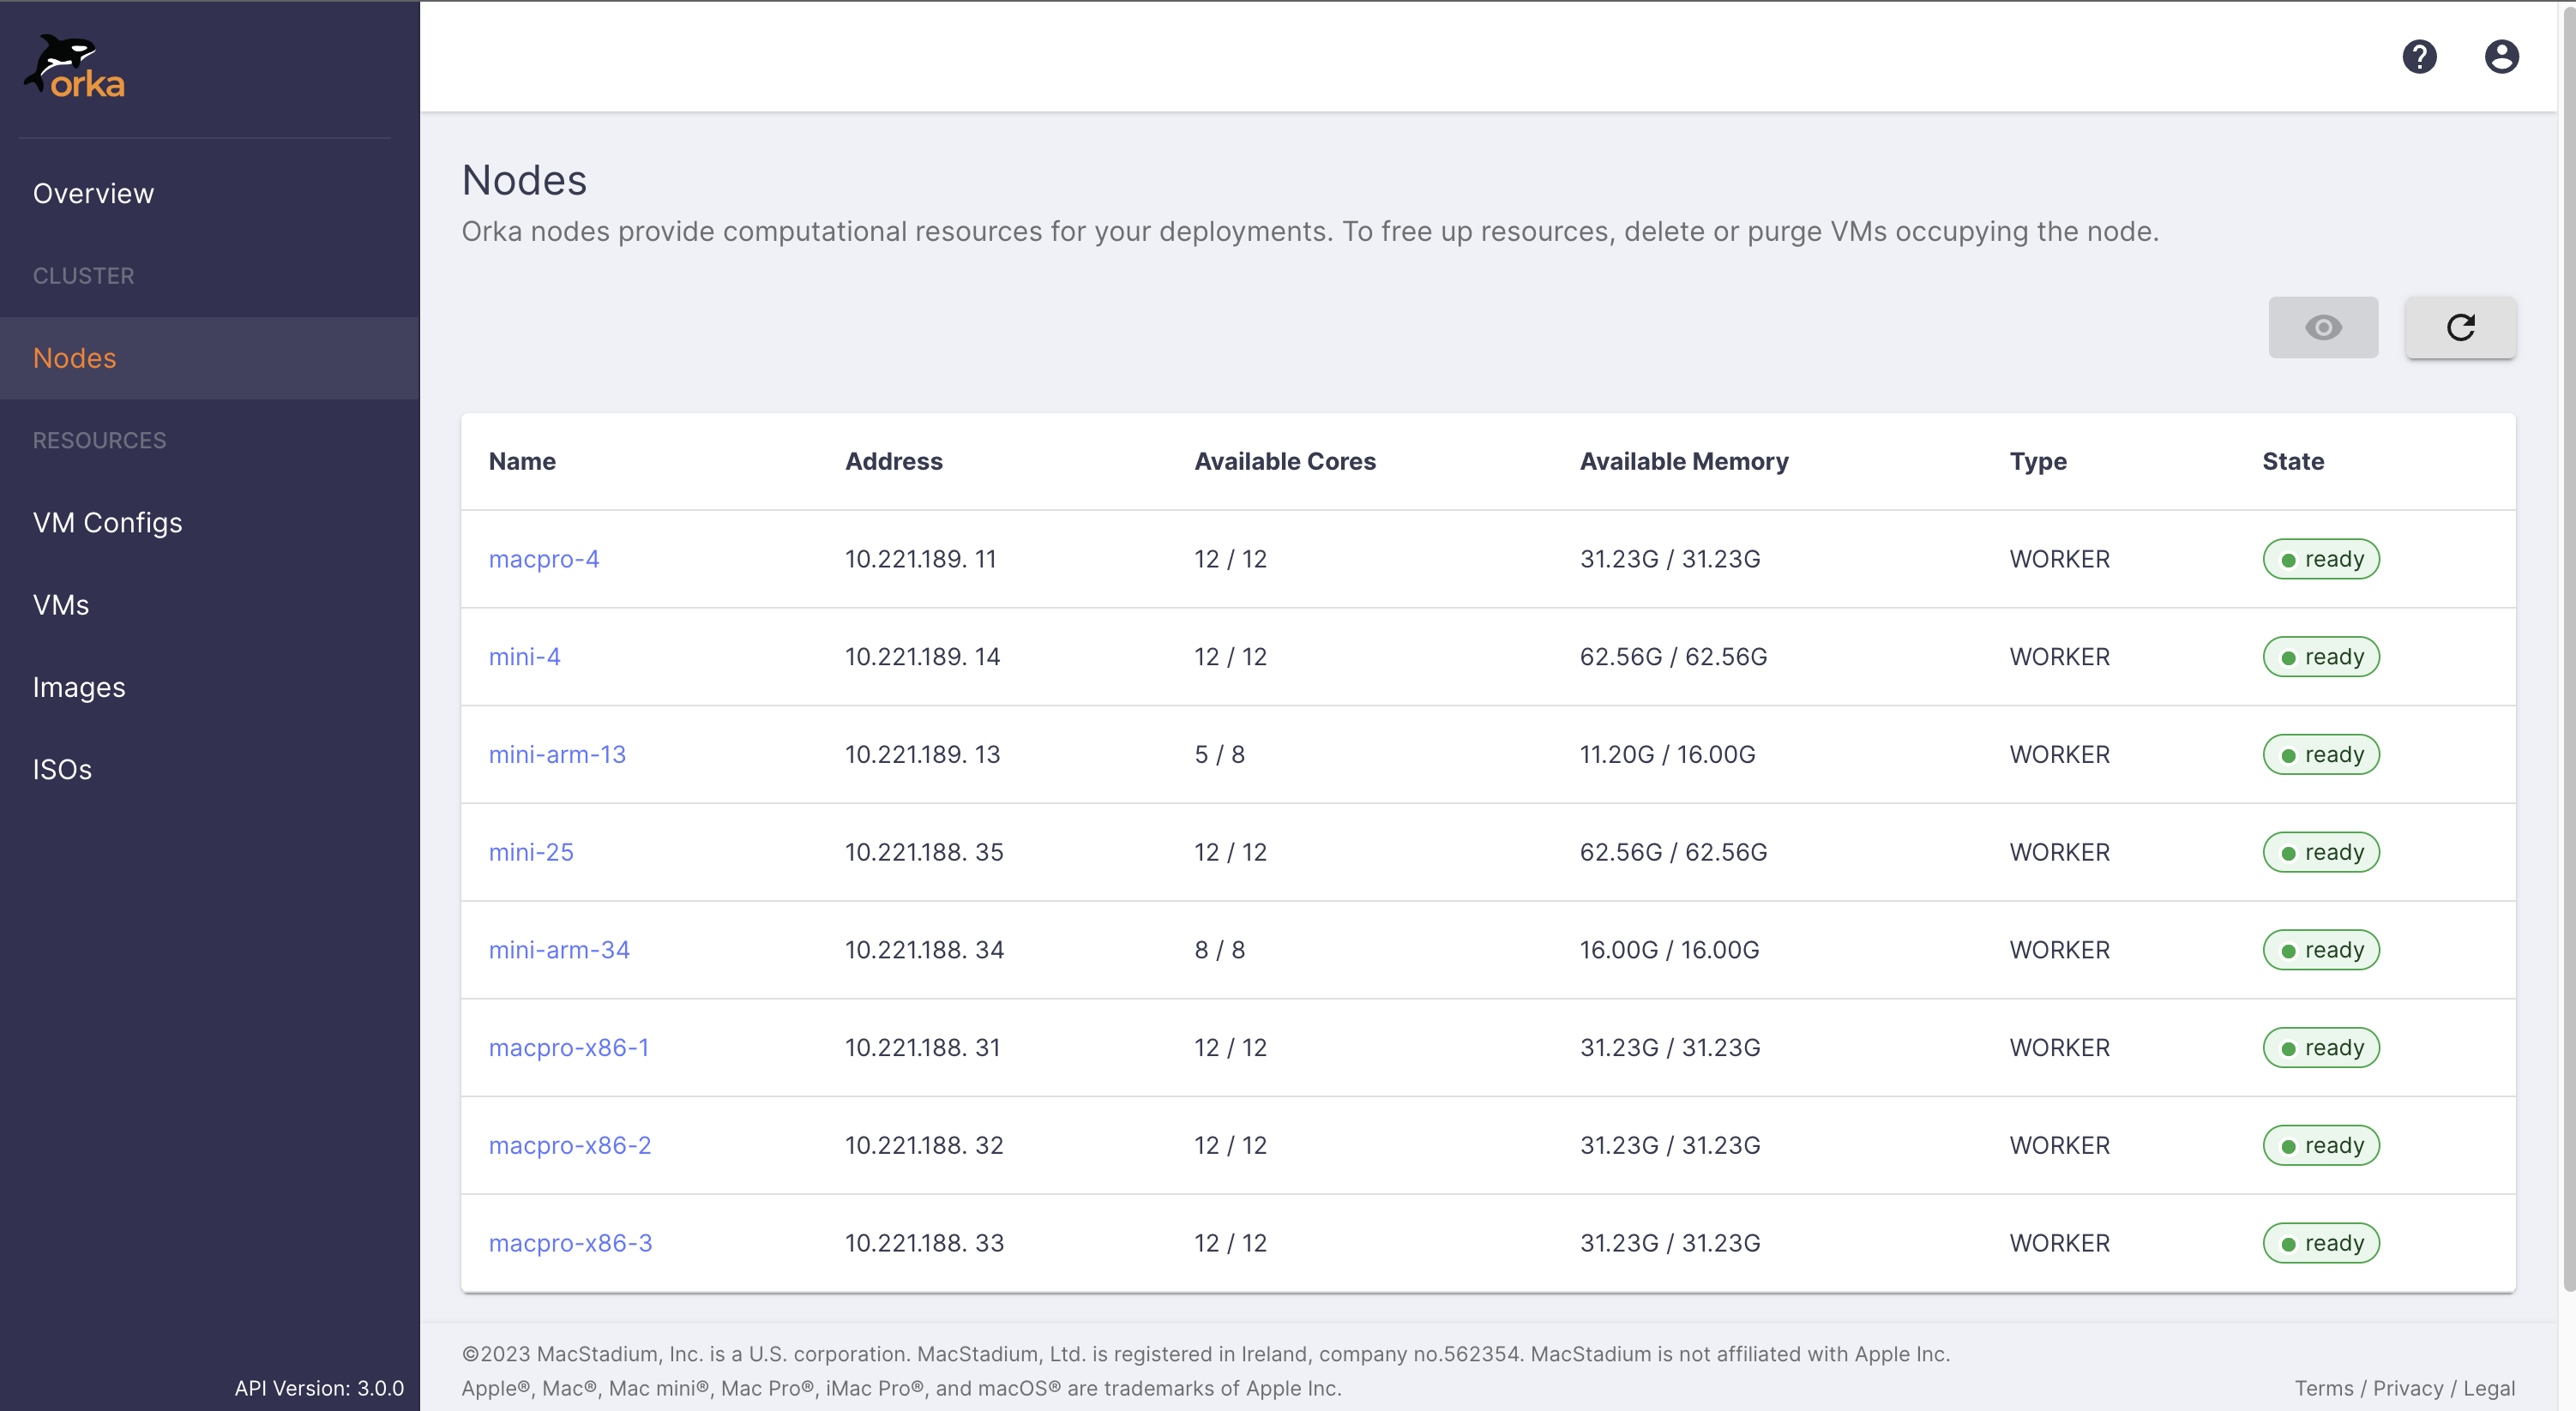
orka-default namespace.The Orka Web UI does not let you deploy VM instances without a VM configuration.The Orka Web UI works only with images stored locally in the cluster or stored in the remote repository. You cannot deploy VMs using images from OCI-compatible registries.- In the sidebar, click Nodes. This page provides information about the current state of your nodes, including the available resources.
- In the sidebar, click Images.
- In the sidebar, click VM Configs.
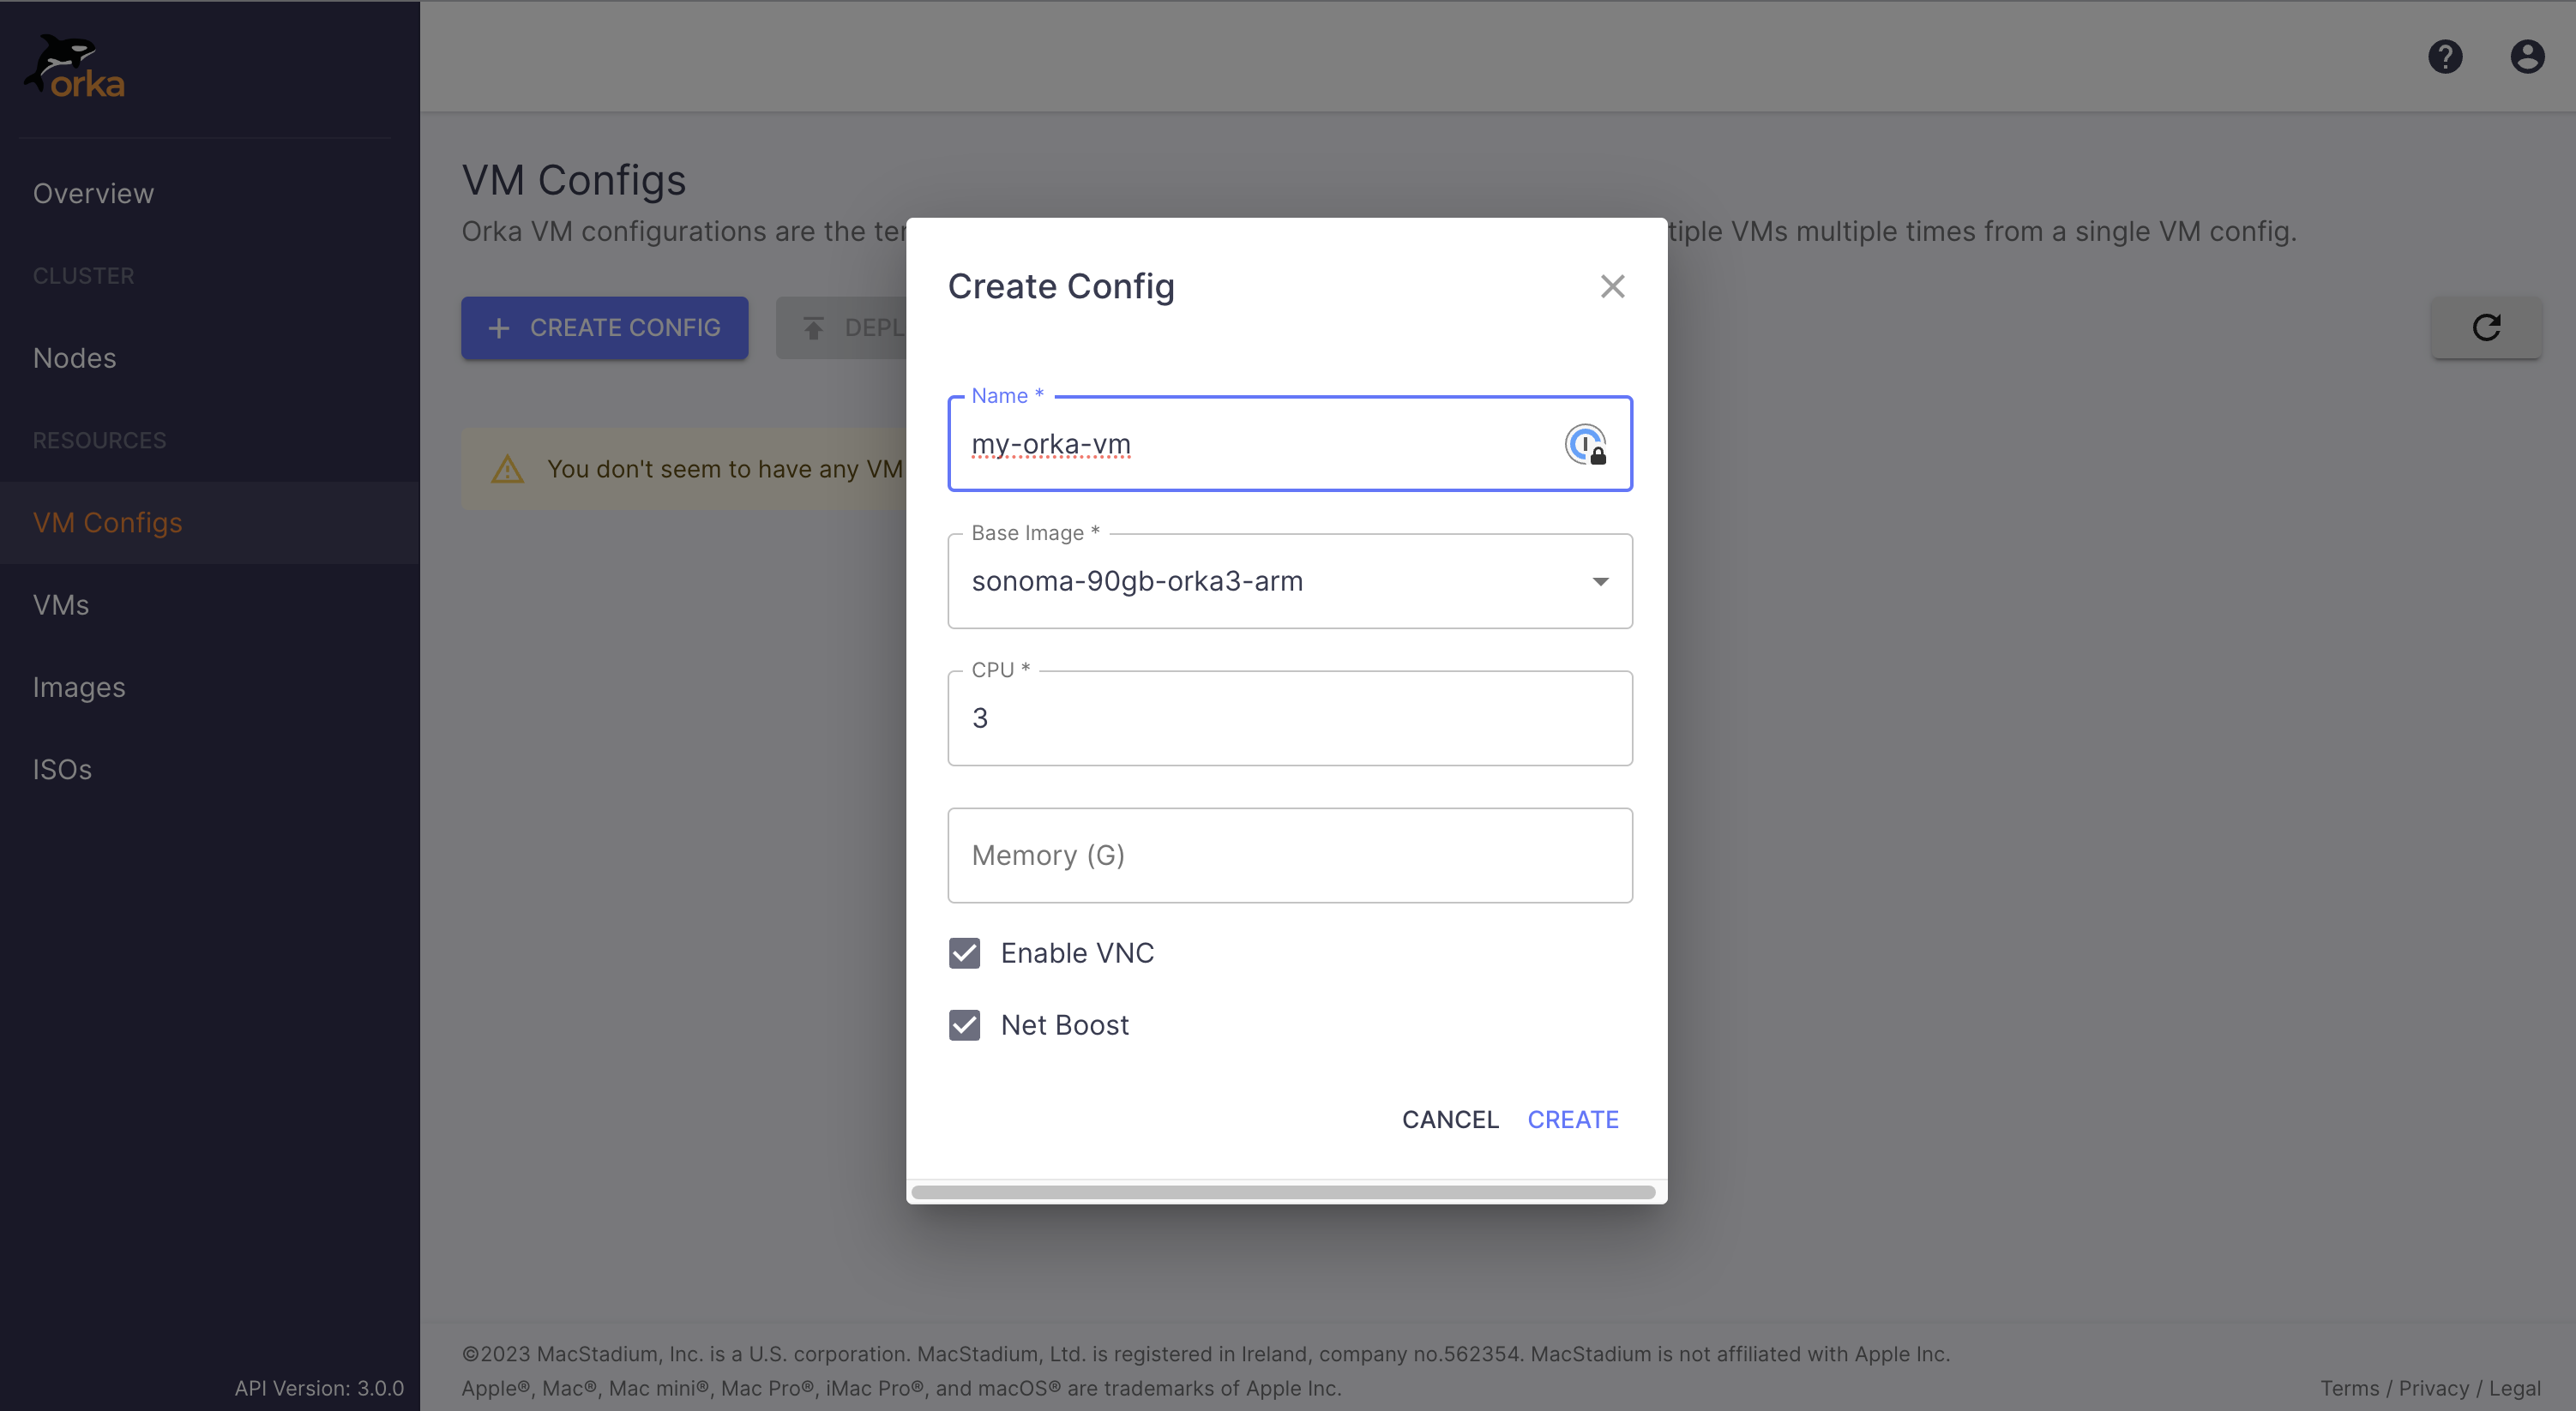
- On the VM Configs page, click Create config and fill in the form:
- Name: Set any user-friendly name that will help you recognize the VM.
- Base image: Select an available macOS image from the list. (Note that the settings in the dialog change based on the selected image type.)
- CPU: Set to 3. This is the number of CPUs for the VM.
- vCPU: Set to 3. Unless the CPU is 3, it must be half of or the exact number of CPUs. This denotes if hyperthreading is enabled. For example, if the vCPU equals CPU, hyperthreading is enabled.
- Memory (G): Leave blank. Orka automatically assigns memory when this field is empty. If you provide a value, it overrides the default and allocates the specified amount.
VM name requirements: The name must not exceed 38 characters, must contain only lowercase alphanumeric characters (0-9, a-z) and dashes (-), and must begin and end with an alphanumeric character.
- On the VM Configs page, select your newly created template and click Deploy config. Make sure that your template is selected and click Deploy.
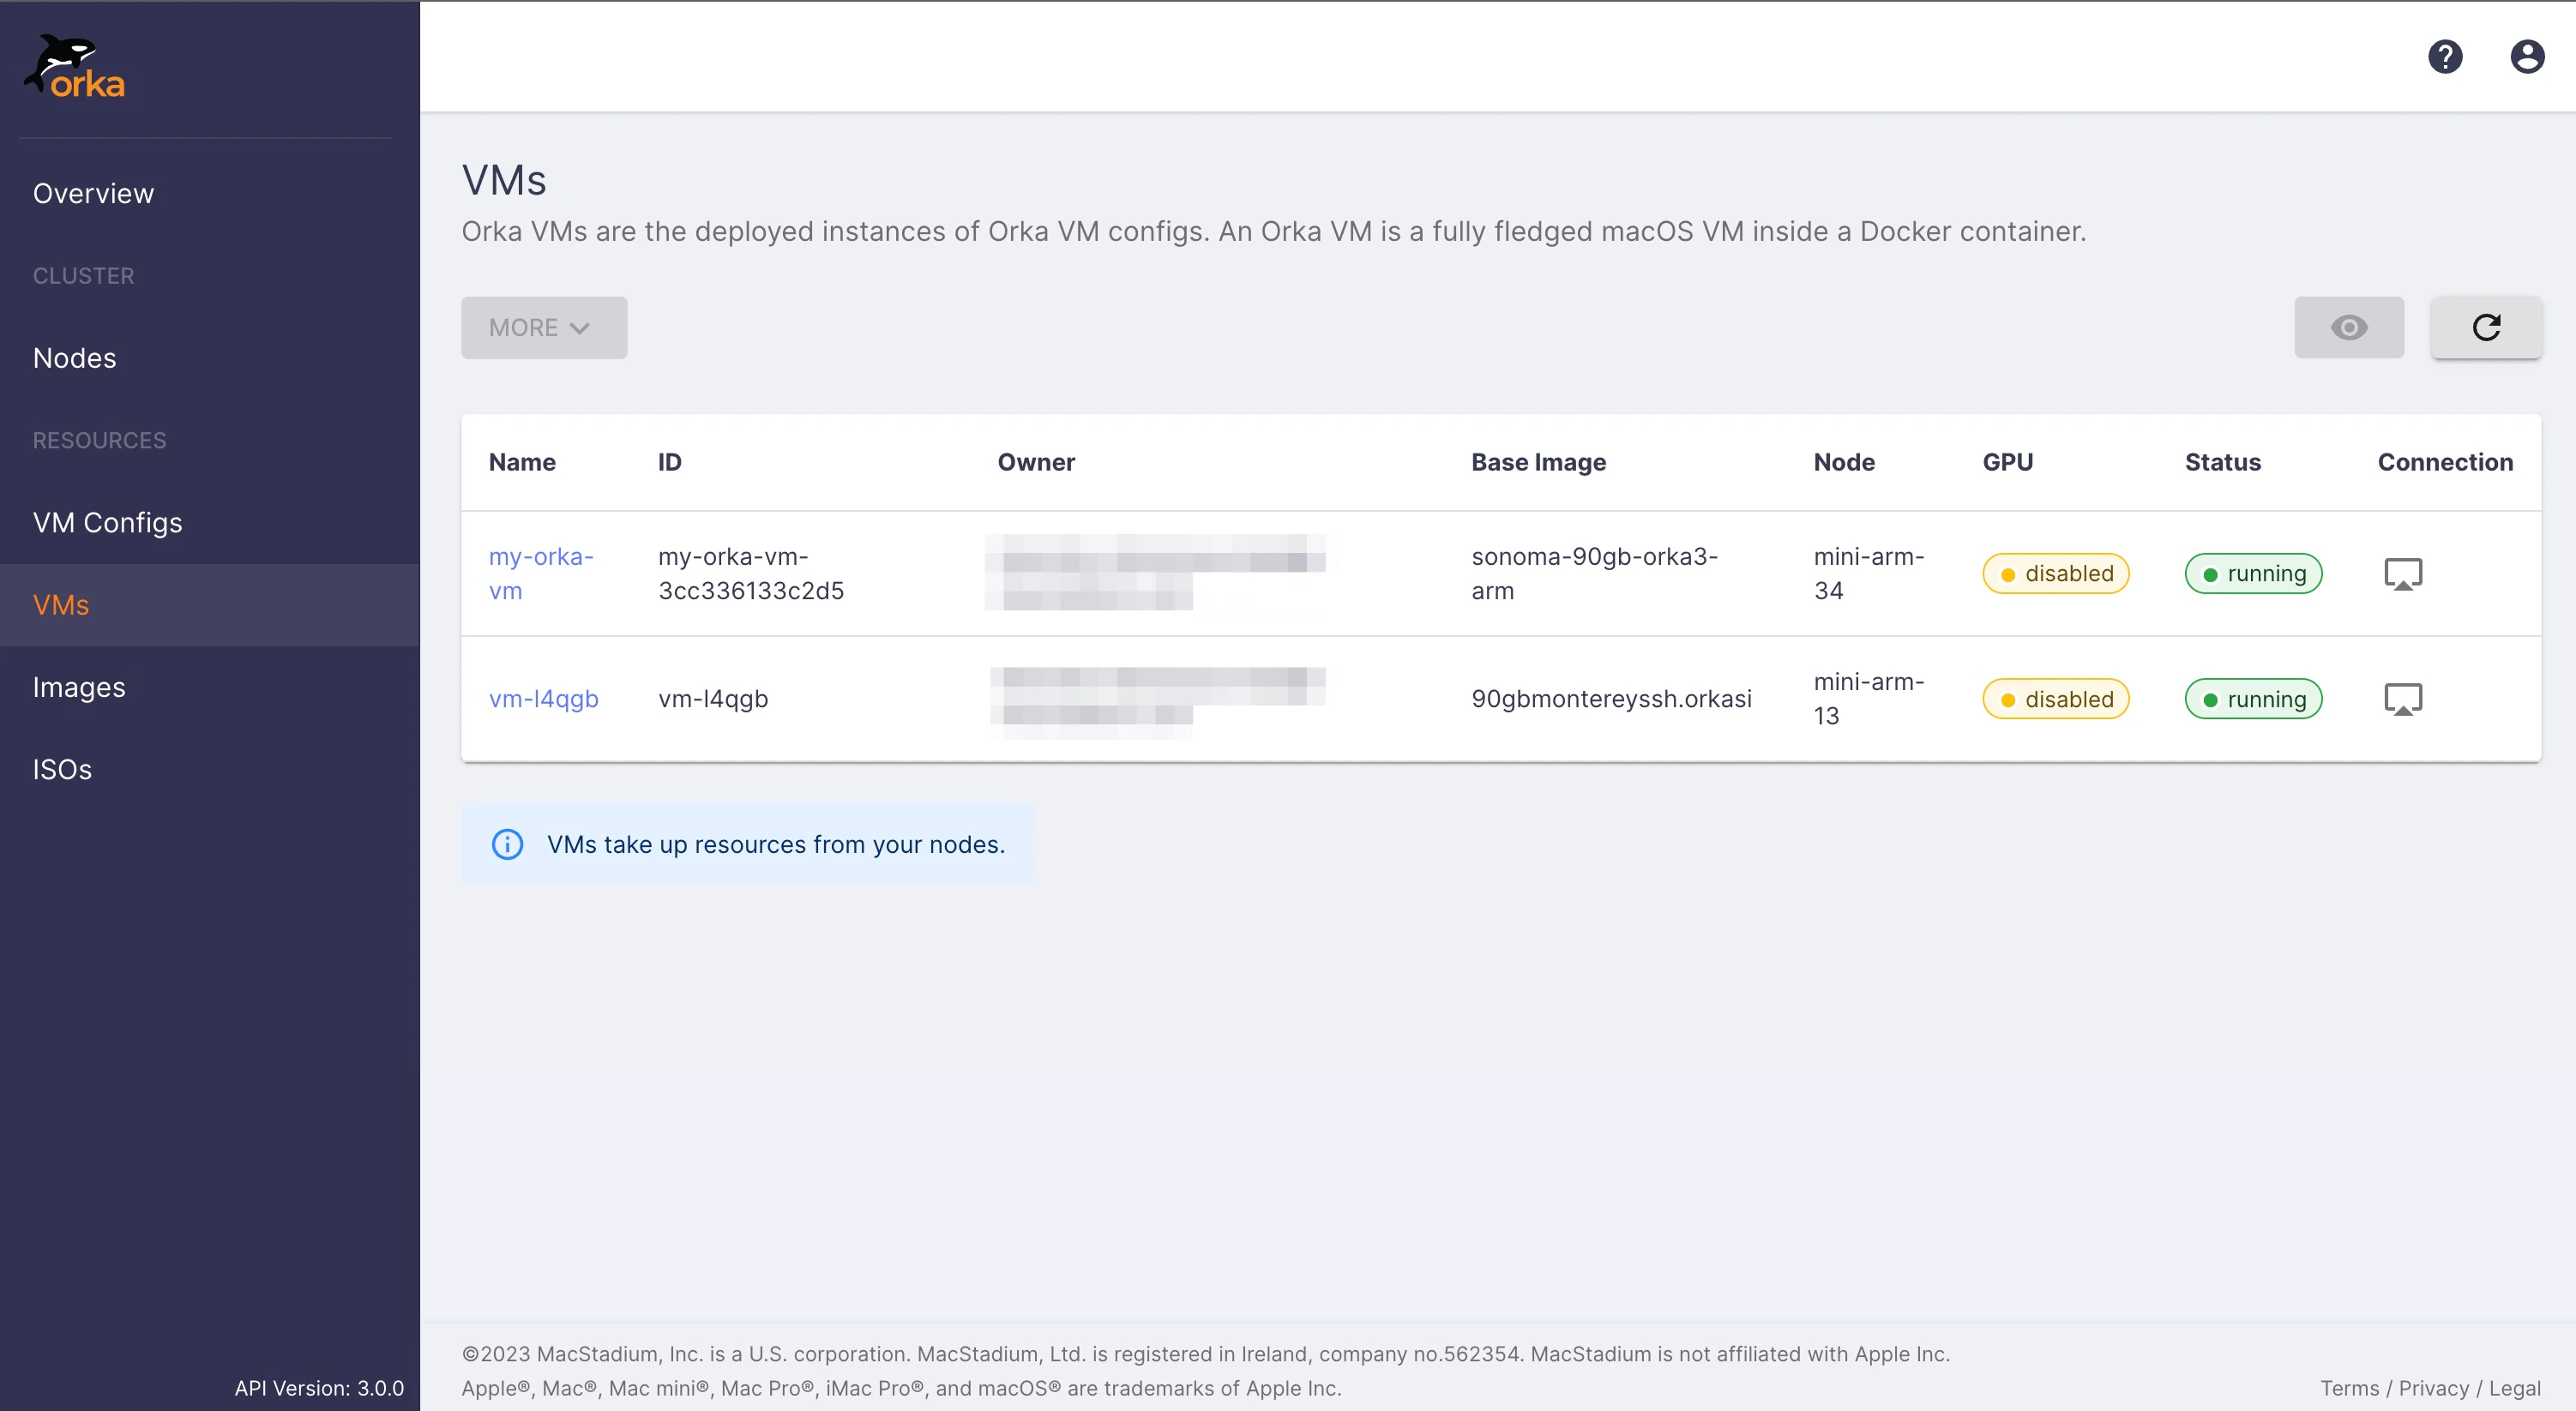
- Go to the VMs page. Now that you have deployed your first VM instance, you will see it in the list.
- Go to the Nodes page again. Did the number of available resources change?
5. Experience Your VM Instance
- Return to the VMs page and click the Connection button for your VM.

- Launch Apple Screen Sharing on your local machine (In Finder, press
Cmd+K). In the Connect to Server dialog, paste the information from the pop-up. (vnc://10.221.189.13:5903in the example above).
This step works only on macOS. On Linux or Windows, launch your preferred VNC client and connect to
<VM-IP>:<VNC-port>.If you’re using a custom image or installing from ISO (Intel only), SSH and Screen Sharing are not enabled by default. Connect via VNC first, then enable them in the OS.
- When prompted by Apple Screen Sharing, provide the credentials for the VM (
admin/admin). You will be prompted for the password again when Apple connects to the VM. - On the VM, launch System Settings > Users & Groups. Select the Admin user and click Change password. Set the
Adminuser password to whatever works for you. - (Optional) Launch the Terminal application and run the following command.
- Always apply the latest OS updates and restart the VM.
6. Create a New Base Image
Changing the configuration or the file system of a running VM does not affect its base image. As soon as you delete the VM, your changes will be lost, and you will need to recreate them manually on other VMs. You can save the changes as a new image to create changes that stick and appear on future deployments.This operation restarts the VM. After it completes, you need to create a new VM config that references the new image before you can deploy from it.
- Return to the Web UI. On the VMs page, select your VM. Select More > Save as new image.
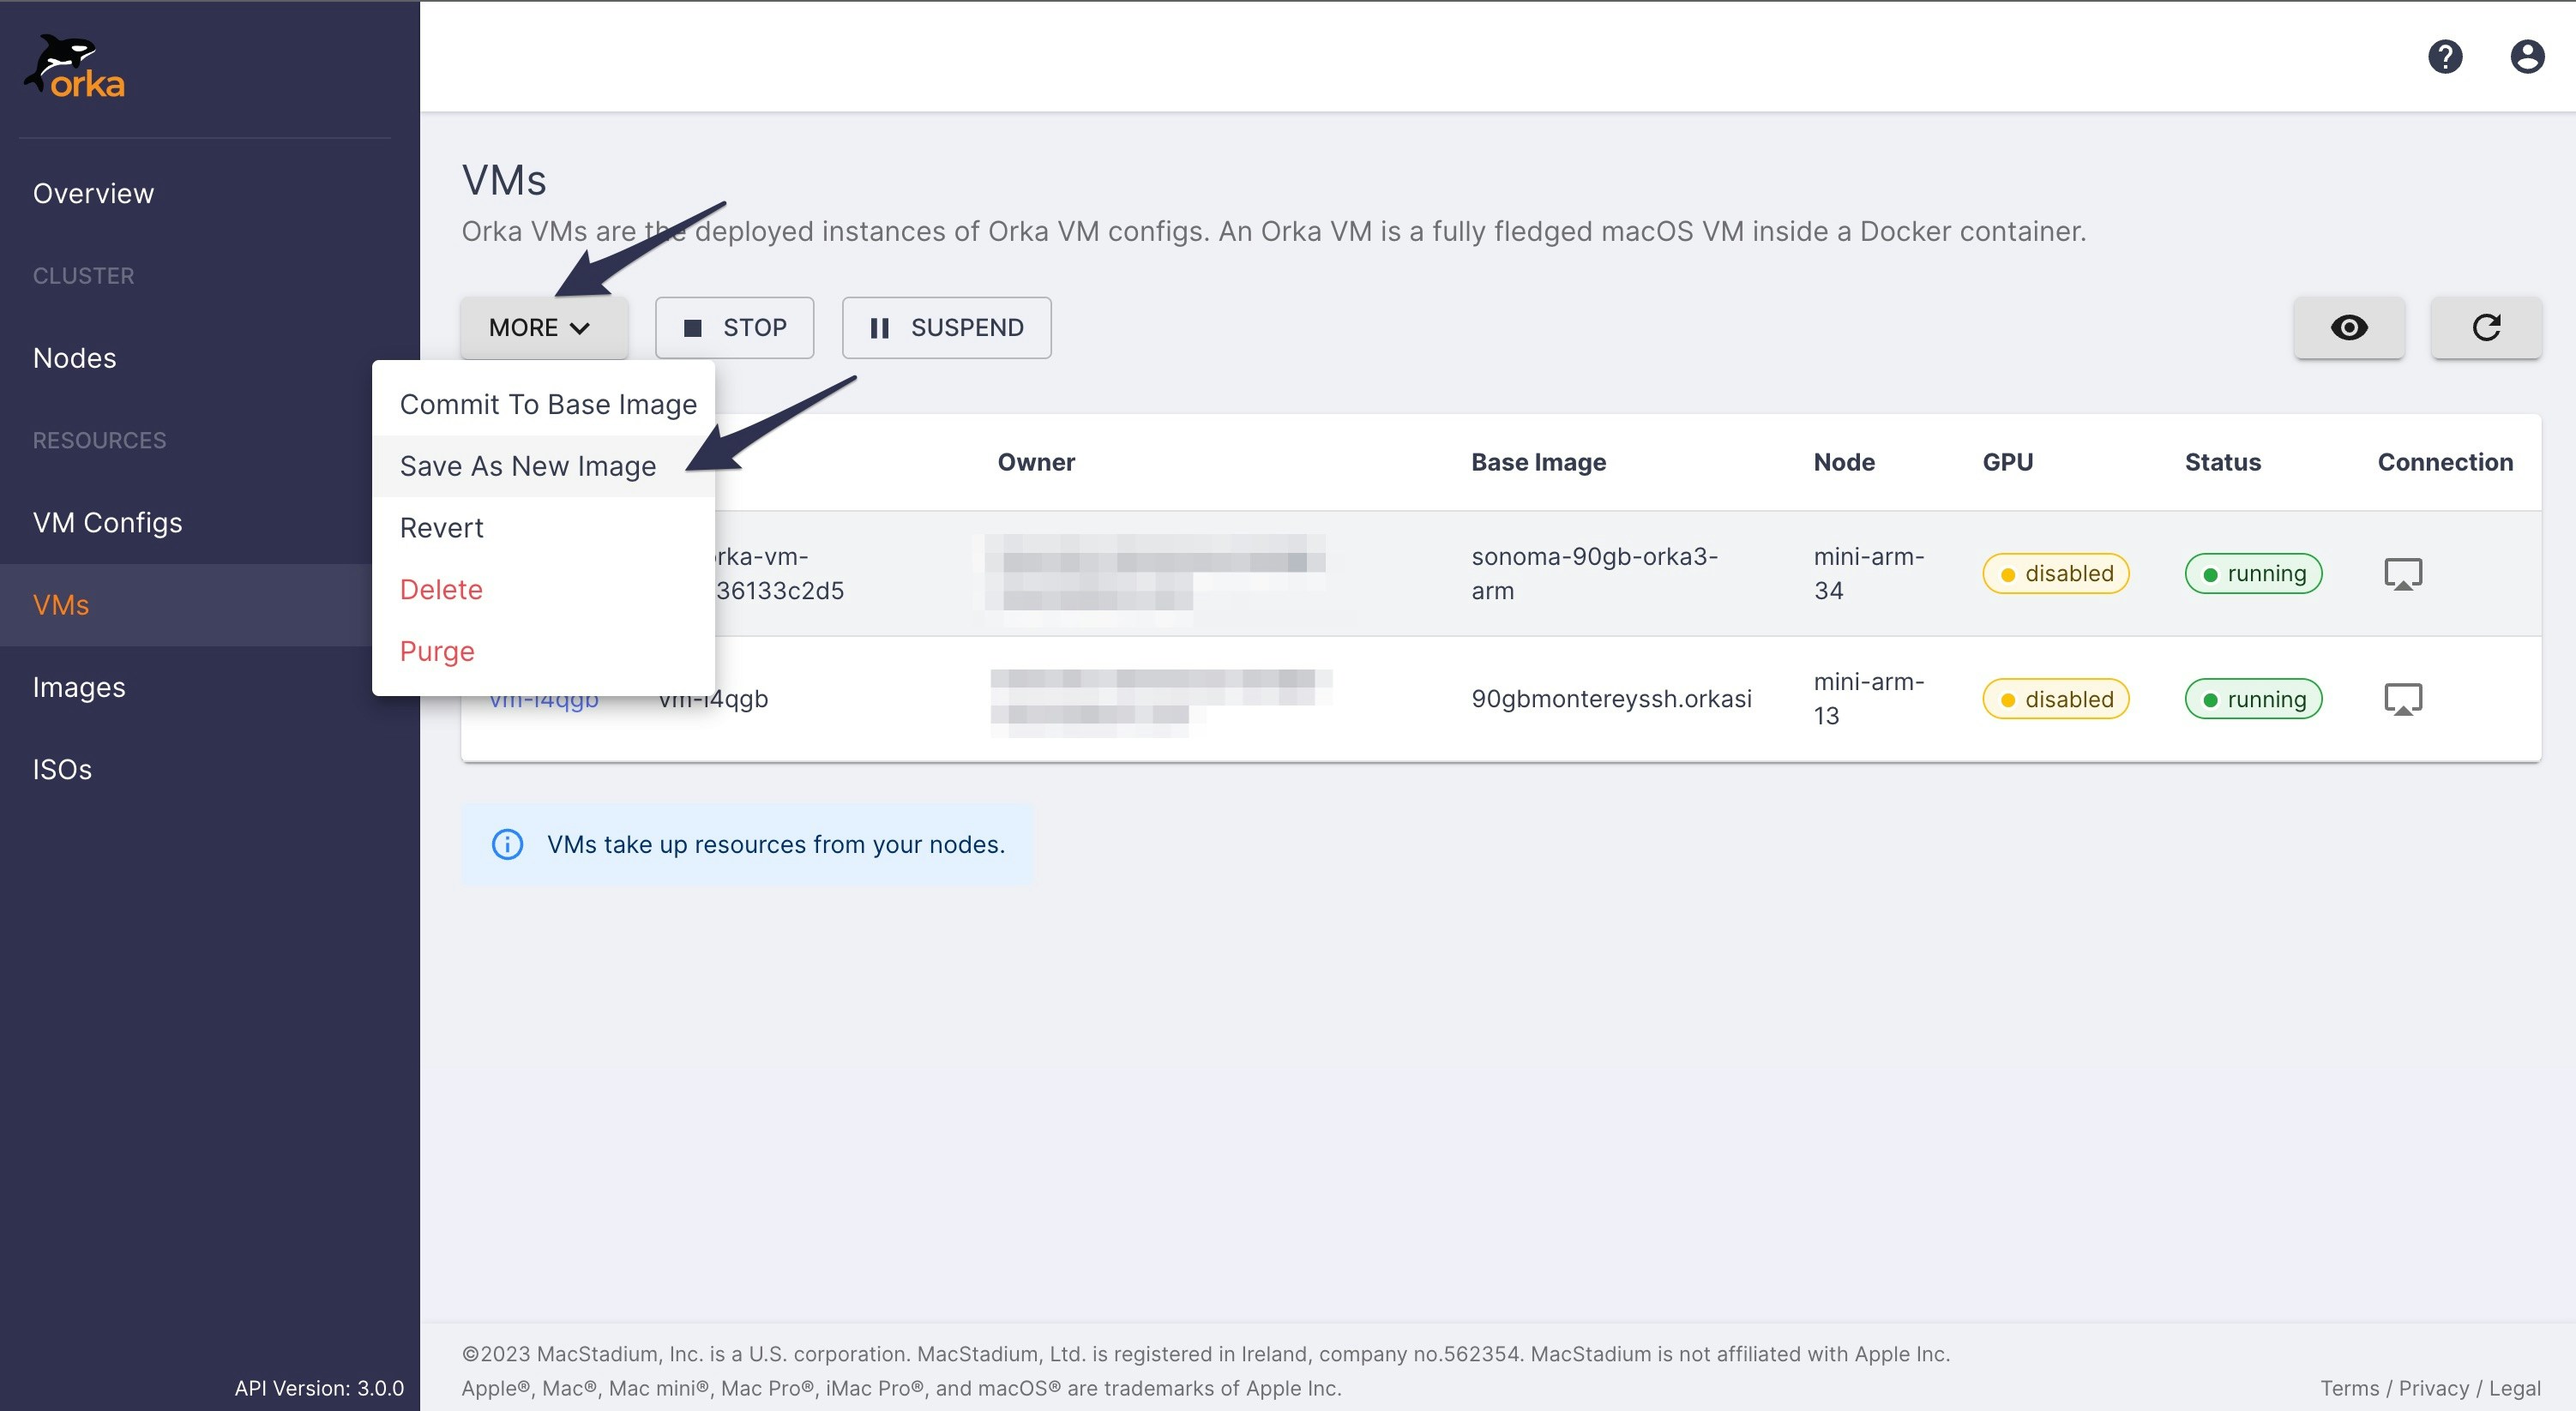
- Provide a name for the new image and click Save.

- After the operation completes, go to the Images page. Did your new image appear there?
7. Delete VMs
This section is optional. When your VM configs and instances have served their purpose, you can remove them. Deleting a VM instance always preserves the original VM config, and you can deploy new instances from it at any time.- On the VMs page, select your VM. Select More > Delete. When prompted, confirm that you want to delete the VM.
Next Steps
- CI/CD Integrations Quick Start: automate VM deployment in your build pipeline
- Orka VM Tools: enable shared storage and additional features on Apple silicon VMs
- Tools and Integrations: browse available integrations