Installing the Cloud Access Client
First, you’ll need to download and install the HP Anyware PCoIP client on your local machine. To do so, simply follow the above link and download the .dmg file onto your local machine. Then, to complete the installation, drag the PCoIP Client icon into the applications folder, and double click to execute the install.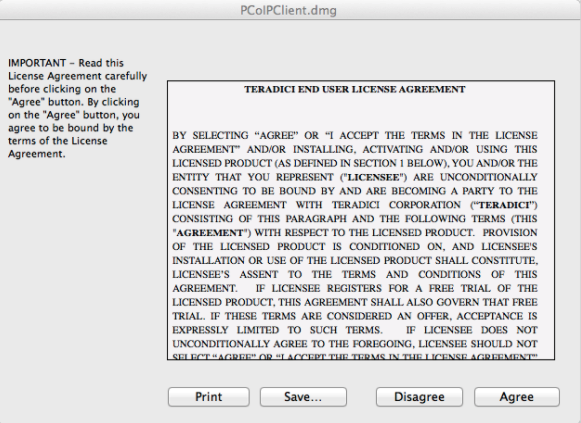
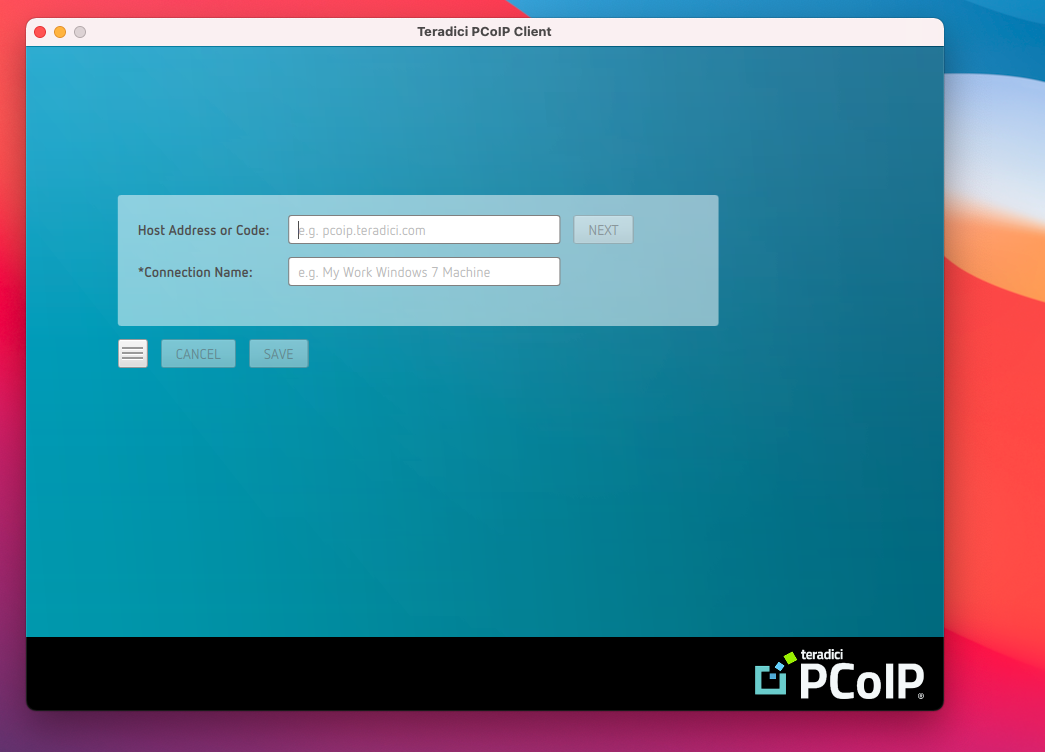
Connecting to Your Mac
Your required credentials will be provided in the service ticket describing your Cloud Access deployment.