Virtualization with Anka
Veertu's Anka, powered by MacStadium infrastructure, is an "out of the box" macOS CI solution.
Upon sign-up for an Anka Cloud of any size or variation, it will be set up and ready for
you to create a macOS VM.
Your Anka Cloud will come pre-configured, which means that the Macs
in your Anka Cloud cluster will already be associated with the Anka Controller. Moreover, the
Anka Registry will also be set up, so that you can create, push and distribute your macOS image
to all nodes in the cluster.
Our datacenter staff will assemble all parts of your Anka Cloud, configure networking
in a standardized way, and document all parts of your cloud in an IP plan.
Your IP plan will include all the information needed for you to connect to your:
- firewall via VPN;
- Anka Controller;
- and Mac host machines.
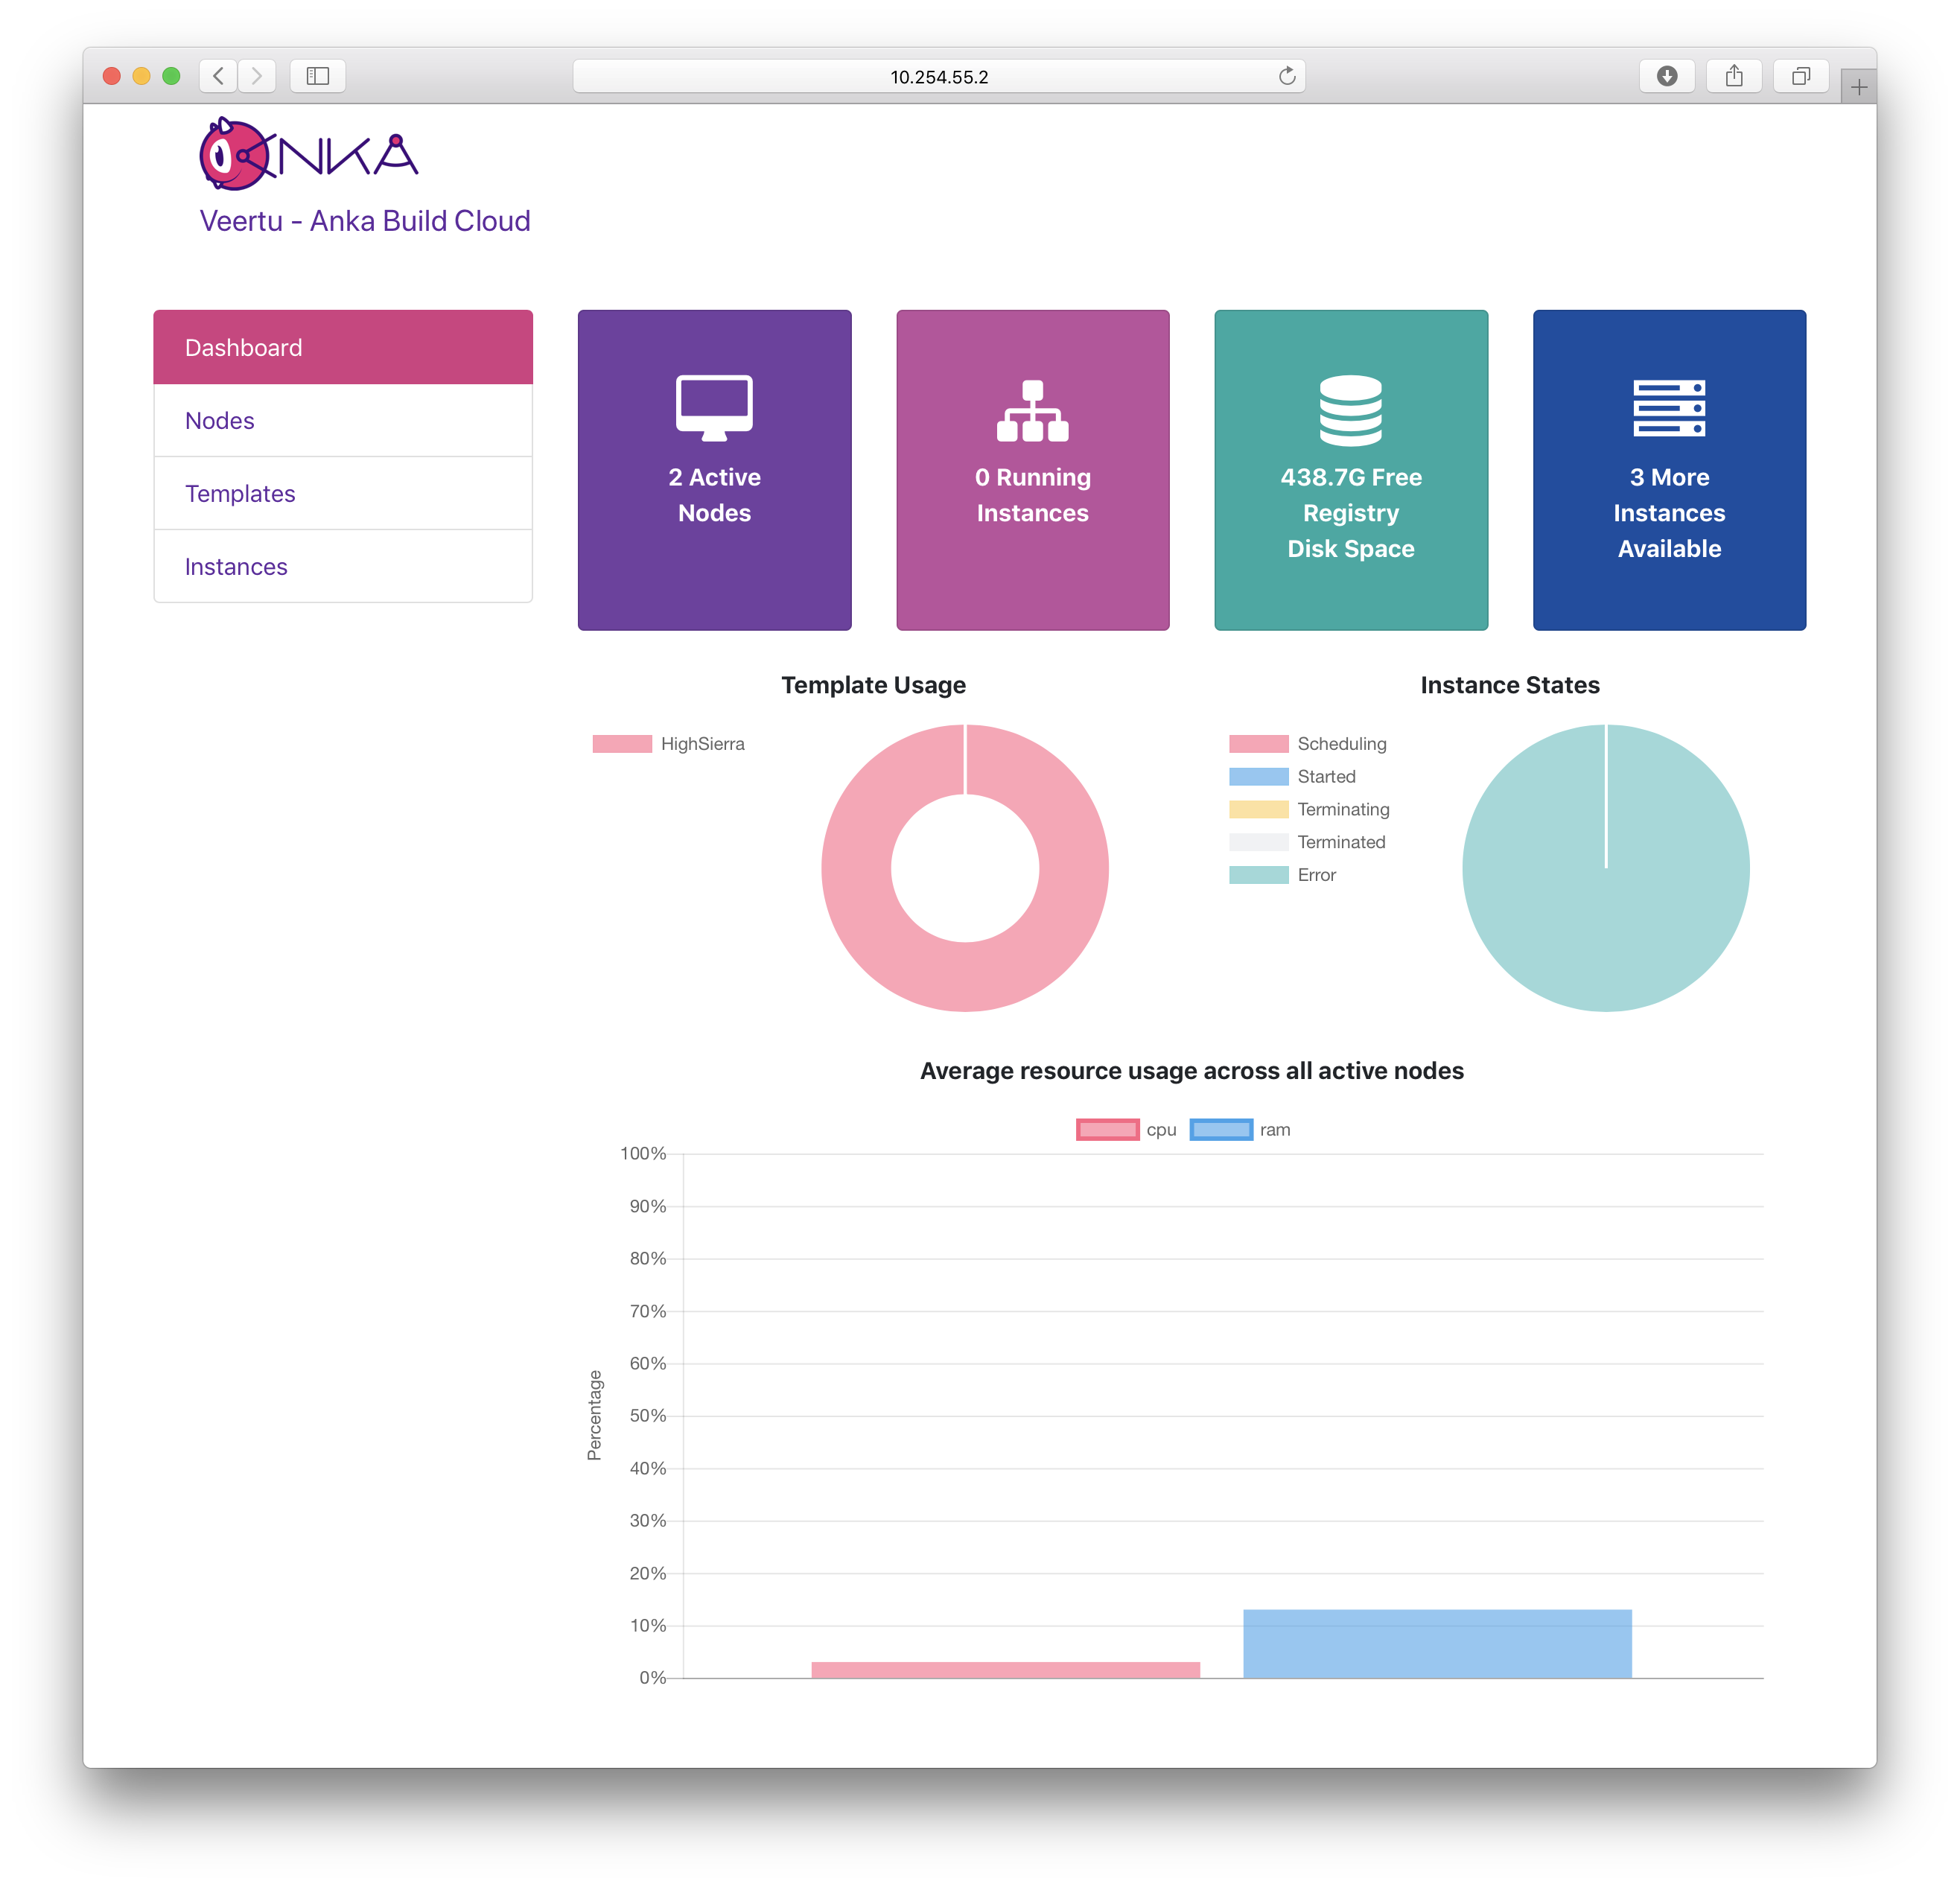
Once you have successfully established a VPN connection to your firewall, we recommend that you try to access your Anka Cloud command and control center, the Anka Controller, through its web UI. You can find its IP address in the files section of the MacStadium Portal.
Anka Cloud Dashboard

In the Anka Controllers Overview you can see general information about your Anka Cloud. Specifically, it details:
- number of Anka instances (VMs) currently running across all nodes in cluster;
- and remaining bandwith for additional VM images in your Anka Registry.

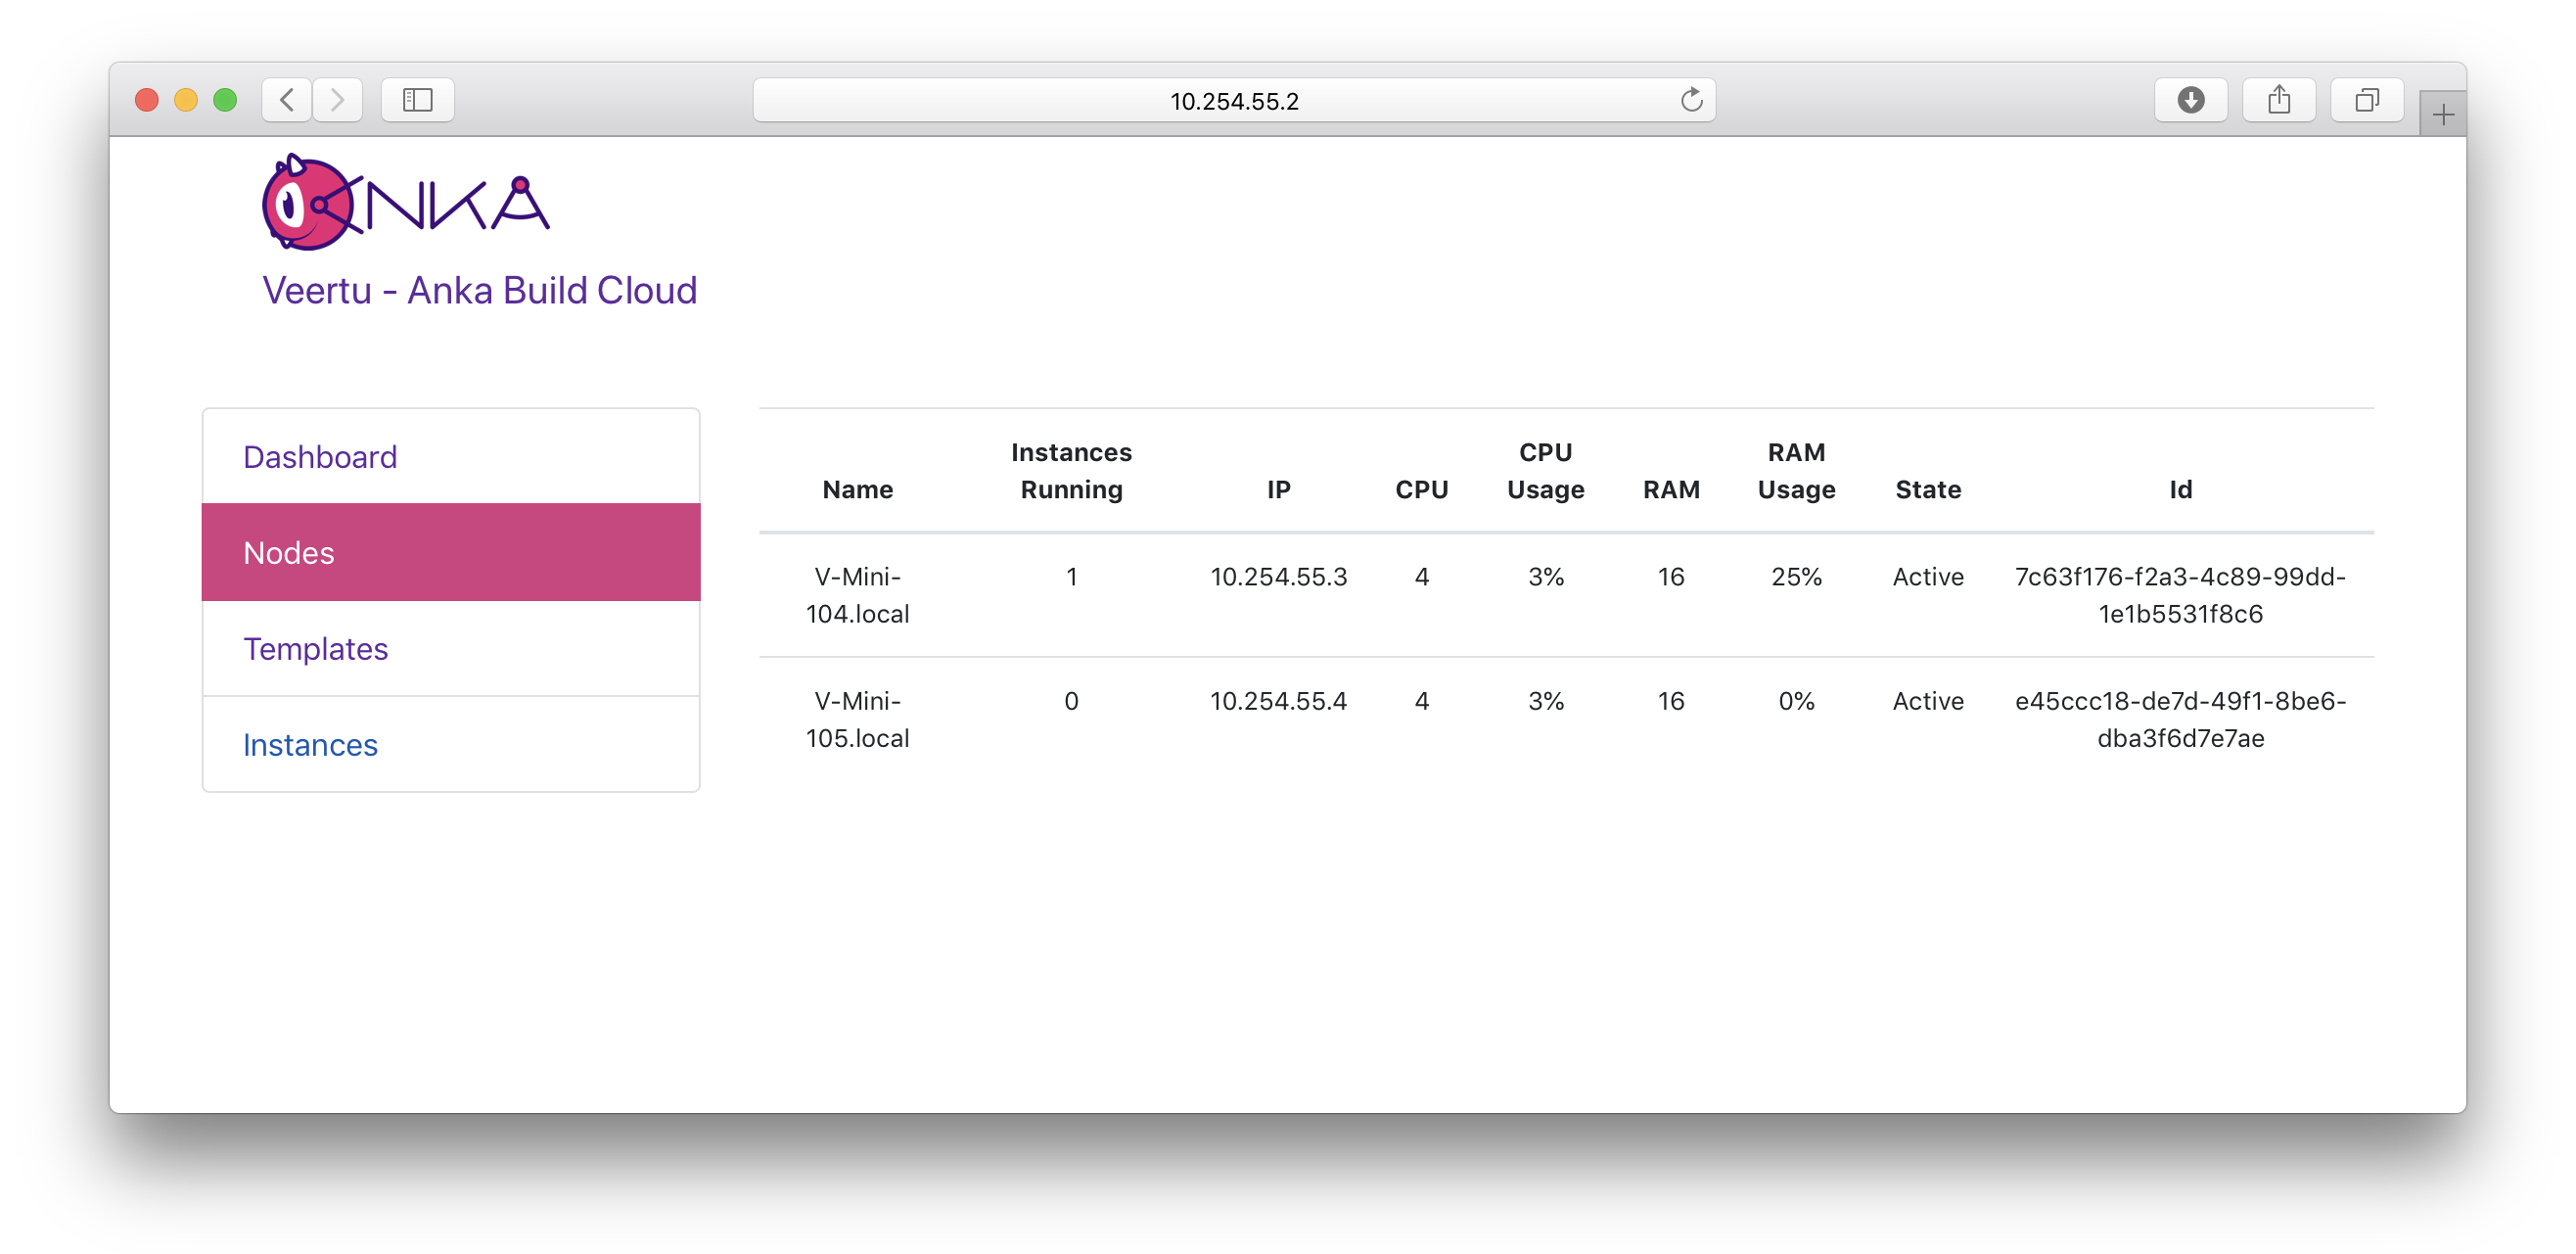
Anka Cloud nodes
To get started with your Anka Cloud, you’ll have to create a VM image which will be first copied to your Anka Registry and later to all the nodes in your cluster on your command. It can then be used to spin up new instances on demand of that versioned VM image across your cluster.
Creating a VM Image on Anka Cloud
Pick one of your Macs in the cluster to build your initial macOS VM. If you have a mixed hardware cluster, we recommend picking the most powerful machine for this task since the creation will install macOS into the VM image and set it up with an user account and password. The less powerful the machine, the longer it will take.
To connect to a given Mac node you can either use Apple’s Remote Desktop Mac app or simply enter vnc://ip-of-your-mac-node into your browser. Login information (user account name and password) for your Mac nodes can be found in your IP plan.
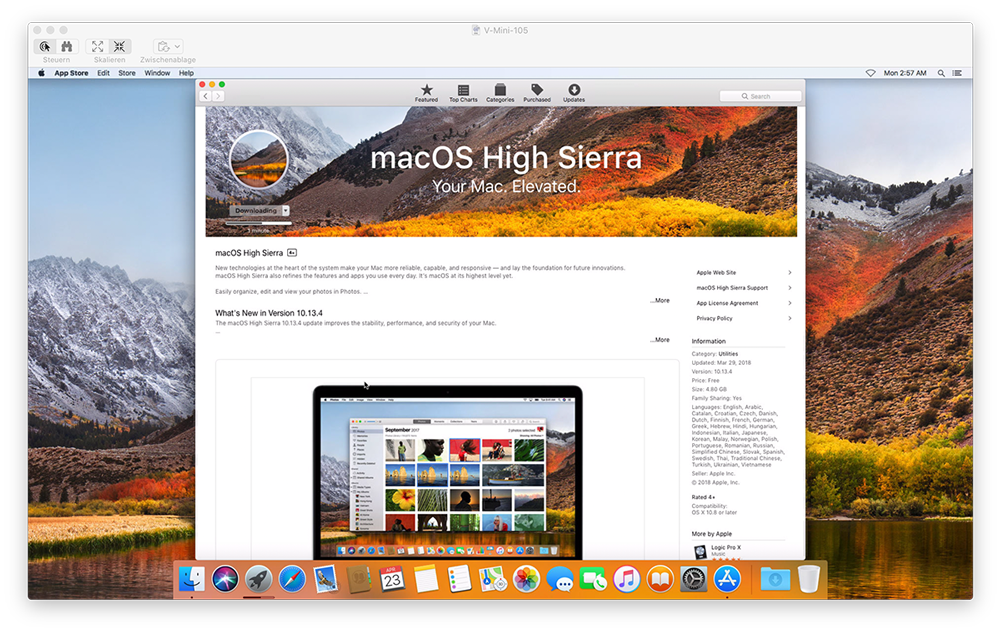
Once connected to the Mac that you’ll use to build your image, open the Mac App Store and download the latest version of macOS. In this example the Install macOS High Sierra.app in the /Applications folder is needed by Anka in order to create the macOS VM image.

macOS VM
Once the download finishes you can either open the Terminal.app through the VNC connection that you’re already using, or if your internet connection isn’t fast enough, you can also close your VNC window and execute the same commands by connection to the same host through SSH.
$ ssh administrator@ip-of-your-mac-node
You can then create your first Anka VM by running:
$ anka create --ram-size 4G --cpu-count 2 -app /Applications/Install\ macOS\ High\ Sierra.app MS-HighSierra
This will create an Anka macOS VM with 4GB of virtual RAM available to it and two virtual CPUs. For image creation, it may be useful to assign as many virtual CPUs and RAM as you desire in order to speed up the installation process.
Ensuring Optimal Setup
Note that you have to completely turn off your VM and modify its allocated resources before pushing it to your Anka Registry. Otherwise, you may not be able to use your Anka Cloud to its fullest potential.
The process of creating the VM may take a while (up to 20-30 minutes depending on what hardware you’re using). Once the installation process finishes you can start your Anka VM with:
$ anka start MS-HighSierra
The Anka start command should output information that allows you to directly connect to your VM in order to install all your dependencies like Xcode, Homebrew, Carthage or any other dependencies that your build process requires.
After you’ve setup your VM and configured everything to your required specifications, don’t shut it off but rather suspend it in order to boot more quickly later on:
$ anka suspend MS-HighSierra
Once the VM is suspended you’ll be able to push it to your registry and assign it with a version tag:
$ anka registry push MS-HighSierra v1
The versioning allows you to run multiple macOS, Xcode or other dependency versions painlessly throughout your Anka Cloud cluster. This way you’ll be able to mix and match as required by your workflow without having to shut down, compress VM directories, and manually archive them somewhere for later use. All of this is built into Anka and is handled by the Anka Registry.
If everything shows up the way you expect it to in your Anka Controllers Templates overview, you can start distributing it to all your Mac nodes in your cluster by selecting the image you just created and selecting “Distribute To All Nodes.”
Depending on various variables like your Anka Cloud variant, firewall maximum throughput, and VM image size, this may take a while to finish.
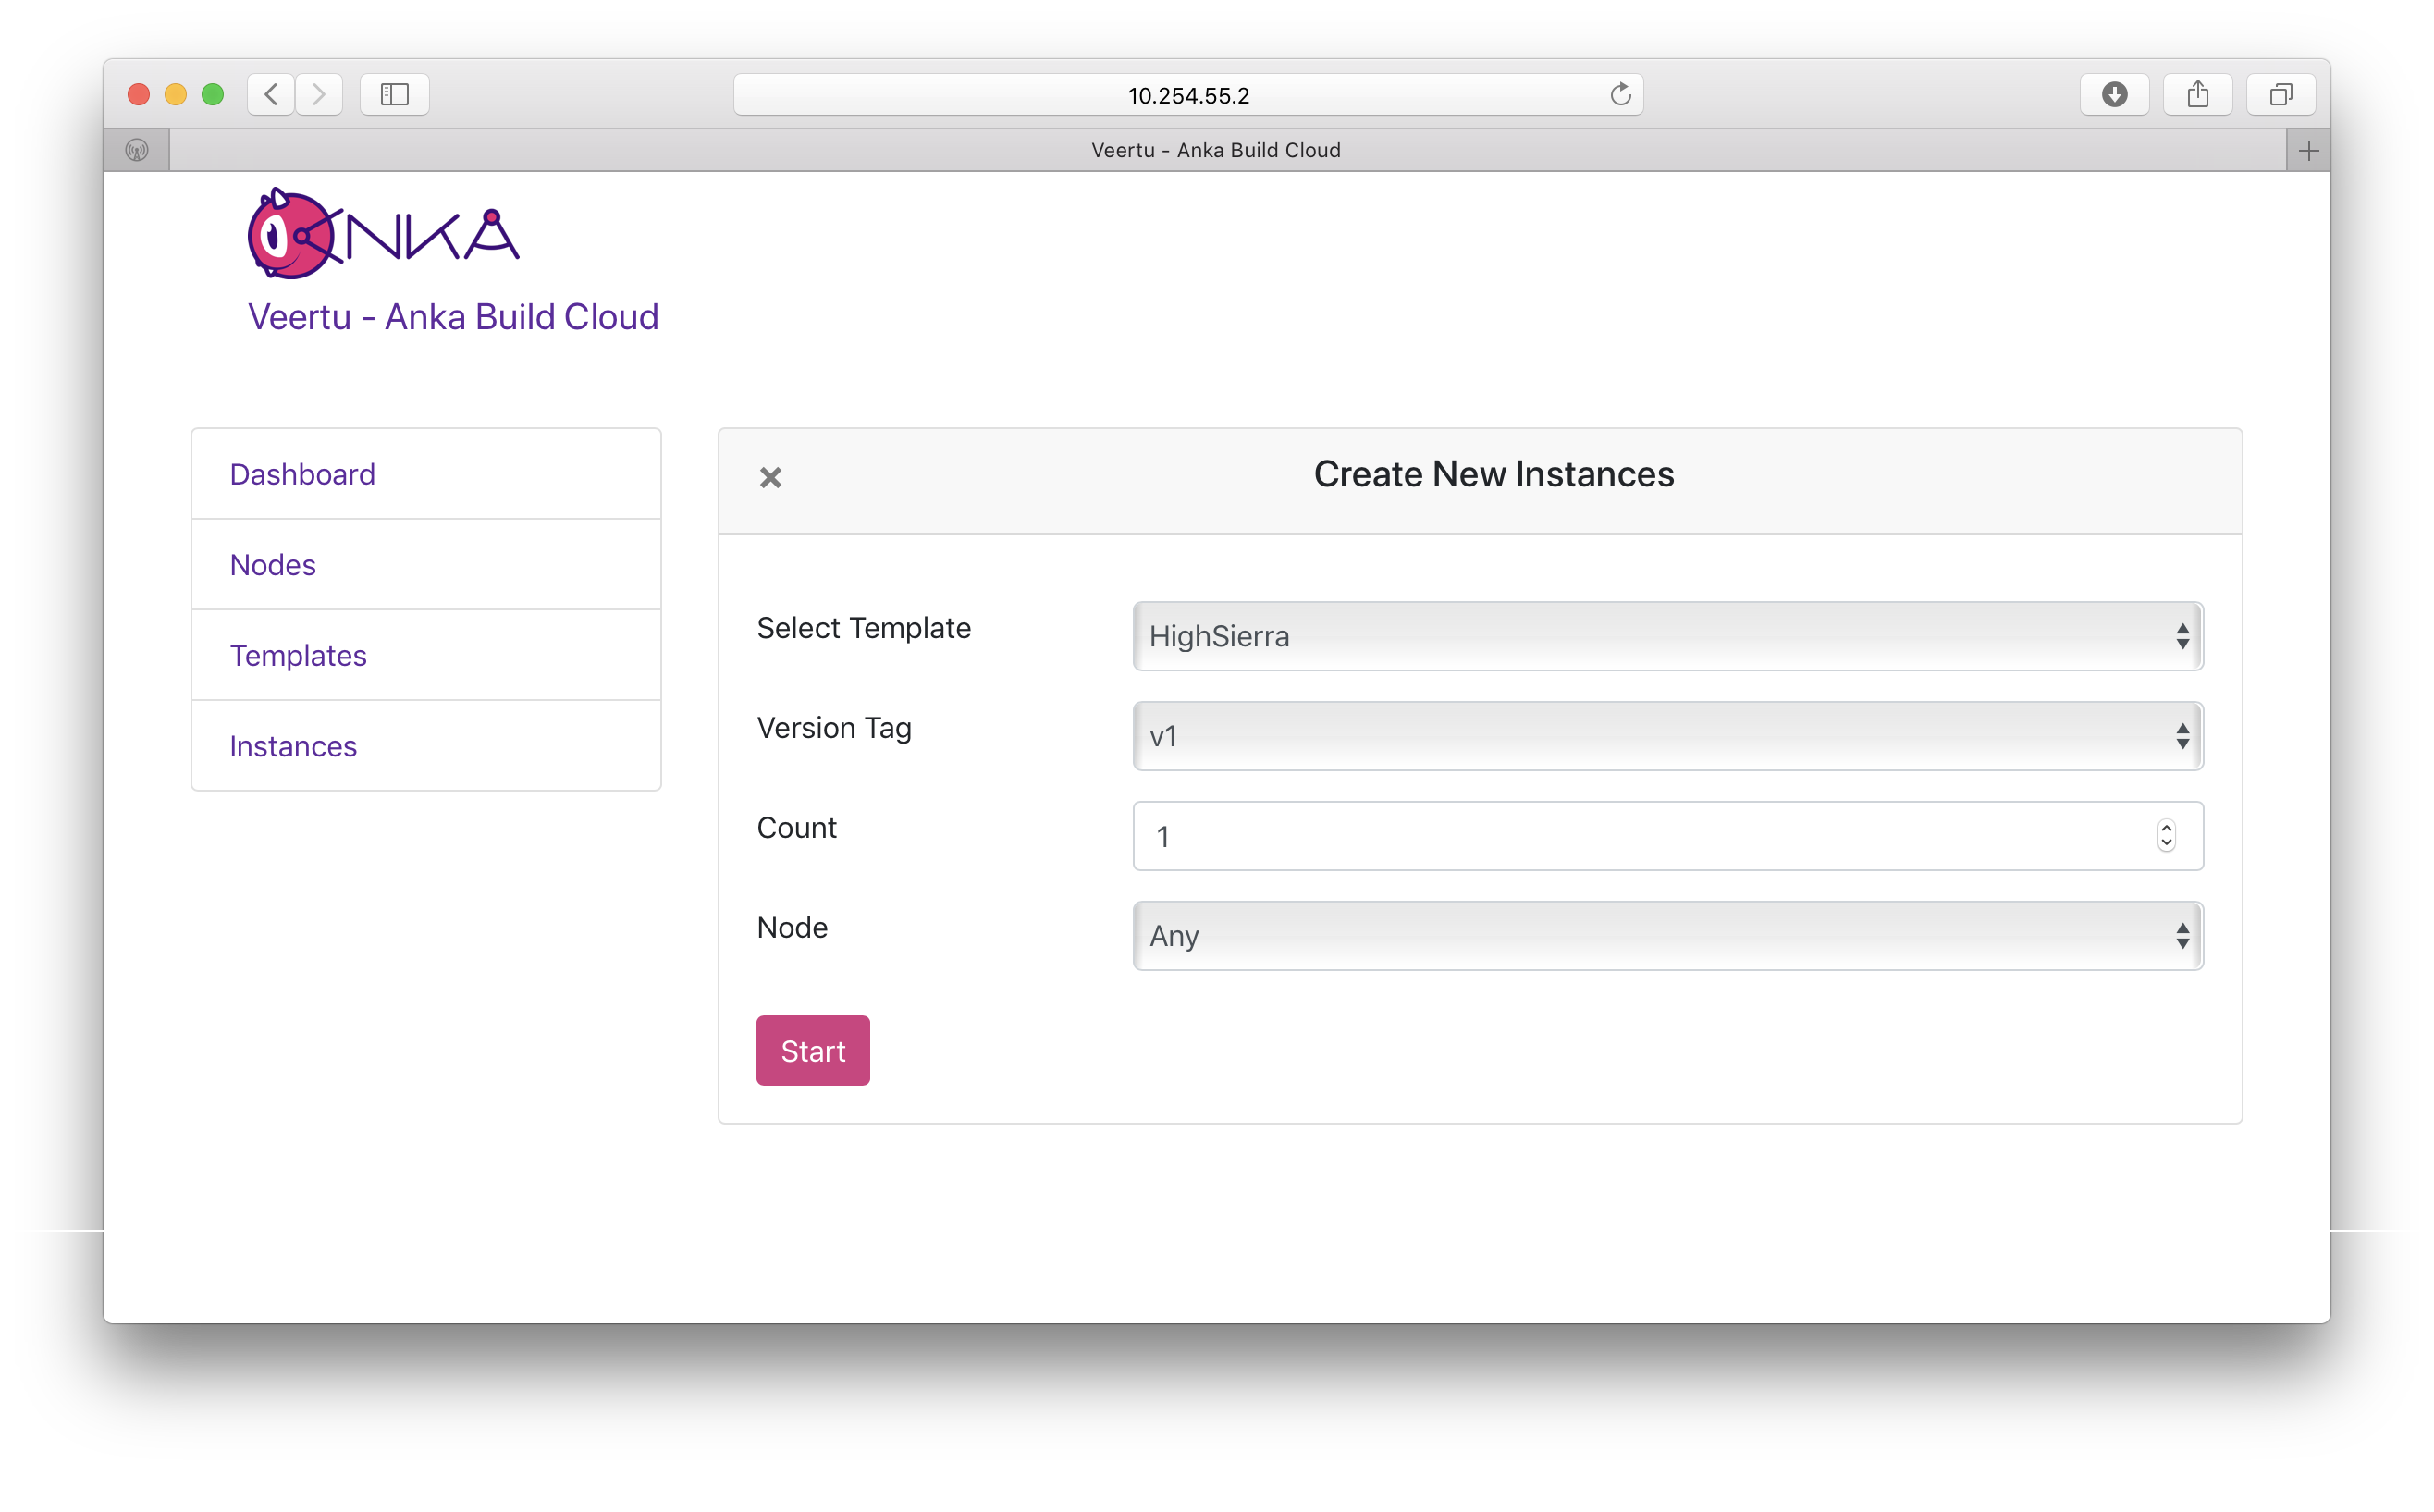
After the distribution to all nodes has finished you can start up new ones by selecting “Instances” in the menu. Select “Create Instance(s),” pick the template (VM image) you’d like to use, the desired version tag, how many instances, and ,if desired, which node (Mac) should be used to start this instance.

Anka Instance
Your Anka Cloud is now entirely setup and ready to be used by a CI/CD workflow.
Updated almost 4 years ago
