Getting Started with Anka
At handoff, you will have a fully functioning Anka environment. This guide will walk you through the steps you will need to take to access that environment and spin up your first Anka VM.
Understanding Your Anka IP Plan
In your Customer Portal, you will have received an IP Plan for your Anka environment.
There are several values that will be required from that document in order to complete this guide.
Specifically, you will need the IP, username and password from the VPN section.
You will also need the Anka Controller IP and the Node IPs listed in Appendix B, as well as the Compute Information credentials listed in Appendix C.
Note: You can request to change or renew these credentials by opening a ticket in the customer portal.
Securely Connecting to Your Anka Environment
Opening a VPN Connection
As a prerequisite to working in your Anka environment, you'll need to open a VPN connection.
Accessing the Main Dashboard UI
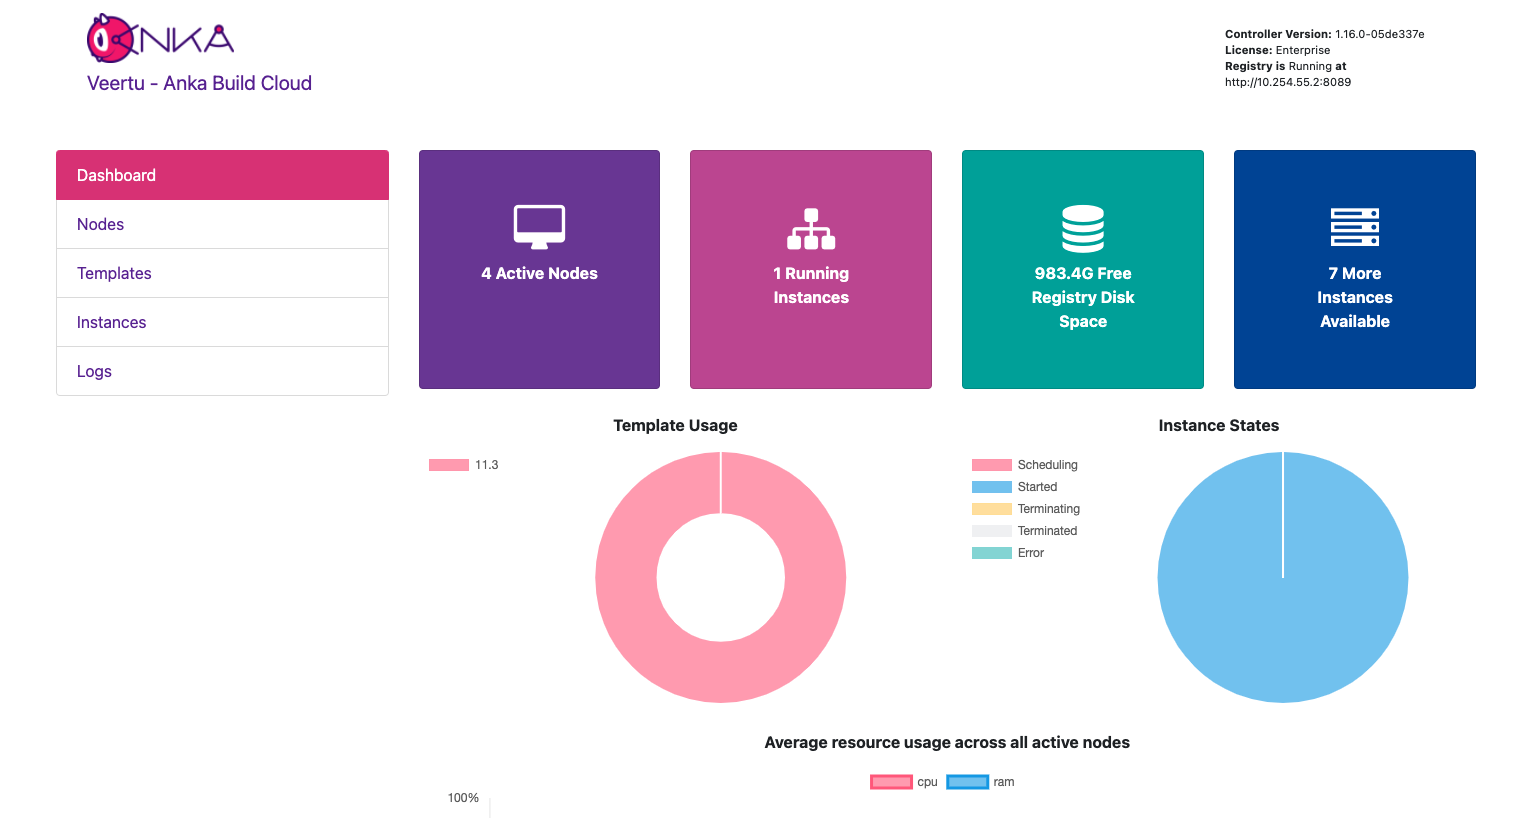
With an active VPN connection open, navigate in your browser to: http://<AnkaControllerIP>.

Add Anka's macOS Installer to an Anka Node
In order to use the Anka CLI in a standard MacStadium deployment, you'll need to start a GUI session on one of your Anka Nodes, and then access the CLI on that same Node.
VNC Connection
To do so, you'll need to access a Node via a VNC connection. To make this connection, you will need to collect the IP of the Node you'd like to work from, which will correspond with the Node names in the IP Plan that look like the following: ANKL10000001-Mini001
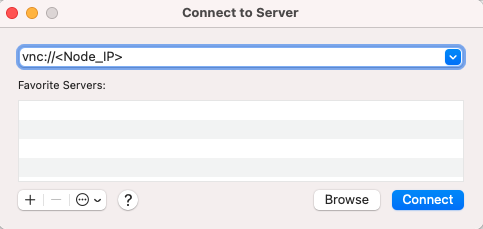
If working from a Mac, simply open your Finder and press Command k.

Choose the IP of one of the Nodes listed in your IP Plan. Enter the IP in the ScreenSharing prompt in the following format: vnc://<Node_IP>.
When prompted for your username and password, enter the values listed here in the IP Plan:

NOTE: You can request replacement Compute Information credentials by opening a ticket in the customer portal.
Clone Anka Getting Started Script
In a terminal on the Node, run the following:
git clone https://github.com/veertuinc/getting-started.git
Execute Getting Started Script
Once the repo has been cloned down, run the following in the same terminal:
cd getting-started && ./create-vm-template.bash --no-anka-create
Enter the integer that corresponds with your desired macOS version and follow CLI prompts to create the VM template.
Start an Anka GUI Session
In the Finder on the Node, open the Applications folder and start the Anka app.
Spin Up a VM from the Node
In a terminal run the following to start a VM:
sudo anka create --ram-size 8G --cpu-count 4 --disk-size 80G \
--app /Applications/Install\ macOS\ <YOUR_SELECTED_OS_VERSION> <VM_Name>
Alternatively, you can follow Veertu's docs on creating a VM from the GUI on the Node.
Spin Up a VM from the Dashboard
When you created the VM Template above, you may have noticed that it pushed the image to your central Anka Registry as well.
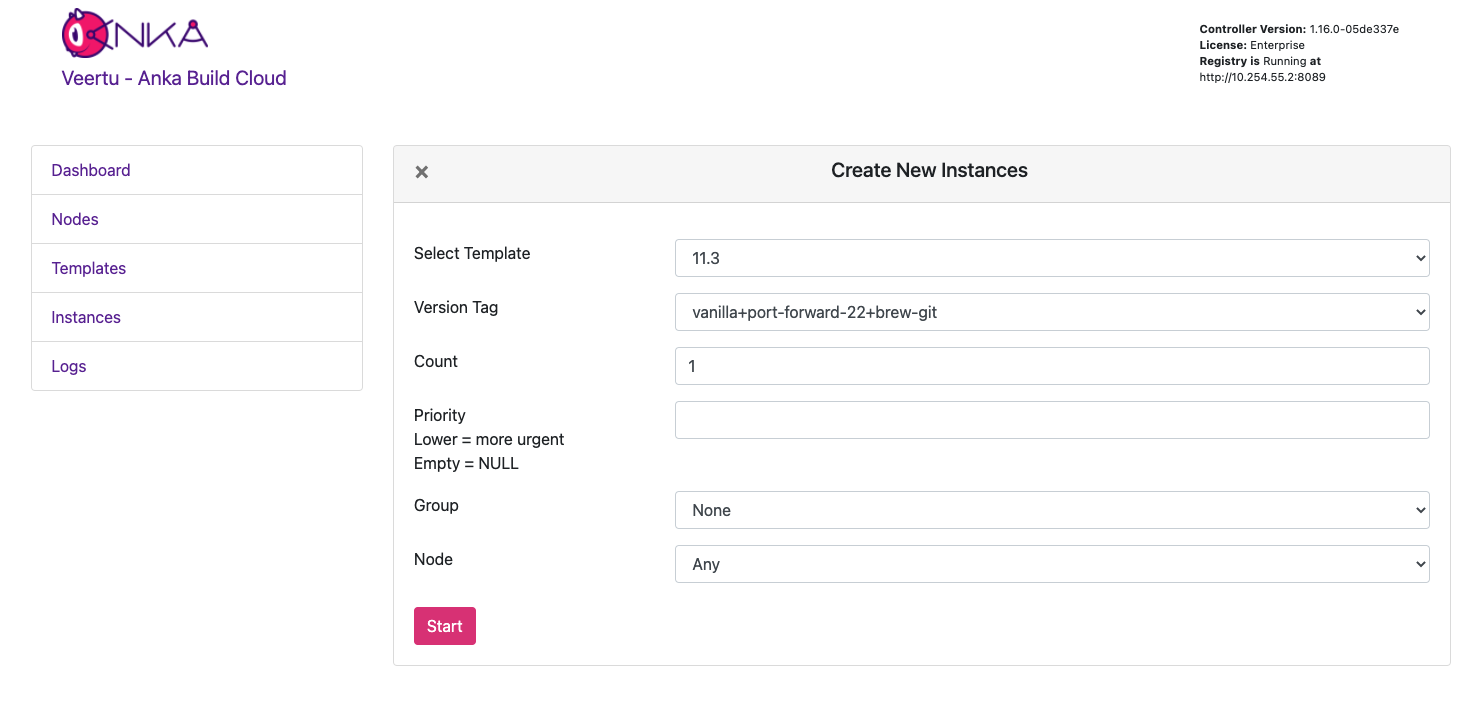
Because of that, you can now return to your Main Dashboard UI in your browser at http:<ControllerIP>, and create a new instance from that image by clicking Instances > Create Instance(s) and selecting from the populated dropdown menus, like so:

Updated about 4 years ago
