About private cloud
Private Cloud enables you to provision non-Mac VMs using reserved compute and storage resources. Non-Mac VMs are essential in enabling certain parts of scalable build systems on Mac, such as caching servers. MacStadium Private Cloud is built on multi-tenant shared cloud infrastructure. You can pay for fixed amounts of isolated compute/storage/networking resources and deploy any combination of virtual machines with their desired configuration. Private Cloud also has network access to Mac infrastructure, allowing the use of non-Mac virtual machines in tandem with Mac compute resources.Overview
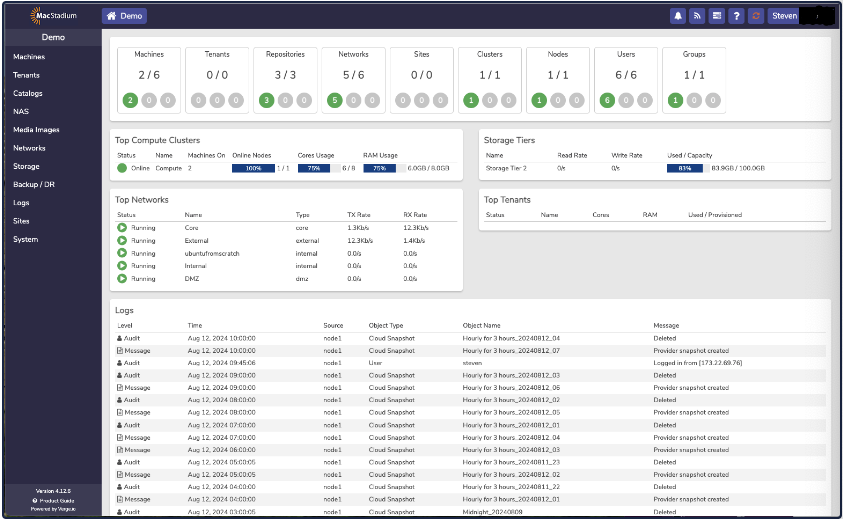
With Private Cloud, you can purchase an allocation of Virtual CPU, Virtual RAM, and Storage and manage the deployment of those resources using Private Cloud’s dashboard.